Check electrical connections to ensure they are secure. Verify the compatibility of all components in the system. Inspect fuses and relays for any signs of damage or malfunction. Make sure the thermostat is functioning correctly.
Ensure all these components are in good working order to maintain the efficiency of the system.
Checking Electrical Connections

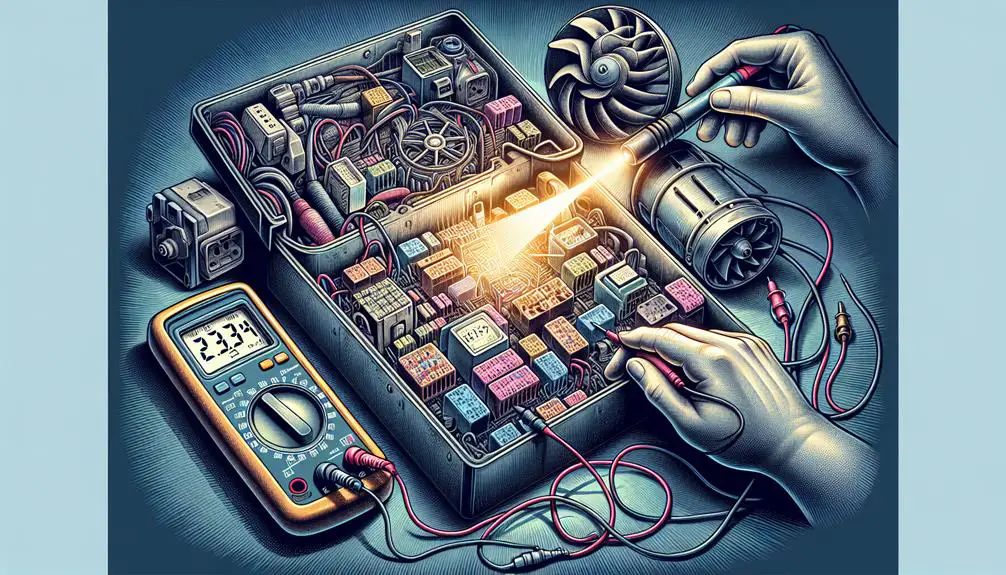
Before diving into more complex diagnostics, it's crucial to initially check the electrical connections to make sure they're secure and functioning properly. If your blower motor's not kicking into gear, loose or corroded connections could be the culprit. You don't need a vast toolbox for this—just a keen eye and perhaps a multimeter.
You'll want to start by locating the blower motor's wiring harness. It's usually found near the motor itself, often under the dashboard in cars or in the main unit of HVAC systems. Once you've got it, give each wire a gentle tug. They should be firmly attached, with no wiggle room. If anything's loose, tighten it up. But remember, it's not just about them being physically connected; they need a clean contact point to work efficiently. So, if you spot any corrosion or grime, it's time for a clean-up. Disconnect the battery before you start scrubbing away with electrical contact cleaner to avoid any short circuits.
Next, whip out your multimeter. You're checking for continuity here, making sure that electricity can flow through the connections without any blockages. Set your multimeter to the continuity setting and touch the probes to the wiring terminals. A continuous beep or a zero reading indicates good news; your electrical path is clear. If you're met with silence or nonsensical readings, there's a break somewhere along the line.
Verifying Motor Compatibility
Ensuring your new blower motor is compatible with your system is a crucial step you can't afford to overlook. After you've changed your blower motor and it still isn't working, you might start wondering what went wrong. Well, it's possible that the motor you chose isn't the right fit for your specific HVAC system or vehicle. To prevent this from happening, you need to pay attention to several key factors before making a purchase.
| Factor | Description |
|---|---|
| Voltage | Ensure the voltage rating matches your system's requirements. |
| Amperage | Check if the amperage rating is compatible to avoid overload. |
| Size and Fit | The physical dimensions must align with your space constraints. |
| Connector Type | The motor's connector should match the system's plug. |
| Speed Settings | Verify if the motor supports the speed settings of your system. |
When you're in the market for a new blower motor, make sure you've got all these factors checked off. It's not just about finding a motor that physically fits; it's about ensuring that every specification aligns with what your system needs to operate efficiently. If you've already installed a motor and it's not working, re-evaluate these aspects. It's possible that despite your efforts, a mismatch in one of these areas is causing the issue. Remember, compatibility is key to restoring the functionality of your system. Don't skip this crucial step in your troubleshooting process.
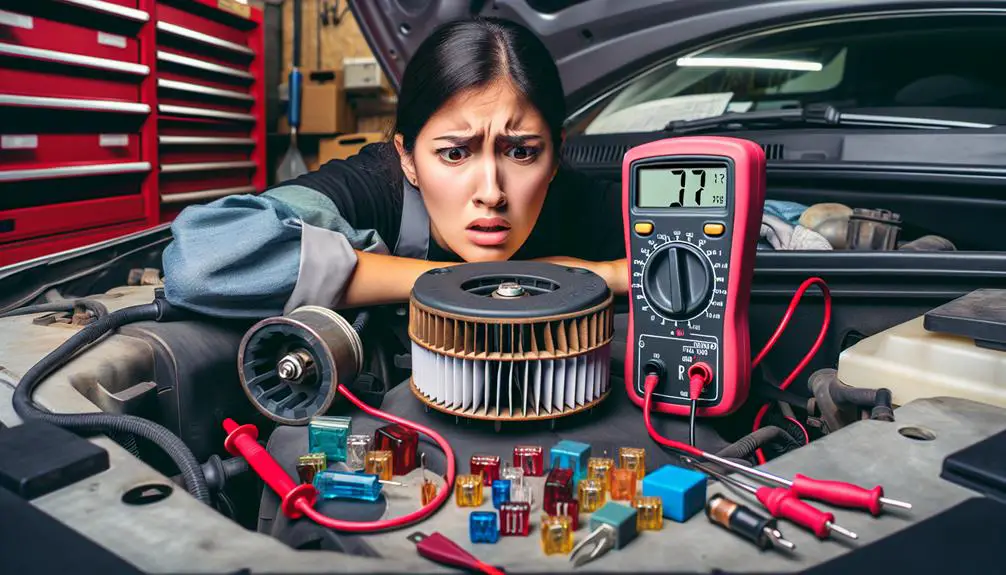
Inspecting Fuse and Relay
After verifying motor compatibility, it's critical to inspect the fuse and relay, as a fault here could be why your blower motor isn't running. Your vehicle's fuse box diagram will guide you to the specific fuse and relay responsible for powering the blower motor. Remember, a blown fuse is easy to spot; it'll have a broken wire or a discolored body. If you find it's blown, replace it with one of the exact same amperage. But don't stop there—ask yourself what caused the fuse to blow in the initial place, as this might indicate a deeper issue.
Next up is the relay, a critical component that acts as a switch for the blower motor's electrical circuit. Testing the relay requires a bit more effort. You'll need a multimeter to check for continuity. If you're not comfortable using one, it might be time to seek professional help. However, if you're up for it, locate the relay in the fuse box and remove it. Check your vehicle's manual for the correct pin configuration and test for continuity. If the relay fails the test, replacing it's your next step.
Assessing Thermostat Function
Having checked the fuse and relay for faults, it's equally vital to assess your thermostat's functionality, as it plays a key role in signaling the blower motor to operate.
Initially, confirm your thermostat is set to a mode that requires the blower motor to kick in. If it's not on 'heat' or 'cool,' or if the set temperature is closer to the room's actual temperature, the blower motor won't activate. It's a simple step, but it's often overlooked.
Next, check the thermostat's wiring. Loose or corroded connections can disrupt the signal to the blower motor. Turn off the power to your HVAC system at the breaker, then remove the thermostat cover to inspect the wiring. Look for any loose wires or signs of corrosion and tighten or clean them as necessary. Remember to turn the power back on and test the system afterward.
If the wiring looks good, you might need to test the thermostat's functionality more directly. You can do this by bypassing the thermostat to see if the blower motor runs without it. Disconnect the thermostat and temporarily connect the R (power) and G (fan) wires together. If the blower kicks on, your thermostat may be the issue. However, if there's still no response from the blower, the problem lies elsewhere.
Troubleshooting Additional Components
Once you've ruled out the thermostat as the culprit, it's time to explore other components that might be hindering your blower motor's functionality. The exploration doesn't end with a new blower motor; sometimes, the issue lies deeper within your HVAC system. Let's dig into what you should check next.
Initially, inspect the furnace filter. A clogged filter can restrict airflow, making it seem like your blower motor isn't working. You'd be surprised how often a simple filter change can solve the problem. So, check it and replace it if it's dirty.
Next, consider the circuit breakers and fuses. A tripped breaker or blown fuse can cut power to the blower motor, rendering it inoperative. Head over to your electrical panel, locate the relevant breaker or fuse, and make sure everything's in order. Reset the breaker if needed, or replace any blown fuses.
Don't overlook the control board and relays. These components act as the brain and muscle, telling your blower motor when to kick on and off. If they're faulty, they could be giving wrong signals or no signals at all. Testing these requires a bit more technical know-how, so if you're not comfortable, it might be time to call in a professional.
Conclusion
You've diligently replaced your blower motor, but it's still not up and running. Don't despair! Double-check those electrical connections; a loose wire can easily be the culprit.
Verify the motor's compatibility with your system, as a mismatch can prevent it from working. Don't overlook the fuse and relay; these small parts play big roles.
Verify your thermostat's function—it mightn't be signaling correctly. If these steps don't resolve the issue, other components may need your attention.
Keep at it, you're close to a solution!