Changing brake shoes involves:
- Removing the wheel to access the brake assembly.
- Correctly replacing the brake shoes to ensure vehicle safety and performance.
Gather Necessary Tools
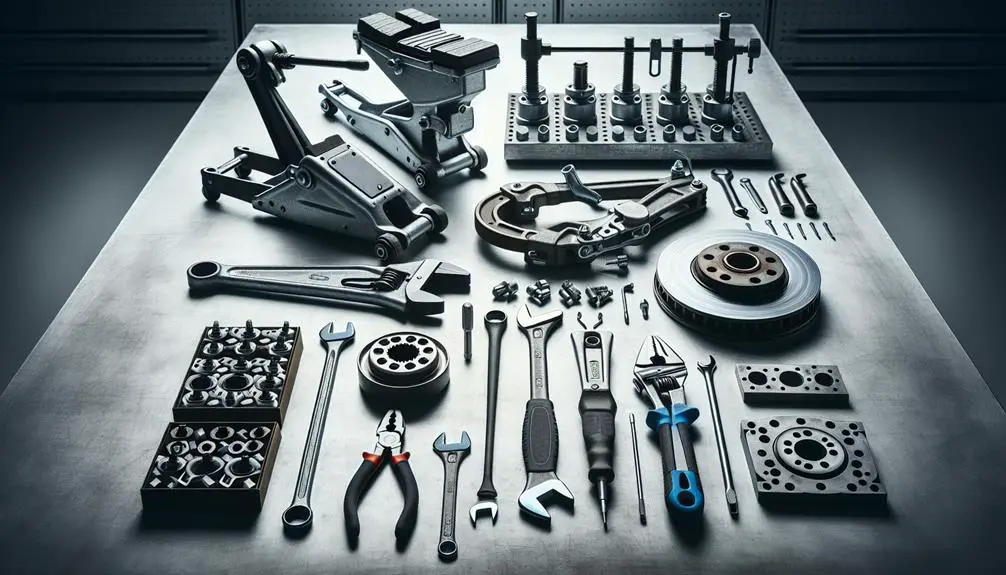
Before you begin changing your brake shoes, you'll need to gather a few necessary tools. First off, you're going to need a jack and a pair of jack stands to safely lift and support your car. Don't forget a lug wrench for later steps, but remember, we're not touching the wheel just yet.
You'll moreover need a set of wrenches or a socket set. These are essential for loosening and tightening the different nuts and bolts you'll encounter. Make sure you've got a range of sizes to fit your car's specifications. A hammer might come in handy too, especially for those stubborn components that refuse to budge.
In addition, grab a pair of needle-nose pliers and a large flat-head screwdriver. These will help you with the smaller, more delicate parts of the brake mechanism. And, it's always a good idea to have some brake cleaner spray on hand to clean the area and guarantee a smooth operation.
To end, make sure you have your new brake shoes ready to go. It might seem obvious, but it's easy to forget in the midst of prepping. With these tools at your side, you're well on your way to successfully changing your brake shoes.
Remove the Wheel
Having gathered all the necessary tools, the next step is to remove the wheel from your car. Initially, make sure your car is parked on a flat, stable surface to prevent it from rolling. If you've got a manual transmission, put it in gear and apply the parking brake. For an automatic, just set it to park.
Next, you'll want to loosen the lug nuts on the wheel you're working on, but don't remove them completely yet. It's easier to break the initial resistance when the wheel is still on the ground. After the nuts are loosened, it's time to jack up your car. Position the jack under the car's designated lift point near the wheel you're focusing on. Lift the car until the wheel is off the ground.
Now, you can remove the lug nuts all the way. Keep them in a safe place so you're not hunting for them later. Once the nuts are off, gently pull the wheel towards you until it's free from the hub. Set it aside where it won't roll away or get in your way. You've now successfully removed the wheel, paving the way to access the brake assembly.
Access the Brake Assembly
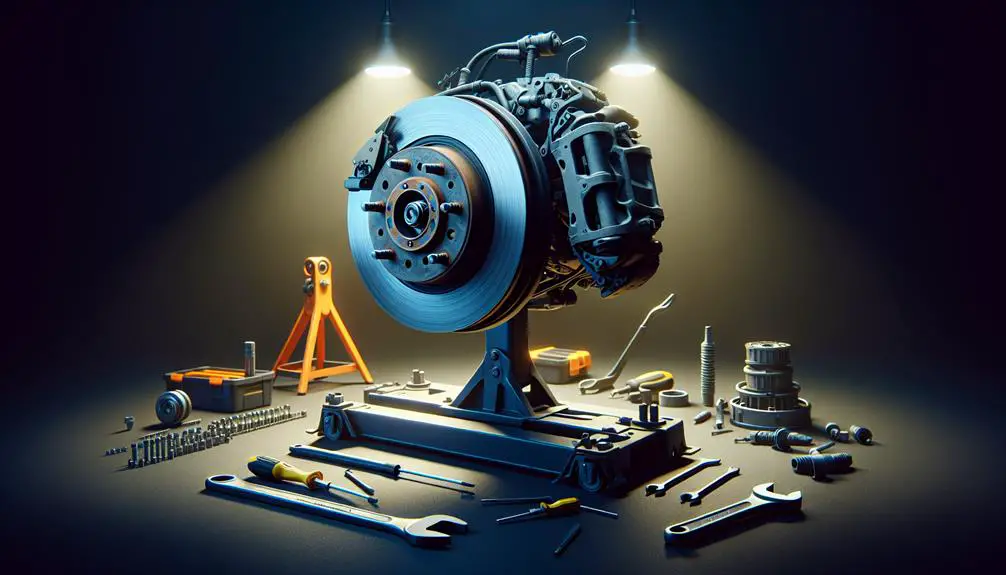
With the wheel removed, you're ready to access the brake assembly to proceed with the inspection or maintenance. Now, you'll need to locate the brake drum. It's this large, cylindrical component that houses the brake shoes. Before you can see or work on the shoes, you've got to remove the drum.
To begin, check if there's a retaining screw or clips holding the drum in place. These are safety features to keep the drum secured to the hub. You'll need a screwdriver or a special tool, depending on your vehicle, to remove these. Once they're out, the drum should be free. However, it mightn't come off easily if it's been a while since it was last removed. Rust and debris can cause it to stick.
If the drum won't budge, don't force it. Instead, look for an adjustment hole at the back of the brake assembly. Inserting a brake adjustment tool or flathead screwdriver into this hole lets you retract the brake shoes away from the drum. This should loosen the drum, making it easier to remove without causing damage. Remember, patience and the right technique are key here.
Replace Brake Shoes
Once the drum is off, it's time to focus on replacing the brake shoes, a key step in making sure your vehicle's braking system works efficiently.
Initially, you'll need to remove the old brake shoes. Start by disconnecting the springs and the emergency brake linkage from the shoes. Use pliers for this task; it'll make it easier. Remember, it's important to take note of where each component fits. Taking a photo before you start dismantling can save you a headache later.
Now, pull the old shoes apart and away from the wheel cylinder. They might be stuck because of wear and tear, so a gentle but firm tug should do the trick. Once removed, it's a great opportunity to check the wheel cylinder for leaks. Any sign of fluid means it's time for a replacement or repair.
With the old shoes out, compare them to the new ones to make sure a perfect match. Then, attach the new shoes by first hooking them onto the adjuster at the bottom. Reconnect the springs and emergency brake linkage. It's a reverse process of what you did to remove them. Make sure everything's snug and correctly placed.
Perform Final Checks
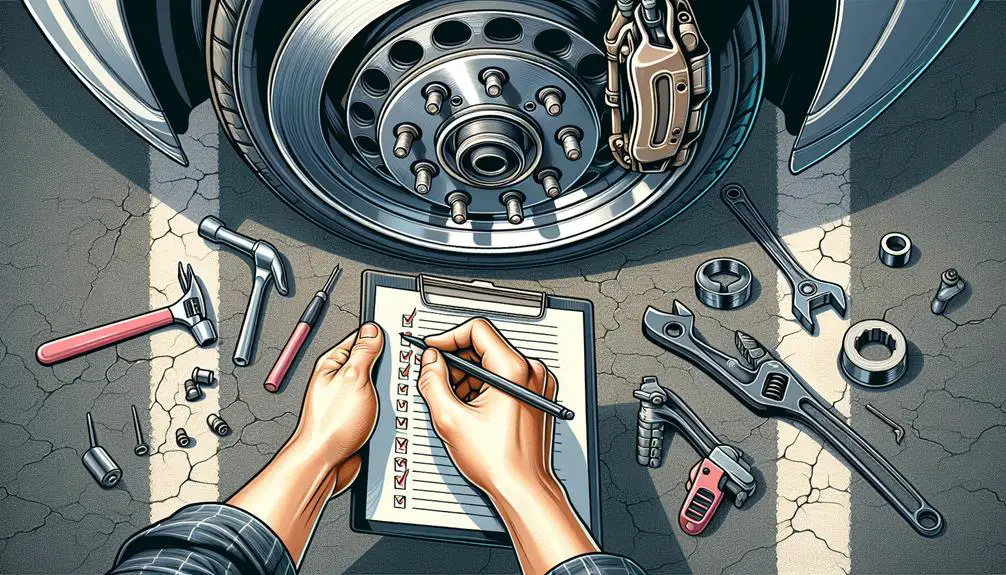
Before reattaching the drum, it's vital to perform a thorough check to make sure all components are properly installed and functioning. You've come this far, and you don't want to overlook something that could compromise your safety on the road. Here's a checklist to guide you through these final checks:
- Make sure the brake shoes are correctly positioned against the backing plate. They should sit flush and be securely attached. If they're not, they won't function properly, leading to ineffective braking.
- Confirm the springs and other hardware are correctly installed. Each component plays a critical role in the operation of your brakes. Incorrectly installed springs can cause the brakes to fail or not work as efficiently as they should.
- Check the brake fluid level. It's not uncommon for the brake fluid level to drop after working on the brakes. If necessary, top it up to the recommended level. Low brake fluid can lead to brake failure.
- Inspect for leaks or damage. Before you put everything back together, make sure there are no leaks in the brake system and that all components are free from damage. A leak could lead to brake failure, and damaged parts may not perform correctly.
Taking these steps ensures your safety and the longevity of your brake system.
Conclusion
Now that you've successfully changed your brake shoes, give yourself a pat on the back. You've gathered the right tools, removed the wheel, accessed the brake assembly, and replaced the brake shoes like a pro.
Don't forget to perform those final checks to guarantee everything's in tip-top shape. Remember, safety's paramount when you're hitting the road.
With your new brake shoes installed, you can drive with peace of mind, knowing you've taken a crucial step in maintaining your vehicle's safety.