Changing your car's cabin air filter involves several steps:
- Locating the filter: The cabin air filter is typically located behind the glove compartment or under the dashboard. Refer to your vehicle's manual for the exact location.
- Removing the old filter: Once you locate the filter, carefully remove the cover or clips holding it in place. Take out the old filter and dispose of it properly.
- Installing a new filter: Insert the new cabin air filter in the same position as the old one. Make sure it is facing the correct direction, usually indicated by arrows on the filter.
By following these steps, you can improve the air quality inside your vehicle and ensure that your HVAC system functions efficiently.
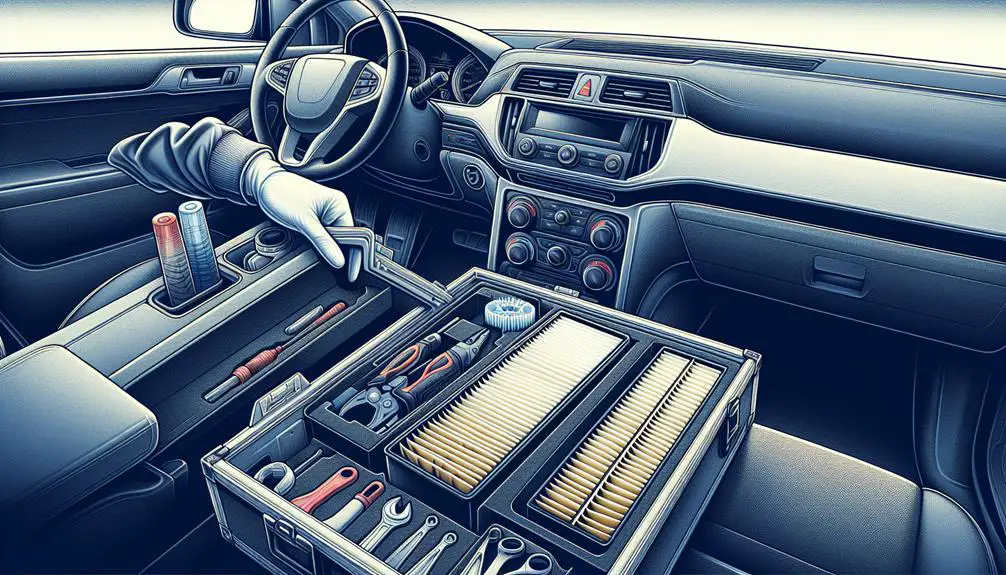
Tools and Materials Needed

Before you begin replacing your cabin air filter, you'll need a few specific tools and materials, typically including a screwdriver, a new air filter, and possibly gloves for protection. The choice of screwdriver depends on your vehicle's make and model, as some filters are secured with Phillips head screws while others use flat-heads. It's vital to select the correct air filter size for your car to make sure of efficiency and prolong the filter's lifespan, directly influencing its environmental impact.
Using a high-quality air filter can greatly reduce the amount of pollutants entering your vehicle, thereby minimizing the environmental footprint of your driving experience. The materials you choose shouldn't only be compatible with your vehicle but eco-friendly as well. Opt for filters made from sustainable materials when available.
Gloves, preferably nitrile, protect your hands from dirt and potential irritants during the replacement process. Ensuring you have the right tools and materials isn't just about efficiency; it's about contributing to a healthier environment by extending the lifespan of your filter and reducing waste.
Locating Your Cabin Air Filter
To locate your cabin air filter, you'll typically find it housed within the glove box or under the dashboard, depending on your vehicle's design. This component is vital for purifying the air that enters the interior of your car, guaranteeing a healthier and more pleasant driving experience. Comprehending the precise location and how to access your cabin air filter is the initial step before considering the installation cost and reaping the filter benefits.
Here are important points to remember:
- Consult your vehicle's manual: The most definitive guide to locating your cabin air filter is your car's owner manual, which provides specific instructions tailored to your model.
- Look for an access panel: In many cars, the cabin air filter is accessible through an access panel in the glove box or under the dashboard.
- Understand the configuration: Some vehicles might've a unique configuration, requiring the removal of other components.
- Consider professional help: If you're unsure, consulting a professional can save time and make sure you don't accidentally damage other components.
Being aware of the filter benefits, like improved air quality and allergen reduction, can justify the installation cost, especially considering the positive impact on your driving comfort and health.
Removing the Old Filter

Once you've located your cabin air filter, you'll need to carefully remove any fasteners or clips securing its housing. Employ a screwdriver or a specialized tool, depending on your vehicle's requirements, maintaining a gentle yet firm grip to avoid damaging these components. Once the housing is accessible, gently pull out the old filter. It's important to note the filter's orientation as this will be critical when installing the new one.
Inspect the removed filter. Over its lifespan, which typically ranges between 15,000 to 30,000 miles, the filter accumulates dust, pollen, and other airborne particles, greatly diminishing its efficacy. If the filter appears clogged or excessively dirty, it confirms the need for replacement.
Regarding disposal methods, treat the used filter as you'd household waste. However, consider environmental impact and seek out recycling options if available. Some filters are made of recyclable materials, and properly disposing of them can contribute to environmental sustainability efforts.
Installing the New Filter
Double-check you've got the new cabin air filter ready, paying close attention to its orientation to match the one you removed. This step is important for maintaining filter efficiency and avoiding common installation mistakes.
Insert the new filter gently into the housing. Make sure it seats properly without any gaps or bends. Misalignment can greatly reduce filter efficiency, allowing unfiltered air to enter the cabin.
To avoid common installation mistakes, follow these guidelines:
- Make sure the filter's airflow direction matches the arrows on the housing. Incorrect airflow direction can compromise filtration effectiveness.
- Check for any seals or gaskets that might've been dislodged during removal of the old filter. If these aren't properly seated, it could lead to air bypassing the filter.
- Inspect the filter for any damage or defects before installation. A torn or defective filter won't provide adequate filtration.
- Confirm the housing cover fits snugly after the new filter is in place. A loose cover can allow unfiltered air into the cabin.
Aftercare and Maintenance Tips
After installing the new cabin air filter, it's important to focus on proper aftercare and maintenance to guarantee its longevity and performance. The filter lifespan can vary based on usage habits and environmental conditions. To make sure the filter functions well, regularly inspect the filter every 6,000 miles or as recommended by your vehicle's manufacturer. This step is important, especially if you frequently drive in dusty or polluted areas, as these conditions can clog the filter more quickly.
Furthermore, familiarize yourself with the symptoms of a clogged cabin air filter—reduced airflow through the HVAC system, unpleasant odors, and an increase in allergens inside the vehicle. Recognizing these signs early can prevent more significant issues down the line.
Moreover, when examining the filter, make sure it's properly seated in its housing. A misaligned filter can allow unfiltered air to enter the cabin, undermining its purpose. If you're unsure about the filter's condition during an inspection, it's safer to replace it. This proactive approach not only maintains air quality inside your vehicle but also supports the general health of the HVAC system, ensuring it operates efficiently.
Conclusion
In summary, you've successfully navigated the intricacies of replacing your cabin air filter. By gathering the correct tools, accurately locating and removing the old filter, and precisely installing a new one, you've improved your vehicle's air quality.
Remember, regular aftercare and maintenance are vital for peak performance. Stick to a maintenance schedule, and don't hesitate to refer back to this guide if needed. Your diligence guarantees a healthier, more enjoyable driving experience.