Changing Hope brake pads involves several steps:
- Gathering tools
- Removing the wheel
- Extracting old pads
- Cleaning the caliper
- Installing new pads with precise adjustment and testing.
Gather Your Tools
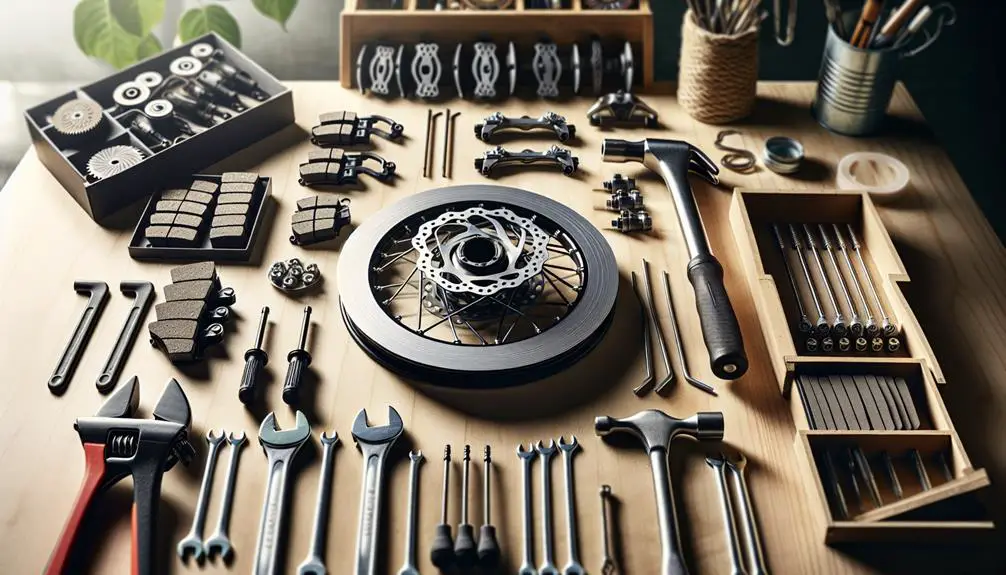
Before you start changing your Hope brake pads, you'll need to gather a few necessary tools. This isn't just about having the right equipment; it's about making sure you're prepared for a smooth and efficient process. You don't want to be halfway through and realize you're missing something critical. So, let's get you set up properly.
First, you'll need a set of hex keys or Allen keys. These are essential for most bike maintenance tasks, including adjusting your Hope brake system. The exact size you'll need can vary, so it's wise to have a set that includes multiple sizes.
Second, grab a pair of needle-nose pliers. They'll come in handy for removing the retaining pin that keeps your brake pads in place.
Next on your list should be a flat-head screwdriver. You'll use this to gently pry the old brake pads apart, making it easier to remove them. Just be careful not to damage any of the components. Also, it's a good idea to have a clean rag at your disposal. Brake systems can get dirty, and you'll want to clean around the area before installing new pads. This ensures the best performance and longevity of your components.
Finally, consider having some isopropyl alcohol and a clean cloth to clean the caliper and the rotor. This will remove any grease or brake fluid that could affect the braking performance.
Gathering these tools before you start ensures you won't have to pause mid-task. It's about being efficient and avoiding frustration, making the job as straightforward as possible.
Remove the Wheel
To begin the process of changing your Hope brake pads, you'll initially need to eliminate the wheel from your bike. This step is essential for accessing the brake caliper where the pads reside. The process is straightforward but requires careful handling to avoid damaging your bike's components.
Initially, confirm your bike is stable. If you've got a bike stand, use it to secure your bike. If not, carefully lay it down on a soft surface to prevent scratches. You'll want to avoid any unnecessary damage to your frame or components.
Next, locate the quick release lever or the bolt that holds your wheel in place. For most bikes equipped with Hope brakes, this will be a quick release or a thru-axle. If you're dealing with a thru-axle, you'll need the appropriate hex key or wrench from your tool collection.
Loosen the lever or bolt without completely removing it at first. Once it's loose, you can carefully pull the wheel away from the frame. Keep in mind the force of the springs in quick release mechanisms; they can surprise you if you're not prepared.
For a visual guide on the steps mentioned, refer to the table below:
| Step | Action | Note |
|---|---|---|
| 1 | Stabilize Bike | Use a stand or soft surface |
| 2 | Identify Release Mechanism | Quick release or thru-axle |
| 3 | Loosen and Remove Wheel | Be mindful of spring force |
Once the wheel is removed, you're ready to proceed to the next step of changing your Hope brake pads without touching on the extraction of the old pads just yet.
Extract Old Brake Pads
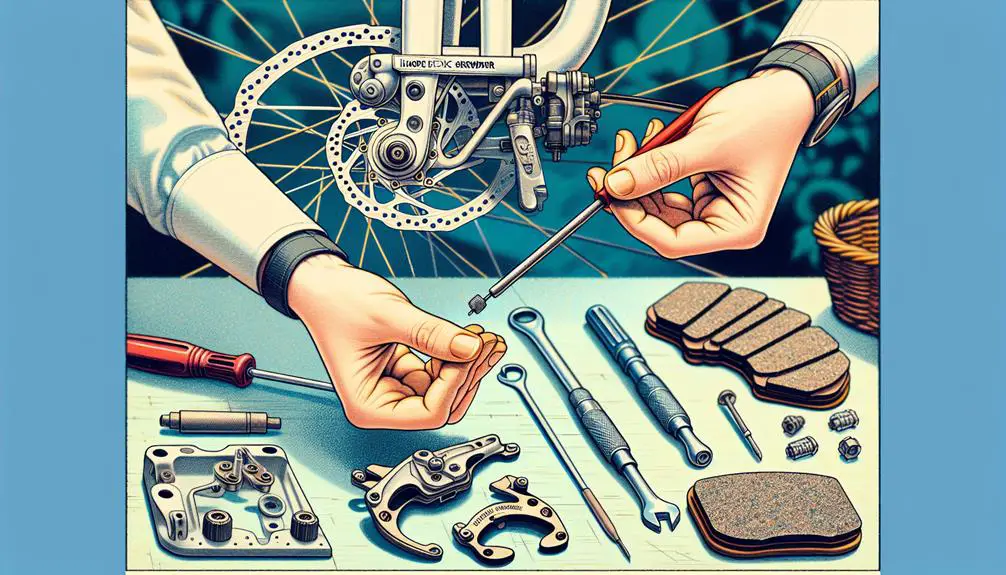
With the wheel out of the way, it's time to focus on removing the old brake pads from your Hope brake caliper. This step is important for ensuring your bike's braking system works efficiently and safely. Here's a straightforward guide to help you navigate through this process smoothly.
- Locate the Pad Retaining Pin: On your Hope brake caliper, you'll find a small pin or bolt that holds the brake pads in place. This is usually located at the top of the brake pads.
- Remove the Retaining Pin: You'll need a small Allen key or a specialized tool, depending on your Hope brake model, to unscrew and remove this pin. Keep it safe, as you'll need it to secure the new pads.
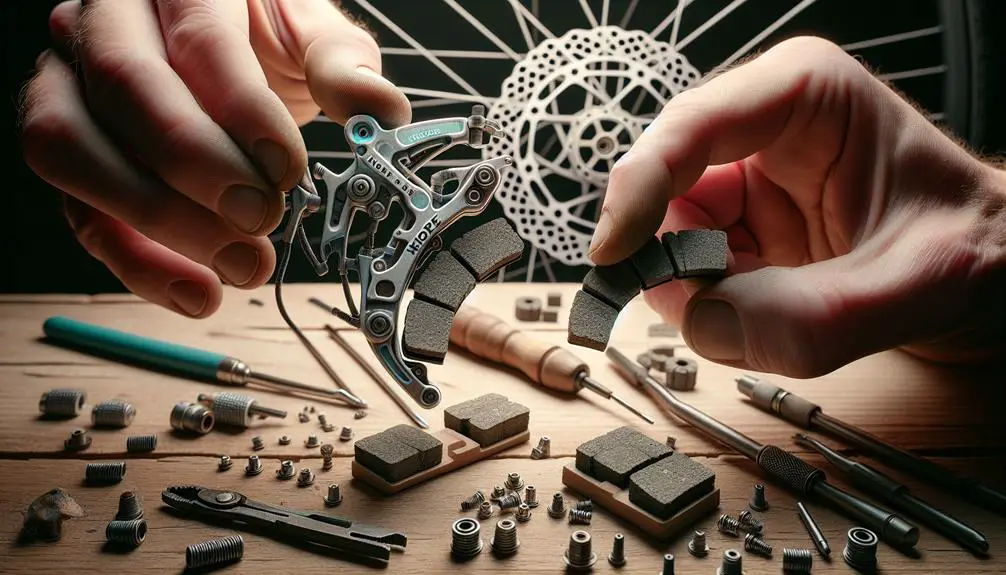
- Slide Out the Old Pads: With the retaining pin removed, you can now easily slide the old brake pads out of the caliper. They might need a bit of encouragement if they're wedged in tightly, but they should come out with a gentle tug.
- Inspect the Brake Pad Spring: Most brake systems include a small spring that helps keep the pads apart. Make sure this spring is in good condition and correctly positioned for when you install the new pads.
Clean the Caliper
Once you've removed the old brake pads, it's essential to clean the caliper thoroughly to guarantee top performance of your Hope brakes. Dirt, grime, and brake dust can accumulate over time, potentially impairing the function of your new brake pads. Here's how you can make sure your caliper is spotless before installing new pads.
Initially, you'll want to use a dedicated brake cleaner. This type of cleaner is designed to evaporate quickly without leaving residue, making certain that your caliper and brake rotor stay free of any contaminants that could affect braking performance. Spray the cleaner liberally on the caliper, focusing on the areas where the brake pads sit and any moving parts.
Next, take a clean cloth or a soft-bristled brush to gently scrub the caliper. Pay special attention to the piston areas and the corners where brake dust and debris tend to accumulate. It's crucial not to use anything too abrasive, as this could damage the caliper's finish or the piston seals.
To engage you further, here's a quick comparison between the tools and techniques for caliper cleaning:
| Tool/Technique | Recommended Use |
|---|---|
| Brake Cleaner | Removing grease and brake dust |
| Soft-Bristled Brush | Loosening stubborn dirt |
| Clean Cloth | Wiping away residue |
Can I Change My Hope Brake Pads Myself?
Yes, changing brake pads is easy. With the right tools and a little know-how, you can replace your Hope brake pads yourself. Just make sure to follow the manufacturer’s instructions and take necessary safety precautions. With a little bit of effort, you can save money and get the job done.
Install New Pads
After ensuring your caliper is spotless, you're now ready to install the new Hope brake pads. This step is important for your bike's braking performance and safety, so you'll want to get it right. Here's a straightforward guide to help you through the process.
- Align the New Pads: Start by carefully aligning the new brake pads with the slots on the caliper. Make sure the pads are correctly oriented; most have a specific side that faces the rotor. If you're unsure, the pads usually have indicators or you can refer to the manufacturer's guide.
- Insert the Pads: Gently slide the pads into the caliper. They should fit snugly without forcing them. If they don't seem to fit, double-check their orientation and make sure you've chosen the correct pads for your model.
- Secure the Retention System: Once the pads are in place, you'll need to secure them. This typically involves a pin or a bolt that passes through the caliper and pads. Insert this retention system carefully and tighten it. Don't over-tighten, as this could damage the caliper or the pads.
- Reattach the Wheel: With the new pads securely in place, it's time to reattach the wheel. Make sure it's properly aligned in the frame or fork before tightening the axle. This ensures your brake pads and rotor align correctly, avoiding any unnecessary wear or noise.
Adjust and Test
Now that you've installed the new brake pads, it's critical to adjust them properly and conduct a thorough test to guarantee excellent performance.
Initially, you'll need to center the brake caliper over the rotor to make sure the brake pads are aligned correctly. Loosen the bolts holding the caliper in place, then squeeze the brake lever firmly. While holding the lever, retighten the bolts. This simple step centers the caliper, making sure the pads apply even pressure on the rotor.
Next, it's time to adjust the brake lever reach. This is how far the lever is from the handlebar, and it's essential for comfortable braking. Find the reach adjustment screw on the lever. Turn it clockwise to bring the lever closer to the handlebars, or counterclockwise to move it away. Adjust until you find a comfortable position where you can easily reach the lever without stretching your fingers.
Lastly, you've got to test the brakes to make sure they're working perfectly. To begin, spin the wheel and apply the brake to check for any rubbing. If there's friction, re-center the caliper. Then, take your bike for a slow test ride in a safe area, progressively applying more pressure to the brakes. Listen for any unusual noises and feel for consistent braking power. If everything feels right, try a few quick stops to really test the new pads.
Conclusion
So, you've successfully changed your Hope brake pads! By gathering your tools, removing the wheel, extracting the old pads, cleaning the caliper, and installing new pads, you've mastered the process.
Don't forget to adjust and test your brakes before hitting the trail again. This simple maintenance task can greatly improve your ride's safety and performance.
Remember, regular checks and replacements will keep your brakes responsive and your cycling adventures smooth. Ride on with confidence!