Changing your Hyundai Sonata's brake light involves several steps:
- Gather necessary tools.
- Access the light via the trunk.
- Carefully replace the bulb to avoid socket damage.
Preparation and Tools Needed
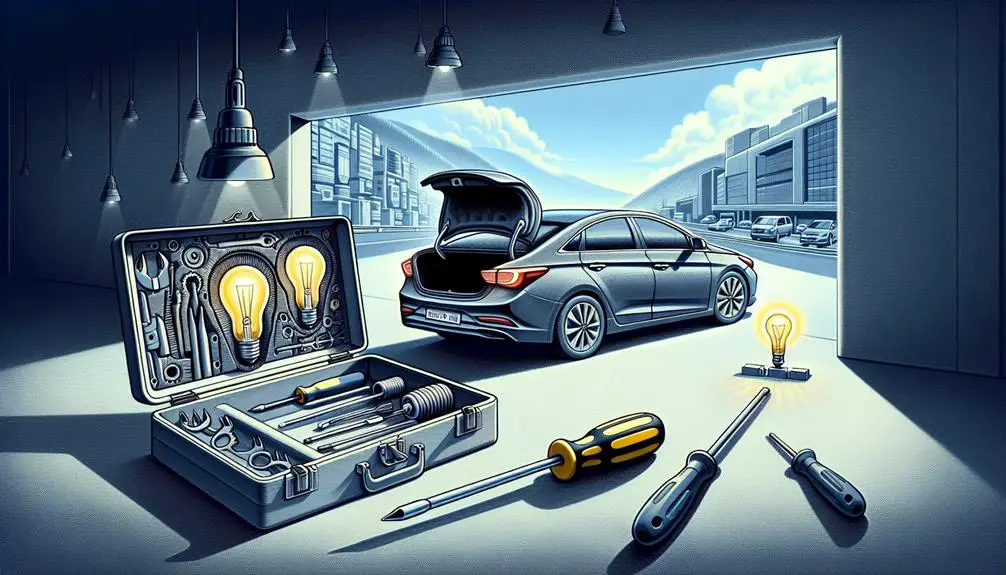
Before tackling the task of changing your Hyundai Sonata brake light, you'll need to gather a few important tools. First off, make sure you've got a replacement brake light bulb. You'll find the exact type specified in your car's manual; sticking to this guarantees you don't run into issues down the line.
Next up, you'll need a Phillips-head screwdriver. Most Hyundai Sonatas use this type of screw for securing the brake light housing, so having one on hand is vital. It's also a good idea to have a flat-head screwdriver. While not always necessary, it can be handy for gently prying open the housing without causing any damage.
Don't forget a pair of gloves. Handling bulbs with bare hands is a no-go since the oils from your skin can shorten the bulb's lifespan significantly. A clean, lint-free cloth should also be part of your toolkit. It's great for cleaning the housing and the new bulb before installation, ensuring the best clarity and light output.
Finally, make sure you have adequate lighting and a stable work surface. You might think you can rely on daylight or your garage lights, but having a portable, bright light can make a huge difference, especially if you're working in the evening or in a dimly lit area.
With these items ready, you're all set to start the process. Remember, preparation is key to a smooth, hassle-free replacement. So, take your time to gather everything before diving in.
Accessing the Brake Light
Having gathered all the necessary tools, it's time to start accessing the brake light on your Hyundai Sonata. This process might seem challenging at first, but with a step-by-step approach, you'll find it's quite straightforward. Remember, you'll be working near the rear of your car, so make sure it's parked on a flat surface and you've engaged the parking brake for safety.
To begin, open the trunk of your Sonata. You'll need to access the brake light from the inside of the trunk. Look for the trunk liner or panel that covers the backside of the brake light assembly. This liner is usually held in place by fasteners or clips that you can easily remove by hand or with a screwdriver, depending on your Sonata's model.
To create a vivid image in your mind, imagine you're doing the following:
- Peeling back the trunk liner: Carefully pull back the liner or panel to expose the back of the brake light assembly. You might hear the disengagement of clips or fasteners as you do this, which is normal.
- Identifying the brake light housing: Once you've exposed the brake light area, you'll see a housing with several bulbs. The brake light is typically located in this cluster. Look for the bulb that aligns with the brake light position on the outside.
- Observing the connector and fasteners: Notice the electrical connector leading to the brake light bulb and any fasteners securing the light assembly. You'll need to understand how these are arranged before proceeding to remove the old bulb.
Removing the Old Bulb
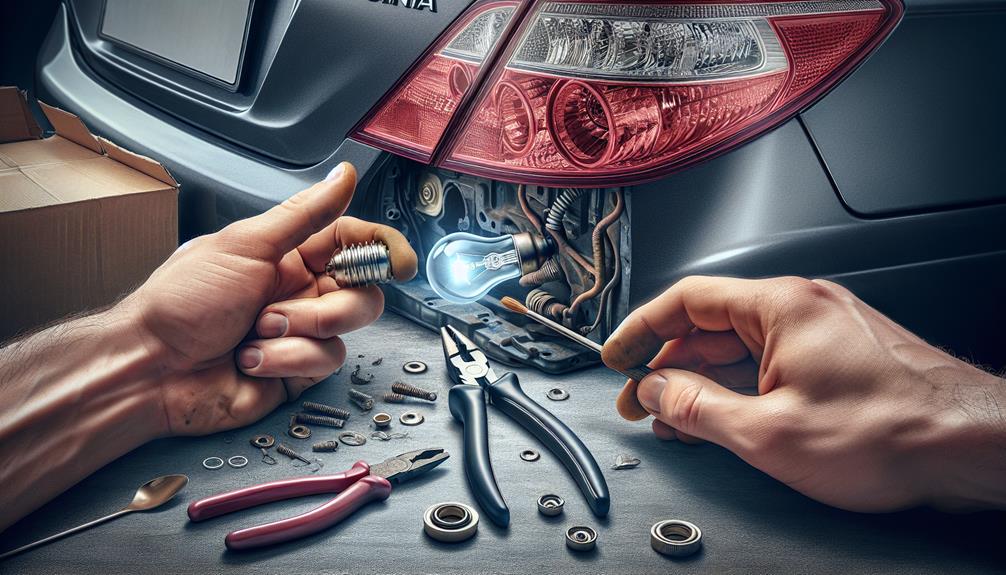
With the brake light housing now exposed, gently twist the old bulb counterclockwise to remove it from the socket. You'll notice that it doesn't require much force. If it feels stuck, make sure you're turning it the right way. Once it loosens, pull it straight out of the socket. There's no need to yank or use excessive force; it should slide out smoothly with a steady hand.
Before you move on to the next step, take a moment to inspect the socket itself. You're looking for any signs of corrosion or damage. If you spot any, it's important to address these issues before installing a new bulb. Corrosion can be cleaned with a bit of electrical contact cleaner and a small brush. However, if the damage is significant, you might need to replace the socket to guarantee a secure and effective connection.
Remember, handling the bulb with care is important. Even if you're removing an old bulb, breaking it can cause unnecessary hassle. If the bulb breaks, make sure you're wearing gloves to protect your hands from any sharp edges and clean up any debris thoroughly to avoid injury or damage to your vehicle.
Installing the New Bulb
Now it's time to install the new bulb by gently inserting it into the socket and twisting clockwise until it's securely in place. After removing the old bulb, you've prepped the area for the new one. It's important to handle the new bulb with care, avoiding touching the glass with your bare fingers, as oils from your skin can shorten the bulb's lifespan.
To make sure a smooth installation process, consider these three steps:
- Align the Bulb Properly: Before pushing it in, make sure the notches on the base of the bulb align with the grooves inside the socket. This might seem like a minor detail, but proper alignment ensures the bulb fits snugly and reduces the risk of damage.
- Apply Gentle Pressure: Once aligned, push the bulb into the socket gently but firmly until it's fully seated. You should feel a slight resistance as the bulb slides into place. This step requires a delicate balance—enough pressure to secure the bulb, but not so much that it breaks.
- Secure the Bulb: After insertion, twist the bulb clockwise. You'll feel the bulb lock into position, indicating it's correctly installed. Listen for a soft click or feel for a stop in motion, signaling the bulb is secure and won't wiggle loose over time.
Handling the bulb carefully and making sure it's properly secured are key to a successful installation. With the new bulb in place, you've completed an important step towards having fully functional brake lights on your Hyundai Sonata.
Testing and Final Checks

Before hitting the road, it's crucial you test the newly installed brake light to make sure it functions correctly. After all, you wouldn't want to compromise your safety or that of other drivers.
Begin by turning on the ignition without starting the engine. You don't need the car running for this test, but the electrical system should be active. Next, press the brake pedal and ask a friend or family member to confirm if the brake light illuminates. If you're alone, you can use a reflective surface, such as a garage door or a parked car, to see the light for yourself.
If the brake light doesn't turn on, double-check your installation. Make sure the bulb is correctly seated and the connector is firmly attached. It's also a wise idea to check the fuse related to the brake lights. A blown fuse could be the culprit, and replacing it might solve the problem.
Once the brake light is working, perform a quick visual inspection to make certain everything is in order. The light should be secure and free from any obstructions. Additionally, clean off any fingerprints or dirt from the installation process, as these can dim the light's brightness.
Lastly, remember to dispose of the old brake light bulb properly. Many auto parts stores recycle them, so consider dropping it off there.
Conclusion
Now that you've successfully installed the new brake light bulb in your Hyundai Sonata, give yourself a pat on the back.
You've prepared well, accessed, removed, and installed the bulb like a pro.
Don't forget to test the brake light to make sure it's working perfectly and do a final check to confirm everything is back in place.
You've saved yourself a trip to the mechanic and some cash.
Great job on keeping your Sonata safe and road-ready!