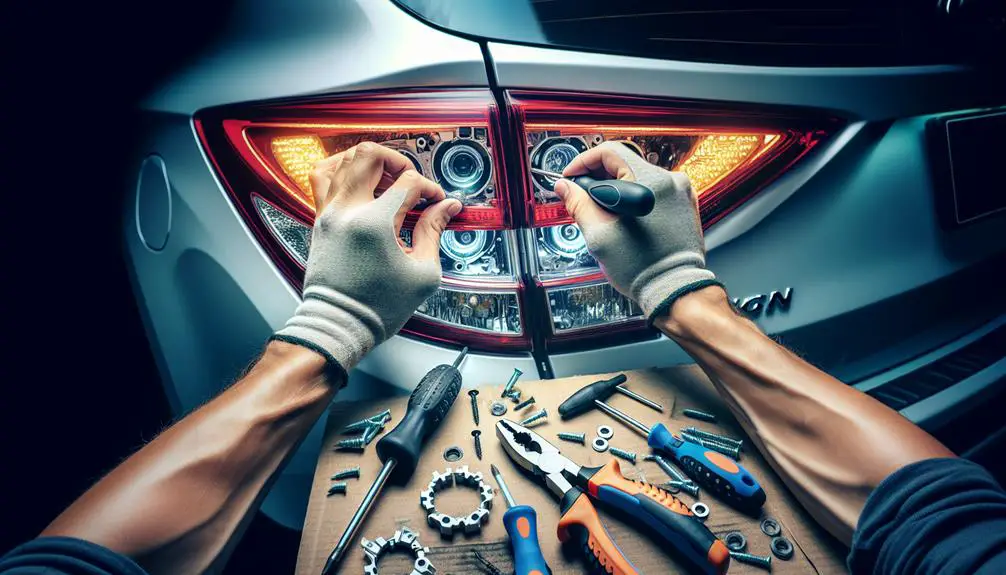
Replacing your Hyundai Tucson's brake light involves several steps:
- Identify the correct bulb
- Gather necessary tools
- Carefully remove the tail light assembly to ensure your safety on the road.
Identifying the Correct Bulb

Before replacing your Hyundai Tucson's brake light, it's essential to identify the correct bulb for your model. Hyundai Tucson models vary by year, and each may require a specific type of bulb. Diving into this task without verifying can lead you to buy the wrong replacement, wasting both time and money.
First, check your vehicle's manual. It's your go-to resource for accurate information on the bulb type needed for your specific Tucson model. The manual usually lists the bulb specifications, including wattage and bulb type, which are critical for ensuring the new bulb functions correctly and safely.
If you've misplaced your manual or it's not within reach, don't worry. You can find this information online as well. Hyundai's official website or trusted automotive parts retailers often have databases where you input your vehicle's year, make, and model to find the correct bulb. This method is quick and ensures you get a compatible replacement.
Another option is to remove the existing bulb and take it to an auto parts store. This way, you can compare it directly with replacements, ensuring a match. However, remember this approach is best complemented with prior research to avoid any mix-ups.
Identifying the right bulb isn't just about fitting; it's about safety and compatibility. Using the wrong bulb can lead to malfunctions or, worse, damage to your vehicle's electrical system. So, take a moment to confirm the correct bulb type. It's a simple step that significantly impacts the success of your brake light replacement project.
Gathering Necessary Tools
Having identified the correct bulb for your Hyundai Tucson, you'll need to gather a few vital tools to proceed with the replacement process. It's vital to be prepared before you start, as this guarantees a smooth and hassle-free experience. The tools required are quite common and you might already have them lying around your garage or home. If not, they're easily obtainable from any hardware store or auto parts shop. Remember, using the right tools not only makes the job easier but also prevents damage to your vehicle's components.
Here's a concise list of tools you'll need:
- Screwdriver set: You'll likely need both flathead and Phillips head screwdrivers. The exact size may vary, so having a set ensures you're prepared for any screws you might encounter.
- Plastic trim removal tools: These are vital for safely removing any plastic covers or trim without scratching or damaging them. Metal tools can be too harsh on your car's interior and exterior surfaces.
- Gloves: Working on a car can get messy, and there's always a risk of cutting yourself on sharp edges. A good pair of mechanic's gloves can protect your hands and provide a better grip.
Gathering these tools beforehand will streamline the bulb replacement process. Ensure you have a clean, well-lit workspace and all necessary tools within reach before you begin. This preparation won't only save time but also prevent any unnecessary back-and-forth searching for tools mid-task. Now, with everything in place, you're ready to move on to the next step of the replacement process.
Removing the Tail Light Assembly

To remove the tail light assembly from your Hyundai Tucson, make sure your vehicle is turned off and parked on a stable surface. Begin by opening your vehicle's rear hatch or trunk to access the tail light assembly from the inside. You'll likely find a cover or panel that needs to be removed to access the back of the tail light. This panel is typically secured with clips or screws. If it's clips, you can pop them off gently with a flathead screwdriver or a trim removal tool. If screws are holding the panel in place, use the appropriate screwdriver to take them out.
Once the cover is off, you'll see the back of the tail light assembly. Here, there are usually one or more bolts or nuts securing the tail light to the vehicle's body. These can be removed with a socket wrench. Pay attention to the size of the socket you need, as using the wrong size can strip the bolts or nuts.
With the fasteners removed, gently push the tail light assembly towards the outside of the car to dislodge it from its mount. Be mindful as there are often tabs or pins that help secure the tail light in place, and you don't want to break these.
Before fully removing the tail light assembly, you must disconnect any electrical connectors that power the tail light. These connectors typically have a tab that you press down to release them. With the connectors detached, you can now carefully remove the tail light assembly from your Hyundai Tucson.
Replacing the Brake Light
Once you've successfully removed the tail light assembly from your Hyundai Tucson, it's time to focus on replacing the brake light. This process is straightforward, but it requires careful handling to make sure everything goes smoothly and you don't damage the new bulb or assembly.
To begin with, you need to identify the brake light bulb. It's usually the largest bulb within the assembly and positioned in a way that aligns with the brake light area on the outside casing. Once you've located the bulb, it's time to remove it. Most Hyundai Tucson models will have a simple twist-and-pull mechanism for bulb removal. Gently turn the bulb holder counterclockwise to release it from the assembly, and pull it out. Be careful not to use excessive force.
Now, it's time to insert the new brake light bulb. Before you do, make sure your hands are clean to avoid transferring grease or dirt onto the new bulb, which can impact its longevity and performance. Carefully insert the new bulb into the holder, then align it back into the tail light assembly. Twist it clockwise until it locks into place. Make sure it's secure and properly aligned to prevent any issues once reinstalled.
To paint a picture, here are the key steps in bullet form:
- *Locate the brake light bulb within the assembly.*
- *Remove the old bulb by turning the holder counterclockwise and pulling it out.*
- *Insert the new bulb into the holder, then twist it clockwise to secure it in the assembly.*
That's it! You've successfully replaced the brake light on your Hyundai Tucson.
Testing the New Brake Light

Now that you've installed the new brake light bulb, it's vital to test it to make sure it works properly. This step is important to guarantee your safety and that of other drivers on the road. Here's how to do just that, without any hassle.
To begin, you'll need an assistant to help you with this task. Position them at the rear of your Hyundai Tucson so they can have a clear view of the brake light. Once you're both ready, turn the ignition to the 'on' position, but there's no need to start the engine. Press the brake pedal down and ask your assistant to confirm if the light illuminates. If it does, congratulations, you've successfully replaced and tested your brake light!
However, if the light doesn't turn on, don't worry just yet. Check to make sure the bulb is properly installed and that it's the correct type for your model. Also, inspect the fuse related to the brake lights in your vehicle's fuse box. A blown fuse could be the culprit behind the malfunction. If the issue persists, it might be a more complex electrical problem, and consulting a professional might be your best bet.
Conclusion
Congratulations! You've successfully changed your Hyundai Tucson's brake light.
By identifying the correct bulb, gathering the necessary tools, carefully removing the tail light assembly, and replacing the brake light, you've guaranteed your vehicle remains safe and visible on the road.
Don't forget to test the new brake light to confirm it's working properly.
Your diligence not only maintains your car's functionality but also contributes to road safety for everyone.
Well done on tackling this task with ease!