Checking the power to a blower motor involves several steps:
- Gathering tools
- Locating the motor
- Testing the power supply
- Inspecting the fuse
- Checking the relay functionality
These steps are essential to ensure your HVAC system operates smoothly.
Gather Necessary Tools
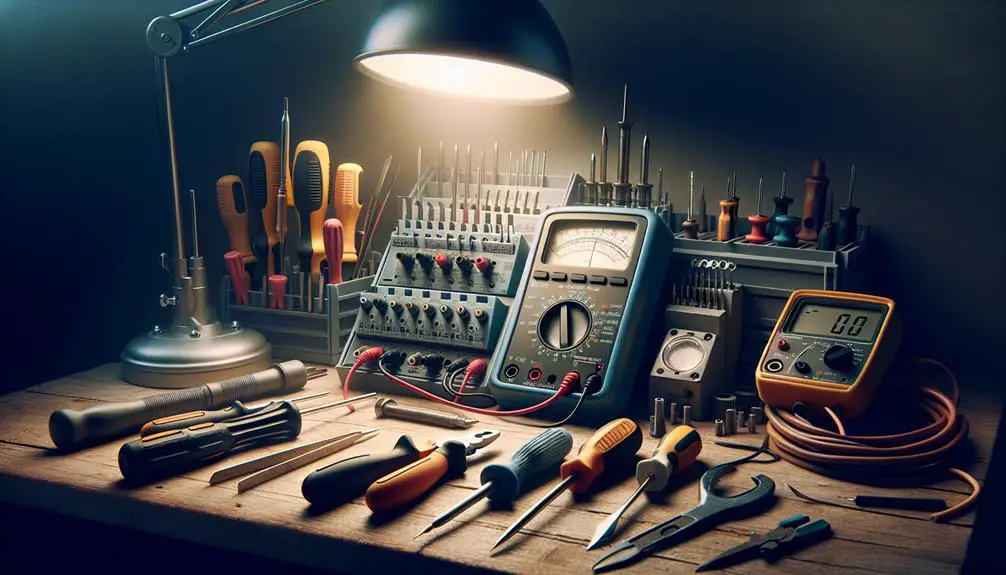
Before checking the power to your blower motor, gather the necessary tools including a multimeter, screwdriver, and safety equipment. You're about to delve into a task that requires precision and safety, so it's important you're well-prepared.
Let's start with the multimeter. You'll need this to measure voltage and make sure power is actually reaching your blower motor. If you don't have one already, consider investing in a digital multimeter for ease of reading and accuracy.
Next, you can't do much without a good screwdriver. You'll likely need both Phillips and flat-head types since screws in vehicle compartments can vary. Make sure they're in good condition and the right size to avoid stripping screws.
Safety equipment is non-negotiable. You're dealing with electricity, after all. Rubber gloves are a must to protect yourself from electrical shocks. Safety glasses are recommended to shield your eyes from any unexpected sparks or debris.
While it may be tempting to jump right in, taking the time to gather these tools ensures you're not only prepared but also safe. It's easy to overlook the importance of proper preparation, but having everything at hand streamlines the process.
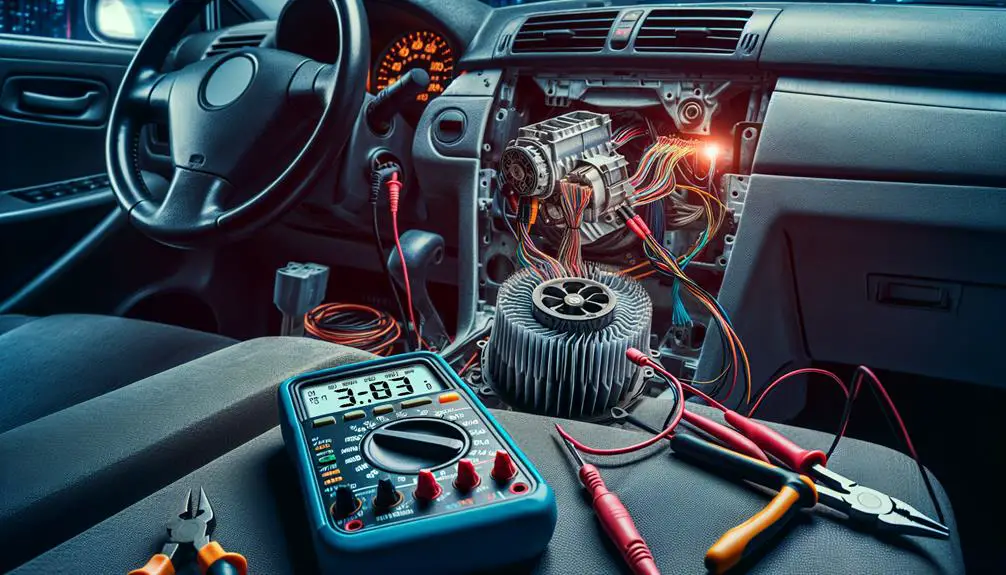
Locate the Blower Motor
Now that you have your tools ready, it's time to locate the blower motor in your vehicle.
Initially, you'll typically find the blower motor in the passenger compartment of your car, under the dashboard. However, the exact location can vary depending on your vehicle's make and model. For most cars, the blower motor is accessible from the passenger side, but in some cases, you might've to look under the glove compartment or even behind the center console.
To get to the blower motor, you may need to remove a panel or two. These panels are often secured with screws or clips. You'll want to keep track of these as you remove them to ensure a smooth reassembly process later on. Once you've removed the necessary panels, you should see the blower motor itself. It's usually a cylindrical component, often with a plastic fan attached.
Keep in mind, before you delve into this, it's a good idea to consult your vehicle's manual. It can provide you with specific details about the location of the blower motor and any peculiarities in accessing it. If you don't have a physical copy, many manufacturers offer their manuals online.
Test the Power Supply
To test the power supply to your blower motor, you'll need a multimeter set to measure voltage. This tool is important for diagnosing electrical issues accurately. Before you start, make sure your vehicle's ignition is turned off to avoid any electrical hazards. Locate the blower motor's power connector, which you found in the previous steps.
Now, set your multimeter to the DC voltage setting that suits your vehicle's system—usually 12V for most cars. Attach the multimeter's red probe to the power wire in the connector—often a red or yellow wire—and the black probe to a good ground point. A suitable ground point can be any metal part of the car's frame or engine that's not painted.
Turn the ignition key to the 'ON' position but don't start the engine. This will activate the electrical system without putting the rest of the vehicle's systems under load. Look at the multimeter's display. If everything's working properly, you should see a reading close to 12 volts, indicating that power is reaching the blower motor.
If the reading is considerably lower than 12 volts or if there's no reading at all, there's an issue with the power supply to the blower motor. This could be because of a variety of reasons, but it's important not to jump to conclusions. Remember, electrical diagnostics require methodical testing to isolate the problem accurately. You've now successfully checked the power supply to your blower motor, and you can proceed with further diagnostics based on your findings.
Inspect the Fuse
Having checked the power supply to your blower motor, the next step involves inspecting the fuse for any signs of damage or failure. This is important because a blown fuse is a common culprit behind a non-functioning blower motor. Fuses are designed to protect electrical components by breaking the circuit if the current flow exceeds a safe level, preventing damage to your vehicle's electrical system.
Here's how you can inspect the fuse effectively:
- Locate the Fuse Box: Initially, you need to find the fuse box in your vehicle. It's typically located under the dashboard on the driver's side, in the glove box, or under the hood. Refer to your vehicle's manual for the exact location and the specific fuse diagram to identify the blower motor fuse.
- Inspect the Fuse: Once you've located the blower motor fuse, carefully remove it from the fuse box. Look for any signs of damage, such as a broken wire inside the fuse or discoloration. A good fuse will have a continuous wire running through it, whereas a blown fuse will appear broken or burned.
- Test with a Multimeter: For a more thorough check, use a multimeter set to the continuity setting. Touch the multimeter probes to the ends of the fuse. A good fuse will show a continuity reading, indicating the electrical path is intact. No reading means the fuse is blown and needs replacement.
Check the Relay Functionality
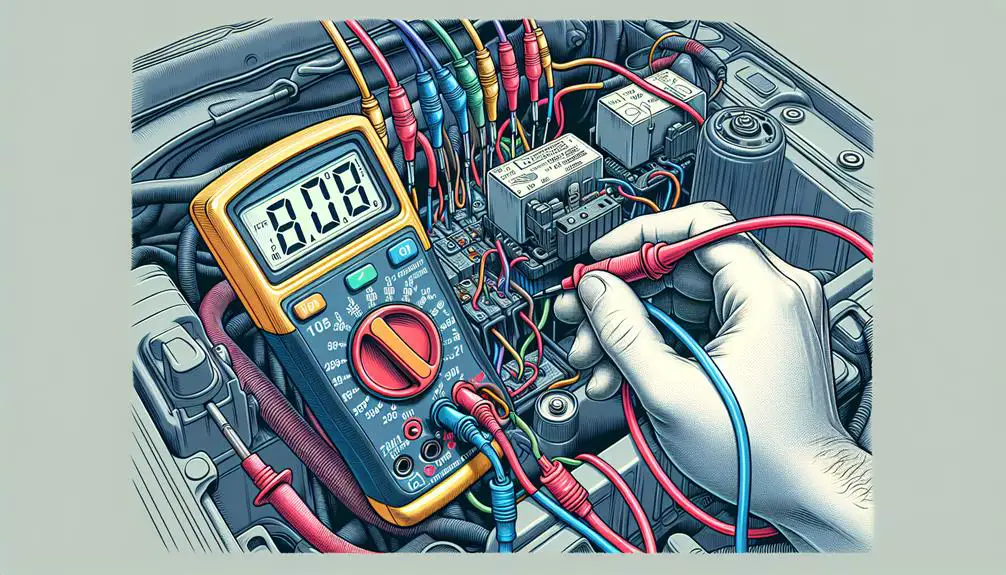
After inspecting the fuse, the next step is to check the relay functionality to make sure it's properly powering the blower motor. The relay is a vital component that acts as a switch, controlling the power supplied to the blower motor. If the relay's not working, your blower motor won't receive the power it needs to operate.
Initially, you'll need to locate the relay. It's usually found in the fuse box or near the blower motor itself. Once you've found it, you can test its functionality. You'll need a multimeter for this task. Set your multimeter to the ohm setting and check for continuity by placing the probes on the relay's terminals. If you don't see a reading, it means there's no continuity, and the relay is likely faulty.
Another way to test the relay is by tapping it lightly. Sometimes, relays can stick, and a gentle tap can free them up. However, if the relay still doesn't work after tapping, it's probably damaged and needs to be replaced.
Don't forget to listen for a clicking sound when you turn on the blower motor switch. This sound indicates the relay is functioning and trying to send power to the blower motor. No sound could mean the relay isn't activating, which often points to a fault within the relay itself.
Conclusion
Now you've got the know-how to check power to your blower motor.
Initially, you gathered the right tools, then located the blower motor itself.
You've tested the power supply, inspected the fuse, and checked the relay's functionality.
Remember, tackling each step methodically is key to diagnosing any issues.
If you're still facing problems, it might be time to consult a professional.
But give yourself a pat on the back; you're now more equipped to handle your blower motor woes.