Fixing a bad wheel bearing involves several key steps:
- Identifying the problem by listening for unusual noises or feeling vibrations while driving.
- Gathering the right tools, which typically include a jack, jack stands, lug wrench, and a socket set.
- Accurately replacing the bearing by following the manufacturer's instructions and ensuring proper seating and torque.
- Avoiding common pitfalls such as over-tightening the bearing or not properly securing the wheel after the replacement.
Identifying Bad Wheel Bearings
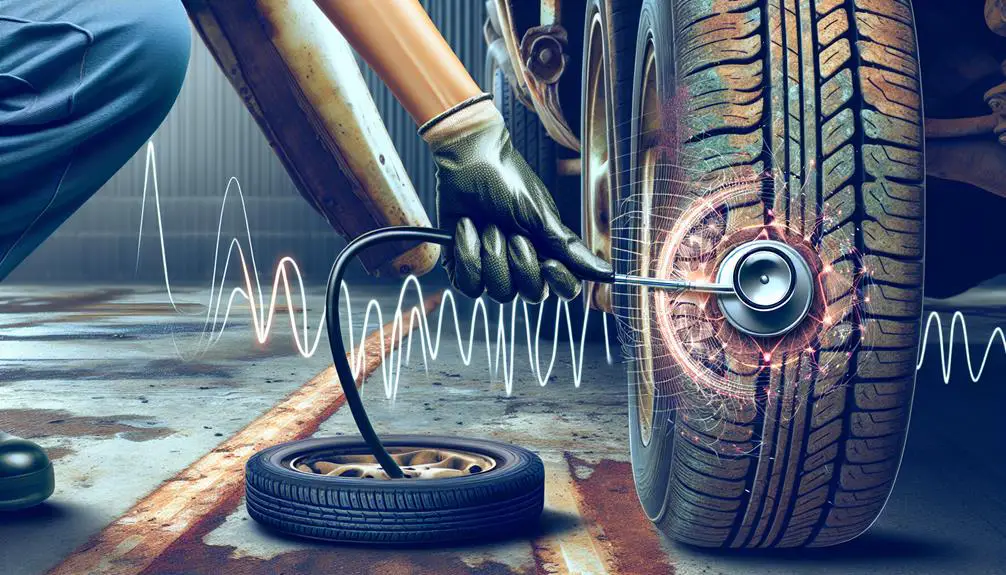
Recognizing faulty wheel bearings early can save you from potential hazards and costly repairs down the line. You've got to be vigilant and know the signs that scream 'trouble.' One of the first signs you'll likely notice is a distinct humming or grinding noise coming from your vehicle's wheels. This sound typically gets louder as you accelerate, signaling that your wheel bearings are crying out for attention.
Another tell-tale sign is when your car's handling feels off. If you find your vehicle veering slightly to one side without any input from you, don't brush it off. This could mean your wheel bearings are worn and affecting your ride's alignment. Also, pay attention to any vibrations that seem to originate from the wheels. These vibrations often become more noticeable as you pick up speed and are a direct result of irregularities in the wheel bearing surfaces.
You might also experience a loose feeling in your steering. This isn't about your steering wheel physically shaking (though it might), but more about a general lack of precision and responsiveness when you turn the wheel. It's your car's way of saying the wheel bearings aren't holding things together as tightly as they should.
Lastly, if you're up for it, conducting a physical check can offer definitive proof. Jack up your car and wiggle the wheel back and forth. Any noticeable play or movement could indicate a failing wheel bearing. Remember, catching these signs early can immensely reduce your risk of a breakdown or accident, also save you money in repairs down the road.
Gathering Necessary Tools
Now that you know the signs of bad wheel bearings, let's focus on gathering the tools you'll need for the repair. Tackling this task yourself can save you a bundle, but it's important to be prepared. Without the right tools, you might find yourself stuck mid-repair. So, let's make sure you've got everything ready before you plunge in.
First off, a high-quality socket set is vital. You'll be dealing with a variety of nuts and bolts, and having a complete set guarantees you won't be scrambling for the right size at a critical moment. Next, a torque wrench is a must-have. Wheel bearings need to be tightened to specific torque specifications to guarantee safety and proper function. Guesswork just won't cut it here.
Now, let's not forget about the importance of a good jack and a pair of jack stands. Safety foremost, always. You'll be working under your vehicle, so making sure it's securely lifted is non-negotiable. Lastly, a screwdriver set and a pair of pliers will come in handy for removing any clips or caps.
To sum up, here's a quick checklist to confirm you're all set:
- High-quality socket set
- Torque wrench
- Jack and jack stands
- Screwdriver set and pliers
With these tools at your disposal, you're well on your way to tackling those wheel bearings like a pro. Remember, preparation is important, and having the right tools for the job makes all the difference.
Removing the Wheel
With your tools ready, it's time to plunge into removing the wheel from your vehicle. Start by ensuring your car is parked on a flat, stable surface to prevent it from rolling. If you've got a manual transmission, put it in gear, and for an automatic, set it to park. Engage the parking brake for an extra layer of security.
Next, you'll need to loosen the lug nuts on the wheel you're working on, but don't remove them completely just yet. It's easier to break the initial resistance when the wheel is on the ground since it won't spin. Use the lug wrench from your toolkit and apply firm pressure. Sometimes, you might need to use your foot or a piece of pipe for extra leverage.
Now, it's time to lift the car. Position the jack under the car's designated lift point. If you're unsure where that is, check the owner's manual. Slowly raise the vehicle until the wheel is off the ground. With the car securely supported, you can now finish unscrewing the lug nuts. Keep them in a safe place—you'll need them later.
Gently pull the wheel towards you to remove it from the hub. It might require a bit of wiggling if it's stuck. Be careful to handle the wheel with both hands to avoid dropping it on your feet or causing damage.
With the wheel removed, you've cleared the path to the heart of the matter. But remember, we're not plunging into replacing the bearing just yet. That's a story for another time.
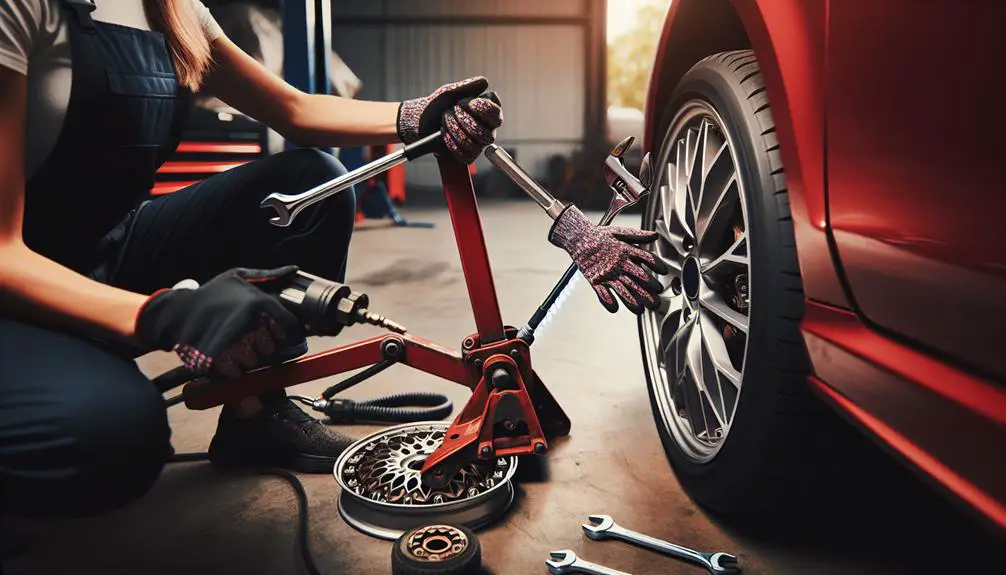
Replacing the Bearing
Having removed the wheel, it's time to focus on replacing the bad bearing. This process is critical for making sure your vehicle runs smoothly and safely. You'll need to handle the old bearing with care and install the new one correctly to avoid any future issues.
Initially, you'll need to locate the hub assembly and remove the old bearing. This might require some elbow grease and the right tools. A hammer and a screwdriver can be useful for prying out the old bearing, but be gentle to avoid damaging the hub.
Once the old bearing is out, it's important to inspect the hub for any signs of damage or wear. If the hub is damaged, replacing the bearing won't fix the underlying issue, and you might need to replace the hub assembly as well.
Here's what you should focus on next:
- Clean the hub: Make sure the area is free of debris and rust. This will ensure a smooth installation process and optimal contact between the hub and the new bearing.
- Lubricate: Apply a generous amount of high-quality grease to the new bearing and the hub. This reduces friction and wear, prolonging the life of the bearing.
- Install the new bearing: Carefully press the new bearing into the hub. Make sure it's seated properly and evenly to avoid any imbalance or misalignment.
- Secure the bearing: Once the new bearing is in place, reattach any retaining clips or screws that were removed during the disassembly process. This will keep the bearing secure and prevent it from shifting while driving.
Testing After Repair

Once you've replaced the bearing, it's essential to test your vehicle to make sure everything functions as it should. You don't want to find out the hard way that something's still not right. Here's how you can do a thorough check to ensure your repair was successful.
Firstly, start with a visual inspection. Make sure everything's been put back in place correctly and that there are no tools left under the hood or in the wheel well. It's easy to overlook something small that can lead to big problems later on.
Next, it's time for a road test. Start slowly, paying close attention to any unusual noises or vibrations. Gradually increase your speed, and be mindful of how your vehicle handles. If something feels off, it's better to check it out sooner rather than later.
Finally, consider doing a follow-up check after a few days of driving. This will help you catch any issues that weren't apparent during the initial test.
To make this process easier to remember, here's a quick table:
| Step | What to Do | Why It's Important |
|---|---|---|
| Visual Check | Ensure everything is in place. | Prevents future problems. |
| Road Test | Listen for noises, feel for vibes. | Confirms the repair was successful. |
| Follow-Up | Reinspect after a few days. | Catches delayed issues. |
Conclusion
Now that you've tackled replacing a bad wheel bearing, you're set to enjoy smoother, safer drives. Remember, diagnosing the issue early and gathering the right tools make all the difference. Whether it was your first time or you're a seasoned DIYer, pat yourself on the back.
Testing after the repair ensure everything's in top shape. Keep this guide handy for future reference, and don't hesitate to take on more car maintenance tasks. You've got this!