Replace your vehicle's cabin air filter regularly
to maintain air conditioning efficiency
and ensure clean air within the car.
Identify the Problem
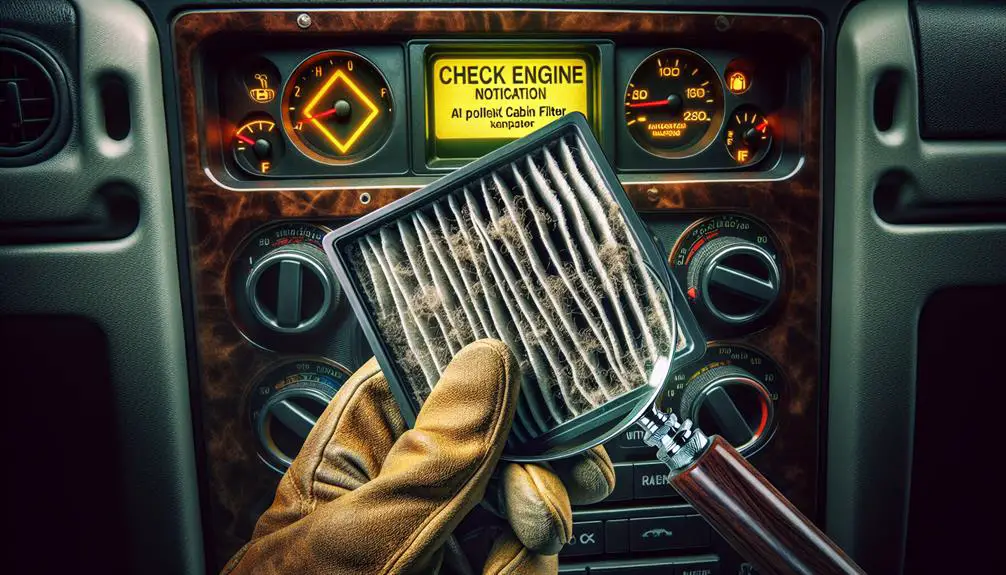
Before tackling the repair, you need to accurately diagnose issues with your cabin air filter, such as reduced airflow or unusual odors, indicating it's time for a replacement. Recognizing filter symptoms early can save you from more significant air quality problems inside your vehicle.
To start, pay attention to the air flow coming through your vents. When the filter clogs, it restricts the air, making your HVAC system work harder. This inefficiency often displays as less air coming through your vents, an initial sign it's time to check the filter.
Next, unusual odors are a clear indicator of a dirty cabin air filter. Over time, filters trap pollutants, dust, and even organic material, which can decompose and emit unpleasant smells. If you notice a musty or moldy scent when you turn on the air conditioning or heater, it's likely your cabin air filter needs attention.
These symptoms directly impact the air quality inside your vehicle, affecting your comfort and health. By staying vigilant and recognizing these early signs, you'll make sure the air you're breathing while driving is clean and safe. Remember, a well-maintained cabin air filter is key to preserving top-notch air quality in your car.
Locate Your Filter
Typically, you'll find the cabin air filter located behind the glove box or under the dashboard on the passenger side, necessitating a bit of disassembly for access. This location can vary slightly depending on your vehicle's make and model, so consulting your owner's manual is a vital initial step. The manual will provide specific instructions on how to access the filter, which can save you time and prevent unnecessary removal of parts.
Grasping the filter lifespan is vital in maintaining ideal air quality inside your car. Most manufacturers recommend replacing the cabin air filter every 12,000 to 15,000 miles, but this can vary based on your driving conditions. Regular checks can help you determine if it's time for a replacement sooner.
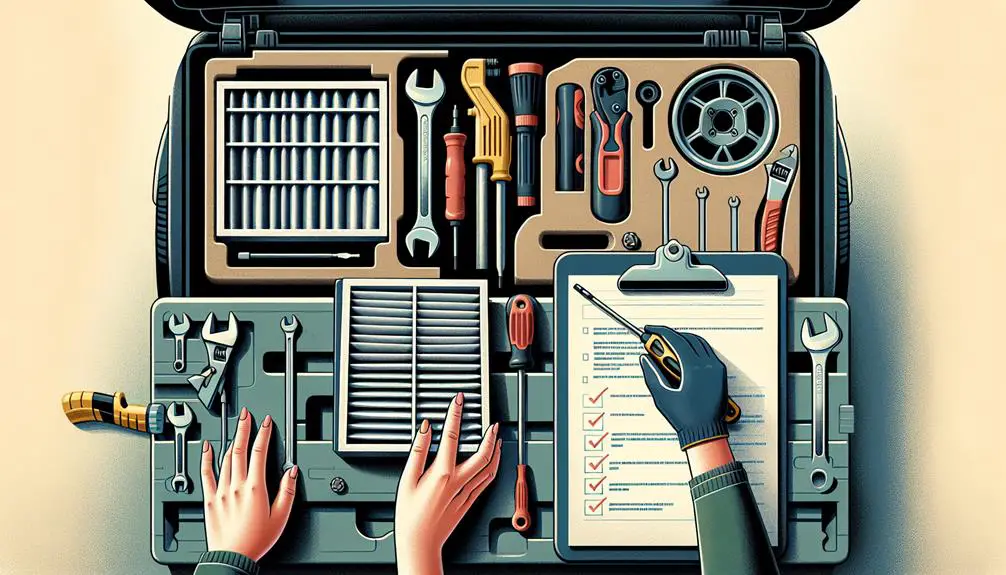
Considering installation costs, doing the job yourself can greatly reduce expenses. Professional service fees can add up, especially if the filter is located in a hard-to-reach area. Armed with your vehicle's manual and basic tools, you can undertake this task with confidence. Remember, the goal is to guarantee clean air circulates within your vehicle, enhancing the comfort and health of all passengers.
Remove the Old Filter

Having located your cabin air filter as outlined in your vehicle's manual, you're now ready to remove the old filter. First, ensure your car is turned off and keys are removed from the ignition to prevent any accidental activation of the fan or other components. Carefully open the filter compartment, which might require you to unclip or unscrew its cover depending on your vehicle's model.
Gently pull the old filter out. While doing so, pay attention to its orientation to make reinstalling a new one easier. This is crucial as filters are designed to fit in a specific direction for optimal airflow and filtration.
As you remove the filter, you'll encounter various filter types, each requiring specific disposal methods. Here's a brief overview:
| Filter Types | Disposal Methods |
|---|---|
| Paper/Cardboard | Recycle if clean |
| Activated Carbon | General waste |
| Polyurethane Foam | Check local regulations |
Dispose of the old filter according to its type. If unsure, refer to local disposal regulations to ensure environmentally friendly practices. Now that you've successfully removed the old filter, you're one step closer to breathing cleaner air in your vehicle.
Install the New Filter
With your old cabin air filter now removed, it's time to install the new one, making sure the airflow direction arrow aligns with your vehicle's system. It's essential to match the filter types; whether your vehicle uses particulate or activated carbon filters, the replacement must be the same type to guarantee compatibility and efficiency.
Begin by gently taking the new filter in your hands. Observe the edges for any specific notches or guides that correspond with the housing—it's these small details that ensure a snug, correct fit. Installation tools are typically not required for this step, but having a flashlight can help you see inside the dark compartment, ensuring the filter sits perfectly without any forced adjustments.
Slide the filter into the housing, paying close attention to the airflow direction. The arrow on the filter should point in the same direction as the airflow in your vehicle's system. This is usually towards the back of the car but refer to your vehicle's manual to be certain. Once in place, it should fit securely without any gaps around the edges. Make sure it's seated properly; a misaligned filter can compromise the system's efficiency and allow pollutants to enter the cabin.
Maintenance Tips
To guarantee your cabin air filter continues to operate efficiently, regularly check and replace it according to your vehicle's maintenance schedule. Understanding your filter's lifespan is critical to maintaining a healthy, allergen-free environment inside your car. Typically, a cabin air filter should be replaced every 12,000 to 15,000 miles, but this can vary based on driving conditions and vehicle make and model.
For allergy reduction, it's necessary to keep your filter clean. Pollen, dust, and other airborne particles can accumulate over time, reducing air quality and filter effectiveness. If you're driving in high-pollution areas or during allergy season, you may need to replace your filter more frequently to ensure the air inside your car remains clean.
Inspecting your cabin air filter for debris and damage should become a part of your regular vehicle maintenance routine. If the filter appears dirty, clogged, or damaged, replace it immediately to prevent compromised air quality and potential damage to your vehicle's HVAC system.
Conclusion
Now that you've successfully identified the issue, located, and replaced your cabin air filter, it's vital to keep up with regular maintenance. Check the filter every 12,000 to 15,000 miles, or as recommended by your vehicle's manufacturer.
Remember, a clean filter guarantees top-notch air quality and keeps your vehicle's HVAC system running smoothly. By following these detailed steps and maintenance tips, you've taken a significant step towards enhancing your driving experience and vehicle upkeep.