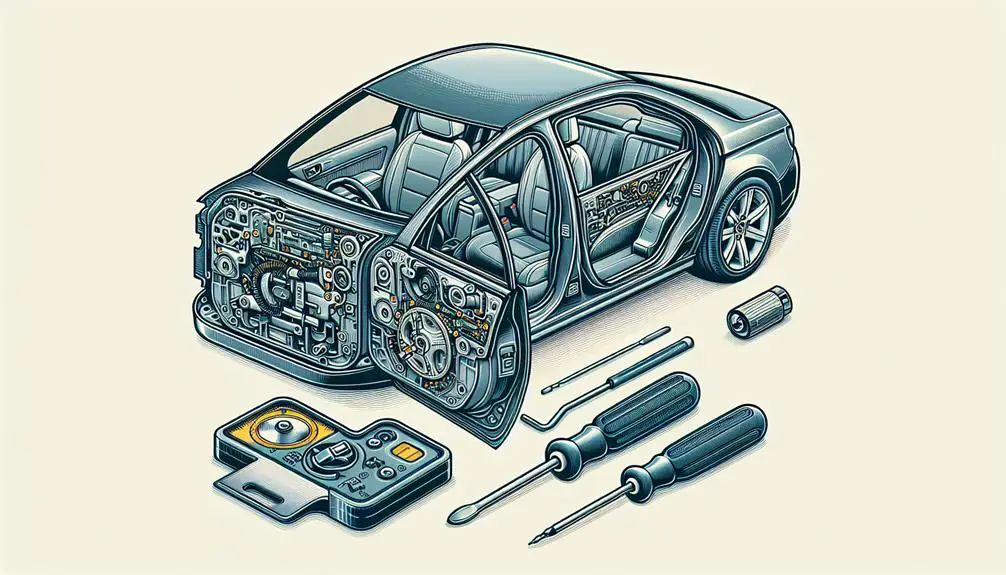
To fix a Hyundai door handle, you need to first identify the problem. Once you have determined the issue, gather all the necessary tools for the job. After that, remove the door panel carefully to access the handle. Then, proceed to either fix the existing handle or replace it with a new one. Finally, reassemble the door by putting back the door panel and ensuring everything is secured in place.
This process involves a series of steps to effectively repair a Hyundai door handle. Make sure to follow each step methodically and with caution to successfully complete the repair.
Identifying the Issue
Before tackling the repair, it's critical to accurately diagnose the specific problem with your Hyundai's door handle. Start by carefully examining the handle's movement. If you're encountering resistance or squeaking, it could indicate a need for door lubrication. This issue often stems from dirt accumulation or aging mechanisms, both easily remedied with the right approach.
Next, consider the handle's responsiveness. A lack of response upon pulling could signify a disconnection or breakage within the door's internal mechanism. This requires a more in-depth investigation to pinpoint the exact fault.
Don't overlook the possibility of a warranty covering your Hyundai's door handle issue. Review your vehicle's warranty terms to determine if the repair might be covered. Warranty options can vary significantly, with some policies offering thorough coverage that includes door handle repairs, while others may not. Identifying the problem accurately not only helps in applying the correct fix but in making an informed decision about utilizing warranty services if available.
Being methodical in your approach ensures you're addressing the correct issue without unnecessary effort or expense.
Gathering Necessary Tools
Having identified the specific issue with your Hyundai's door handle, it's now time to gather the necessary tools for the repair. First and foremost, prioritize safety precautions. Make sure you've got durable gloves to protect your hands and safety glasses to shield your eyes from any unforeseen hazards. A well-maintained set of screwdrivers, both flathead and Phillips, is important, as they'll allow you to tackle screws of varying sizes.
Next, you'll need a set of plastic pry tools. These are important for removing parts without causing damage to your car's interior. Remember, tool maintenance is key; always check your tools for wear and tear before starting any repair. A torque wrench will be valuable to make sure that all bolts are tightened to the manufacturer's specifications. Don't overlook the importance of a flashlight or headlamp to illuminate those hard-to-see areas.
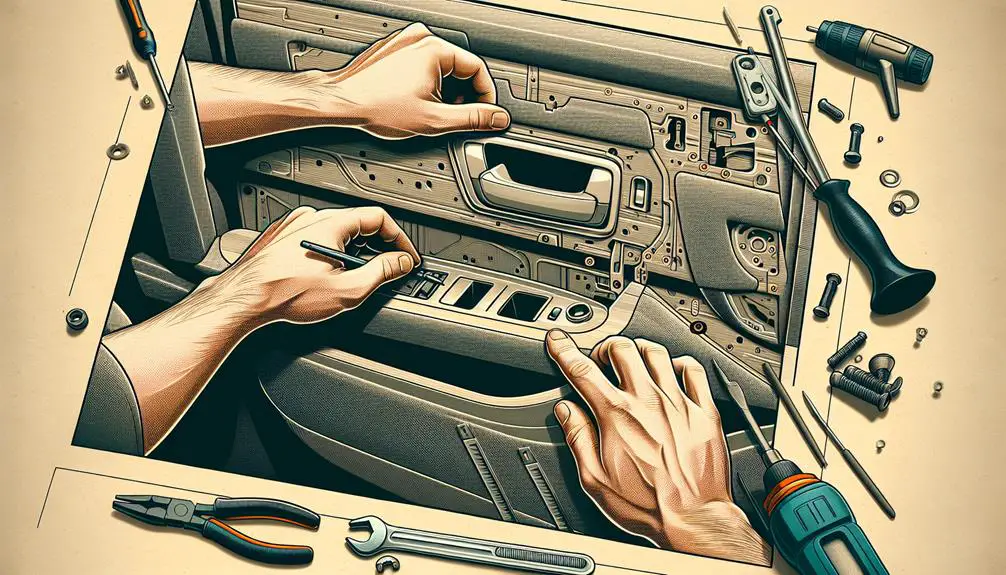
Removing the Door Panel

To start removing the door panel, you'll initially need to locate and unscrew all visible screws using your Phillips screwdriver. This is a critical step in preserving door aesthetics while allowing access to the mechanism and parts that require repair or lubrication.
Here are the next steps to follow in a methodical manner:
- Gently Pry the Panel: Using a flat tool or a panel removal tool, carefully pry the panel away from the door frame. Start from the bottom and work your way around, being mindful not to damage the clips or the panel itself. This step requires patience to ensure the integrity of the door aesthetics is maintained.
- Disconnect Electrical Connectors: If your Hyundai has power windows or door locks, you'll find electrical connectors attached to the panel. Gently disconnect these, taking note of their placement for proper reconnection later.
- Lubrication Techniques: Before setting the panel aside, inspect the window and lock mechanisms for any signs of wear. This is an opportune moment to apply lubrication techniques to ensure smooth operation. Use a suitable lubricant, applying it sparingly to moving parts and joints.
Following these steps with precision will lead to successful removal of the door panel, setting the stage for the next phases of repair without compromising door aesthetics.
Fixing or Replacing the Handle
With the door panel removed, you'll now focus on addressing the issue with your Hyundai's door handle, determining whether repair or replacement is necessary. Firstly, assess the handle's condition meticulously. Handle durability is paramount for your vehicle's accessibility and security. If the handle is cracked or severely damaged, you'll lean towards replacement. However, minor issues such as loose screws or alignment problems might only require a quick fix.
Before proceeding, check your Hyundai's warranty coverage. Some components, including door handles, might be covered under your vehicle's warranty, offering a cost-effective solution. If warranty coverage applies, contact an authorized dealer for the repair or replacement to ensure compatibility and maintain warranty validity.
If handling the issue yourself, select a replacement handle that matches your Hyundai's specifications for a seamless fit. Quality and durability should guide your choice to avoid future replacements. Carefully remove the damaged handle, keeping track of any small parts or screws, and then install the new handle with precision, ensuring it's securely fastened and operates smoothly.
Reassembling the Door
Once you've installed the new handle, it's time to reassemble your Hyundai's door panel carefully, ensuring every component is correctly aligned and secured. This phase is important for both the functionality and the appearance of the door. Follow these technical steps with precision to guarantee a smooth reassembly:
- Sealant Application:
- Begin with the application of a weatherproof sealant around the perimeter where the door panel meets the frame. This is important to prevent moisture from entering the door cavity, which could lead to corrosion or electrical issues. Apply the sealant evenly, making sure there are no gaps or bubbles that could compromise the seal.
- Window Alignment:
- Next, check the alignment of the window. It's important that the window moves freely without any obstruction. If the window was removed or dislodged during the handle replacement, realign it carefully. Ensure that the window tracks are clean and lubricated, if necessary, to help smooth operation.
- Reattachment of the Door Panel:
- Lastly, align the door panel with the frame, making sure all clips and screws are in their proper place. Start by attaching the panel at the top, near the window, and work your way down, pressing firmly to engage the clips. Tighten all screws securely, but be careful not to over-tighten and strip them.
Reassembling your Hyundai's door requires attention to detail, especially during sealant application and window alignment, to guarantee a durable and functional repair.
Conclusion
After identifying the issue and gathering the necessary tools, you've successfully removed the door panel to access the handle. Whether you fixed the existing handle or replaced it with a new one, you've tackled the problem methodically.
Reassembling the door, make sure each component is securely in place and functions smoothly. Your precise, step-by-step approach has restored the functionality and reliability of your Hyundai's door handle, underlining the importance of a methodical and technical approach to car maintenance and repair.