- First, remove the screws and clips holding the door panel in place.
- Next, gently pry off the door panel to access the inner workings of the door.
- Locate the door handle mechanism and disconnect any rods or cables attached to it.
- Remove the broken handle and replace it with a new one.
- Reattach any rods or cables to the new handle and test its functionality.
- Finally, reattach the door panel by securing the screws and clips back in place.
This process may vary slightly depending on the model year of your Hyundai Elantra, so it's recommended to consult the vehicle's manual for specific instructions.
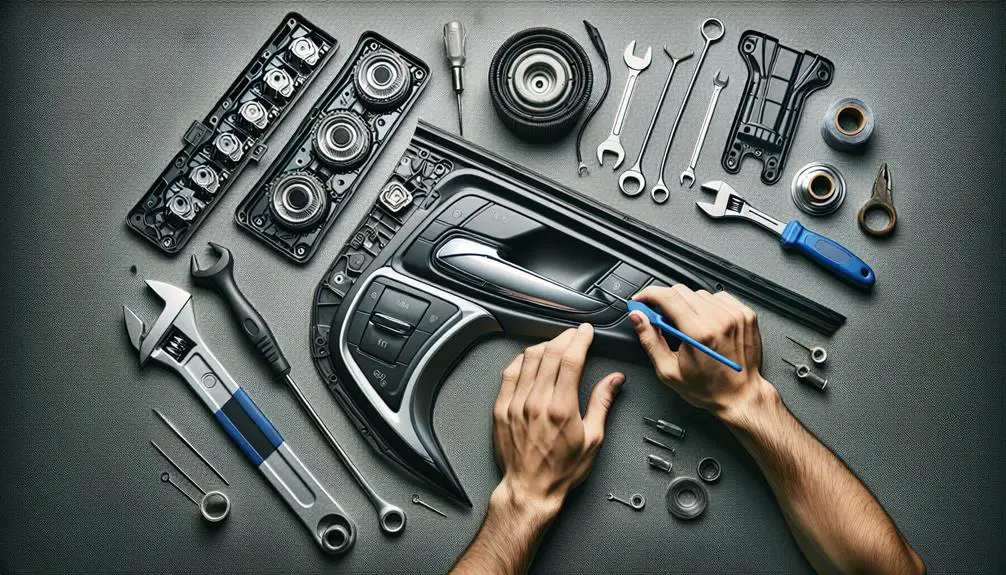
Required Tools and Materials

Gathering the right tools and materials is the initial step in fixing your Hyundai Elantra's door handle. You'll need a set of screwdrivers, a panel removal tool, and possibly a new door handle, depending on the extent of the damage.
Before diving into the repair, it's important to prioritize safety precautions. Always wear protective gloves to safeguard your hands from sharp edges and small components. Eye protection is advisable to prevent any debris from causing injury.
Ensuring your tools are in good condition is part of effective tool maintenance. Inspect your screwdrivers for wear and make sure the handles are securely attached to avoid accidents. The panel removal tool should be free from rust or damage to prevent it from breaking during use, which could cause unexpected injuries.
Removing the Door Panel
Having prepared your tools and safety gear, you're now ready to remove the door panel from your Hyundai Elantra. The initial step is to locate and remove any screws securing the panel to the door frame. Typically, you'll find screws in the door handle, near the bottom, and along the sides. Use a screwdriver or a drill with the appropriate bit to carefully remove these screws.
Next, you'll need to detach the door panel from the door frame. Start at the bottom corner and gently pry the panel away using a flat tool, like a panel removal tool or a flathead screwdriver. Work your way around the edges, taking care not to damage the clips that hold the panel in place. Once you've freed the edges, lift the panel upwards to unhook it from the top ledge.
Before completely removing the panel, disconnect any electrical connectors for the power windows, locks, or mirrors. Now, with the door panel off, you have access to the internals for door lubrication and can check the window alignment—critical steps for ensuring smooth operation once the door handle is fixed.
Accessing the Door Handle Mechanism

With the door panel removed, you'll now focus on uncovering the door handle mechanism by locating and removing the protective cover inside the door frame. This is a pivotal step in ensuring you have direct access to the components that may need door handle lubrication or troubleshooting. You're delving deeper into the technical domain, where precision is key.
Start by identifying the screws or clips that secure the protective cover. These are typically located around the perimeter of the steel door frame. Use a screwdriver or a clip removal tool, depending on what your model uses, to carefully detach the cover. Keep the screws or clips safe; you'll need them for reassembly.
Once the cover is off, you'll see the door handle mechanism in all its complexity. Pay close attention to how the mechanism is assembled. This insight is pivotal for both lubricating the moving parts and troubleshooting the locking mechanism. If you're dealing with a sticky door handle or a lock that's not engaging properly, this is where you'll find your answers.
Using a flashlight can help illuminate the work area, making it easier to spot signs of wear or damage. Remember, the goal here is to diagnose, not yet to replace. Keep your focus on comprehending the mechanism's operation and identifying any issues that need addressing.
Replacing the Door Handle
Once you've diagnosed the issue with your Hyundai Elantra's door handle mechanism, it's time to tackle the replacement process head-on. Replacing the door handle involves a careful selection of the new handle, making sure it meets both door handle aesthetics and handle durability concerns. Here's a methodical approach to guide you through:
| Step | Task | Notes |
|---|---|---|
| 1 | Remove the Old Handle | Make sure all connections are safely disconnected. |
| 2 | Compare New and Old Handles | Check for compatibility in aesthetics and durability. |
| 3 | Install the New Handle | Align accurately to avoid misfit. |
| 4 | Test the Handle | Validate functionality and durability before proceeding. |
Start by carefully removing the old handle, taking care to disconnect any mechanical or electronic connections associated with it. Next, compare the new handle with the old to make sure compatibility, paying close attention to aesthetics and durability concerns. It's important the new handle not only looks the part but is also built to withstand regular use.
Once satisfied, proceed to install the new handle. Make sure it's perfectly aligned and securely fastened to avoid any future issues. Lastly, conduct a thorough test of the handle's functionality to make sure it meets the expected standards of both operation and durability.
Reassembling the Door Panel
After installing the new door handle, it's crucial to reassemble the door panel carefully to make sure all components are correctly aligned and secured. Begin by inspecting the panel for any signs of wear or damage. If you've decided to refresh its appearance, now's the perfect time for painting. Follow specific painting tips for automotive interiors to guarantee a durable finish. Use painters tape to protect areas not being painted, and apply thin, even coats to avoid drips.
Next, prepare the door panel for reinstallation. Apply lubrication advice by using a suitable automotive lubricant on moving parts such as the lock mechanism and window track. This step ensures smooth operation and protects against rust and wear.
Align the door panel with the mounting holes on the door frame. Carefully press the panel into place, making sure that clips or screws are correctly positioned. Reattach any screws or bolts that were removed during disassembly. Don't over-tighten, as this could strip the threads or damage the panel.
Conclusion
Now that you've replaced your Hyundai Elantra's door handle, you've mastered a valuable skill.
You've gathered the necessary tools, removed the panel, accessed the mechanism, and executed the replacement with precision.
Reassembling the door panel was your final step, ensuring everything fits perfectly.
Remember, the key to success in such repairs is patience and attention to detail.
Your Elantra's door is now fully functional, thanks to your methodical approach and technical expertise.
Well done on completing this repair efficiently.