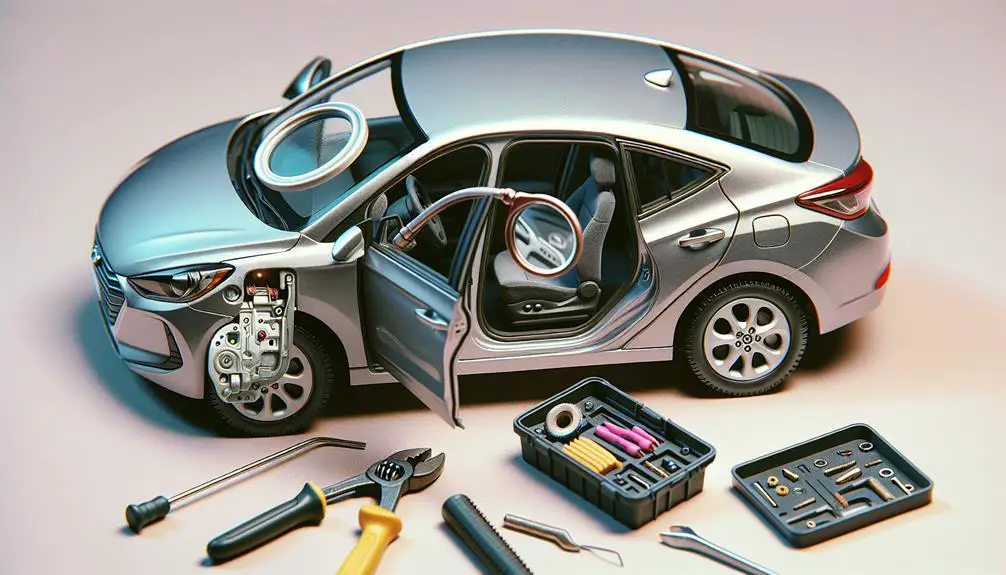
This process typically includes removing the inner door panel, disconnecting the old handle, installing the new handle, and reattaching the door panel. It is essential to refer to the vehicle's manual or online guides for specific instructions and safety precautions. Regular maintenance of door handles can help prevent issues and ensure smooth operation.
Diagnosing Your Door Handle

To accurately diagnose your Hyundai Elantra's door handle issue, start by checking if the handle feels loose or unresponsive when you pull on it. This initial assessment is important in identifying whether the problem lies with the handle mechanism itself or with the connection to the door's latch system. Handle durability plays a significant role here; frequent use and exposure to extreme weather conditions can wear down the materials, leading to a loss of integrity and function.
Next, consider the visual aspect, specifically color matching. If the handle has been replaced before, make sure the color matches the rest of your car's exterior. A mismatched handle might indicate a non-OEM (Original Equipment Manufacturer) part, which could have compatibility or quality issues affecting its operation.
Gathering Necessary Tools
Having diagnosed your Hyundai Elantra's door handle issue, it's now crucial to gather the right tools for the repair job. Ensuring you've all necessary equipment not only streamlines the process but also minimizes the risk of damage to your car's door and handle mechanism.
| Tool | Purpose | Notes |
|---|---|---|
| Screwdriver set | To remove door handle screws | Include both Phillips and flathead types |
| Plastic pry tool | For detaching door panel clips | Prevents damage to the door's interior trim |
| Lubricant | To ensure smooth door handle action | Door lubrication options vary; choose wisely |
| Gloves | To protect your hands | Safety precautions are paramount |
Before starting, wear gloves to protect your hands from sharp edges and potential debris. Choosing the right lubricant is vital; silicone-based sprays are often recommended for their longevity and effectiveness in various weather conditions. Remember, this preparation phase is as critical as the actual repair work. It sets the stage for a smooth operation, ensuring you're not halted midway through due to missing tools or inadequate safety measures.
Removing the Door Panel

Begin by ensuring your Hyundai Elantra is parked on a flat surface with the engine off, then proceed to remove the door panel by initially using the plastic pry tool to detach the interior trim clips. Carefully insert the tool between the panel and the door frame to pop the clips out without causing damage. It's essential to work slowly around the perimeter of the door to ensure all clips are disengaged.
Next, locate the screws that secure the door panel to the door frame. These are typically hidden under caps or within the interior door handle recess. Use a screwdriver to remove these screws, keeping track of their locations for reassembly.
Once all screws are removed, gently lift the door panel away from the door. Be mindful of any electrical connections, such as those for the power windows and door locks. Disconnect these connectors by pressing the release tab and pulling them apart.
Removing the door panel gives you access to the components inside the door, such as the mechanism for door lubrication and window alignment. It's essential to handle these parts carefully to avoid any damage or misalignment during the repair process.
Replacing the Door Handle
Now that you've removed the door panel, you're ready to tackle the task of replacing the Hyundai Elantra's door handle with precision. Replacing a door handle might seem challenging, but with the right approach, you'll guarantee both handle durability and color matching, important for both aesthetics and functionality.
First, compare your new door handle with the old one. Make sure they match in design and color, aligning with your Elantra's overall look.
| Consideration | Why It Matters |
|---|---|
| Handle Durability | A durable handle ensures longevity, minimizing future replacements. |
| Color Matching | Ensures the new handle blends seamlessly with your car's exterior. |
Next, carefully align the new handle with the mounting area. Begin by attaching any cables or clips that operate the locking mechanism. These components are important for proper function and security. Once connected, secure the handle in place using the screws or bolts provided. Tighten them firmly but avoid over-tightening, as this could damage the handle or door.
Testing and Final Touches

Once you've securely installed the new door handle, it's significant to test its functionality to make sure it operates smoothly and locks securely. Start by opening and closing the door several times. You should feel a seamless motion without any resistance. If there's a hitch, it could signal improper alignment, necessitating a quick adjustment.
Next, check the locking mechanism. Lock and unlock the door with both the key and from the interior controls. This validates the linkage between the handle and the lock is correctly hooked up and functioning as intended.
Now, focus on the aesthetics. If your new handle came unpainted or you needed to replace it with a variant that doesn't exactly match your Hyundai Elantra's color, paint matching is essential. A perfect color match guarantees the repair blends seamlessly with your car's exterior, maintaining its aesthetic appeal.
Conclusion
You've successfully navigated through diagnosing and fixing your Hyundai Elantra's door handle. By gathering the right tools, carefully removing the door panel, and skillfully replacing the handle, you've tackled the issue head-on.
Testing the new handle guarantees everything's back in perfect working order. Remember, patience and attention to detail during the process pays off.
With these steps, you've not only saved time and money but gained a valuable skill in car maintenance. Well done!
