Installing a backup camera can enhance safety when driving in reverse by providing a clear view of obstacles behind your vehicle. Here are the steps to install a backup camera:
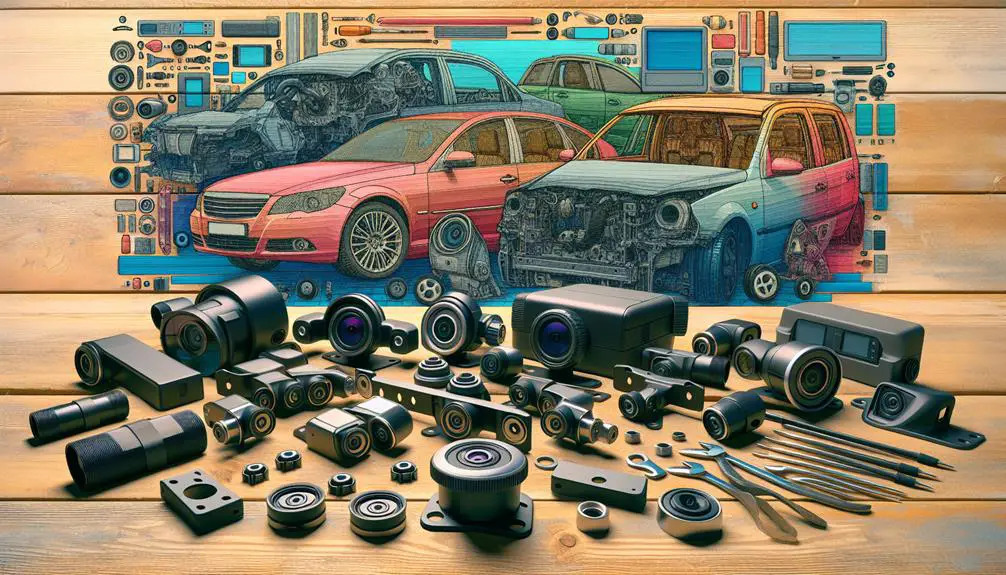
- Choose a Camera: Select a backup camera that suits your vehicle and preferences. Consider factors such as camera type, mounting options, and whether you want additional features like night vision.
- Gather Tools and Materials: Before starting the installation process, make sure you have all the necessary tools and materials. This typically includes a power drill, screwdrivers, electrical tape, and the camera kit itself.
- Locate a Suitable Mounting Position: Find an appropriate spot to mount the camera on the rear of your vehicle. This is usually above the license plate or integrated into the rear bumper.
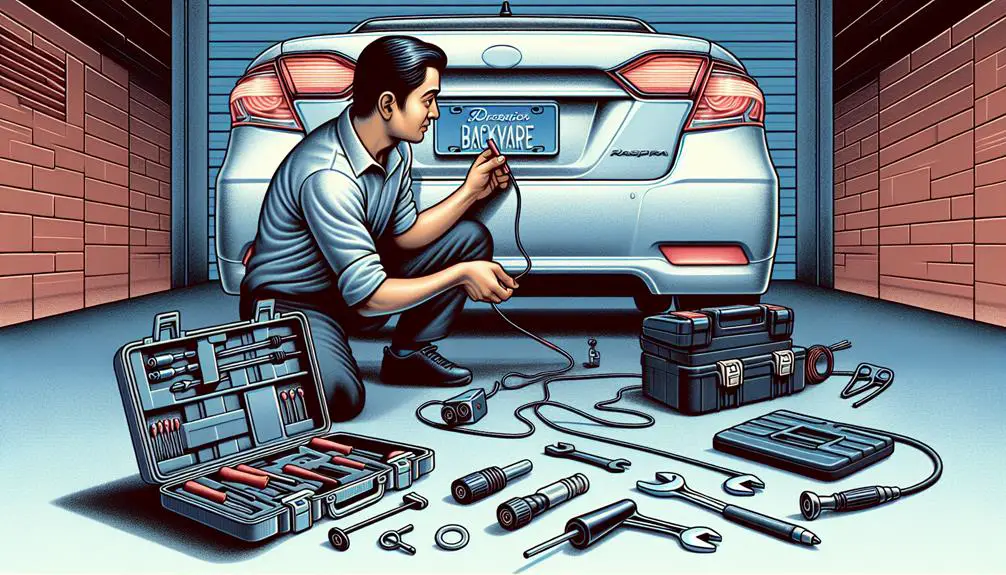
- Install the Camera: Follow the manufacturer's instructions to install the camera securely. This may involve drilling holes for mounting and routing the camera's wiring to the front of the vehicle.
- Connect the Camera to Power: Connect the camera's power cable to the vehicle's backup light circuit. This ensures that the camera activates when you shift into reverse.
- Connect to the Display: Run the camera's video cable from the rear to the front of the vehicle. Connect it to the display screen, which can be a separate monitor or your vehicle's existing infotainment system.
- Test the System: Before finalizing the installation, test the backup camera system to ensure that it functions correctly. Check the display for a clear image when in reverse.
- Secure and Conceal Wiring: Once you confirm that the camera is working properly, secure and conceal any exposed wiring. This helps protect the connections and gives the installation a clean finish.
By following these steps, you can successfully install a backup camera on your vehicle and enjoy the added safety and convenience it provides.
Choosing the Right Backup Camera
Choosing the right backup camera can greatly enhance your vehicle's safety and parking ease. You've got to think about a few key factors to make a selection that best fits your vehicle and your needs. Initially, ponder over compatibility. Your vehicle's make, model, and year will determine the type of backup camera that will work seamlessly with your existing system. You wouldn't want to end up with a camera that doesn't fit or connect properly.
Next, reflect on the camera's viewing angle. A wider angle provides you with a broader view behind your vehicle, reducing blind spots and improving your ability to spot obstacles or pedestrians. However, too wide an angle might distort distances, so you're aiming for a balance here.
Image quality is another important factor. You need a camera that offers clear, sharp images regardless of the time of day. Search for cameras with night vision capabilities to make sure your nighttime driving is just as safe as during the day.
Don't underestimate the importance of a weatherproof design. Your backup camera will be exposed to various conditions—rain, snow, dust—so it's essential that it's built to withstand them. A camera that fogs up or malfunctions in bad weather won't be of much use.
Lastly, consider installation ease. While you're focused on selecting the right camera now, you'll thank yourself later for choosing one that doesn't require an overly complex installation process. This doesn't mean cutting corners, but rather looking for a camera designed with user-friendly installation in mind.
Gathering Necessary Tools and Materials
Before you submerge into the installation of your backup camera, it's significant to gather all necessary tools and materials to guarantee a smooth and efficient process. Having everything at hand before you start will save you time and prevent any unnecessary interruptions.
Let's plunge into what you'll need.
To start, you've got to make sure you've got the right set of tools. While specific requirements can vary depending on the camera and vehicle, there are a few staples you shouldn't overlook. Here's a concise list to help you prepare:
- Screwdrivers: You'll likely need both Phillips and flat-head screwdrivers. They come in handy for removing and securing various components of your vehicle during the installation process.
- Wire Strippers/Crimpers: Vital for preparing the power and video cables for connection. Ensuring a clean and secure connection is critical for the functionality of your backup camera.
- Electrical Tape: After connecting wires, you'll want to wrap them in electrical tape to protect them from wear and prevent any short circuits.
- Drill: If your backup camera requires a mounting hole, you'll need a drill. Make sure you have the appropriate drill bits for your vehicle's material to avoid any damage.
Besides these tools, make sure you have your backup camera kit, which should include all necessary cables and mounting hardware. It's also wise to keep your vehicle's manual nearby to reference any specific requirements or precautions related to your car's electrical system.
With these tools and materials gathered, you're set to move forward confidently with your installation.
Installing the Camera
Now that you've gathered all the necessary tools and materials, it's time to focus on installing your backup camera.
Initially, you'll need to decide on the perfect spot for your camera. Most people choose to mount it near the license plate as it offers a clear view of the area behind your vehicle. If your camera comes with a mounting bracket, align it with the chosen spot, making sure it doesn't obstruct your license plate or any lights. Use a marker to indicate where the screws will go.
Next, it's time to drill the holes for mounting the camera. Be sure to check behind your chosen spot to avoid damaging any internal parts of your car. After drilling, clean any debris around the area to ensure a smooth installation.
Once the holes are ready, attach the camera using the screws provided. If your camera is designed to be attached to the license plate holder, simply remove the license plate, attach the camera bracket according to the instructions, and then reattach the license plate over it.
Now, carefully adjust the camera angle to make sure it covers the area you want to monitor. Most backup cameras allow some degree of angle adjustment post-installation, so take your time to get it just right.
Wiring and Power Connection
Connecting your backup camera's wiring and guaranteeing a reliable power connection are pivotal steps to finalize its installation. After mounting the camera and routing the cables, it's time to focus on connecting the wires and securing a power source. This process involves precision and attention to detail to guarantee the camera functions correctly without any hitches.
Here's a straightforward guide to help you through this phase:
- Identify the Power Source: Most backup cameras are designed to connect to your vehicle's reverse light power wire. This guarantees the camera is only activated when the car is in reverse. Locate the reverse light wiring in your vehicle's tail light assembly. You'll tap into this for power.
- Connect the Video Cable: Run the video cable from the camera to the display monitor in the front of your vehicle. If your car has a removable panel or under-carpet pathway, use it to conceal the wires for a cleaner installation. Guarantee the cable is securely connected to both the camera and the display.
- Make Electrical Connections: Use a wire stripper to expose the ends of the cables you're connecting. Securely twist the camera's power wire to the reverse light's power wire. Then, cover the connection with electrical tape or use a wire connector for a more durable connection.
- Ground the Camera: Find a suitable grounding point near the camera's mounting location. This is usually a metal part of the vehicle's frame. Secure the camera's ground wire to this point to complete the circuit.
Testing and Adjustments

After successfully wiring and powering your backup camera, it's vital to test its functionality and adjust the settings for best performance. Start by turning on your vehicle's ignition to power the camera. You don't need to start the engine; just turn the key to the accessory position to activate the electrical system.
Next, shift your vehicle into reverse. This should automatically trigger the camera to turn on. If it doesn't, double-check your wiring connections to guarantee everything is correctly hooked up. Once you see the camera's feed on your display, it's time to assess the image quality. Look for clarity, color accuracy, and whether the entire area behind your vehicle is visible. If the image is blurry or the camera lens is obscured, you might need to clean the lens or adjust the camera angle.
Now, let's talk adjustments. Most backup cameras allow you to alter settings such as brightness, contrast, and sometimes even the field of view. Play around with these settings until you're satisfied with the image on your screen. Remember, the goal is to have a clear and thorough view of what's behind you, especially in different lighting conditions.
Lastly, check for any latency in the camera's feed. A real-time display is essential for safe reversing. If there's a noticeable delay, it might be because of the wiring or a compatibility issue with your display.
Conclusion
Now that you've installed your backup camera, you're all set to reverse with confidence. Remember, the key is to choose the right camera, gather your tools, and follow each step carefully.
If you've connected the wires correctly and made the necessary adjustments, your camera should work perfectly. Don't forget to test it out and tweak the settings as needed.
With your new backup camera, parking and managing tight spots will be a breeze. Safe driving!