To install a door handle, start by gathering all the necessary tools and materials, such as the door handle set, a screwdriver, a tape measure, and screws.
Next, carefully read the manufacturer's instructions that came with the door handle. These instructions will provide guidance on the specific steps for installing that particular handle.
Then, measure and mark the location where the door handle will be placed on the door. Make sure the handle is at a comfortable height for easy use.
After marking the placement, use the screwdriver to attach the door handle to the door according to the manufacturer's instructions. Double-check that the handle is securely attached before testing it to ensure it functions properly.
Gather Necessary Tools
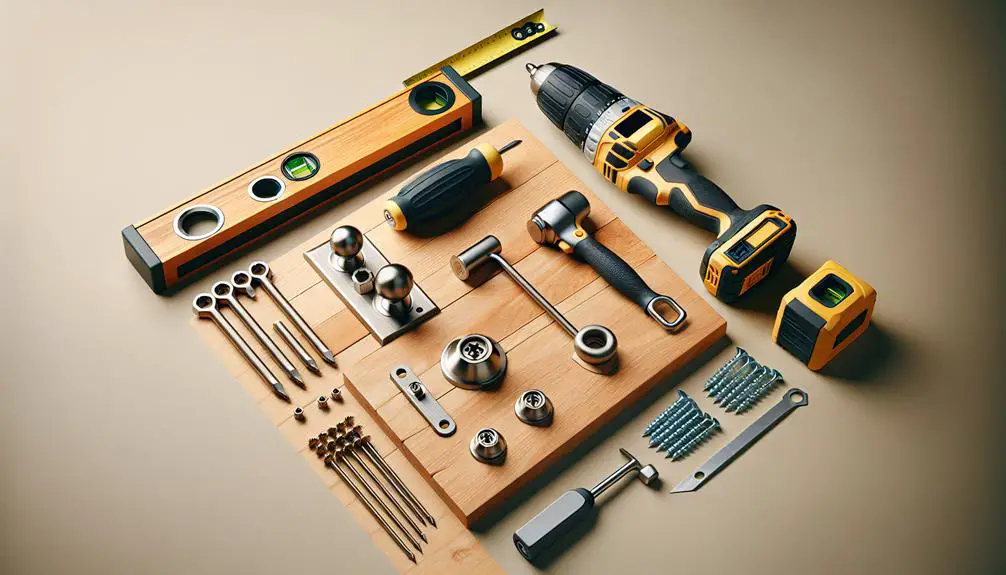
Before diving into the installation of your door handle, make sure you've gathered all necessary tools, including a screwdriver, drill, and tape measure. It's not just about having the right tools; it's about making sure they're in good condition and you're prepared to use them safely.
Start with tool maintenance. Check your drill and screwdriver for any signs of wear or damage. A faulty tool can't only delay your project but also pose a safety risk. Make sure the drill bits are sharp and the screwdriver fits the screws you'll be using perfectly. This precision prevents stripping the screws and makes the installation smoother.
Next, focus on safety precautions. While these tools might seem straightforward, improper use can lead to accidents. Wear safety goggles to protect your eyes from any flying debris, especially when drilling. If your drill is corded, make sure the cable is behind you and not a tripping hazard. Always drill or screw in at the correct angle to avoid slipping and potentially injuring yourself.
Remove Existing Handle
Having prepared your tools and prioritized safety, it's time to remove the existing door handle. This step is critical not only for the functionality of your door but also for maintaining or enhancing the handle aesthetics and durability of your new installation.
Initially, locate the screws that secure the handle to the door. These are typically found on the interior side of the door. Using a screwdriver, carefully unscrew each one. If you're dealing with a handle that has hidden screws, look for a small slot or pinhole on the handle. Insert a small flathead screwdriver or pin to release the handle.
Once the screws are removed, gently pull the handle away from the door. You might need to wiggle it slightly to disengage it from the internal mechanism. Remember, it's crucial not to force it as this could damage the door or the handle itself, compromising both handle aesthetics and durability.
With the handle off, take a moment to inspect the area for any damage or wear that could affect the new handle. This attention to detail ensures that your new handle not only looks good but lasts longer, marrying aesthetics with durability in your door handle choice.
Prepare Door for Installation
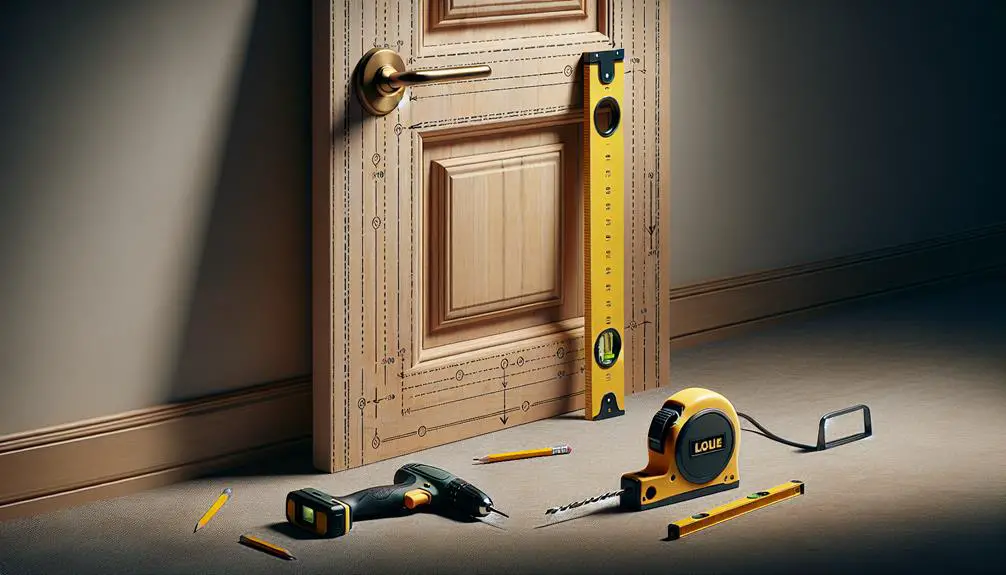
Once you've removed the old handle, it's vital to clean the door's surface thoroughly to make sure a smooth installation of the new one. Begin with wiping down the area around the handle with a damp cloth to remove any dirt or grime. If you're noticing scratches or wear, this might be the perfect time for door painting, which can refresh the look and protect the surface.
Before diving into painting, make sure the door is completely dry. Choose a paint that matches your door's material and apply it carefully, avoiding drips. Allow the paint to dry according to the manufacturer's instructions.
Another significant step is hinge lubrication. Squeaky or stiff hinges can affect how well your door functions even with a new handle installed. Apply a small amount of lubricant to each hinge, then open and close the door several times to work it in.
To help you keep track, here's a quick checklist:
| Task | Details |
|---|---|
| Clean the door surface | Use a damp cloth to remove dirt and grime. |
| Door painting | Apply suitable paint if necessary and let dry. |
| Hinge lubrication | Lubricate hinges to ensure smooth operation. |
| Final inspection | Check the door's surface and hinges are ready. |
Following these steps will ensure your door is perfectly prepped for the new handle installation.
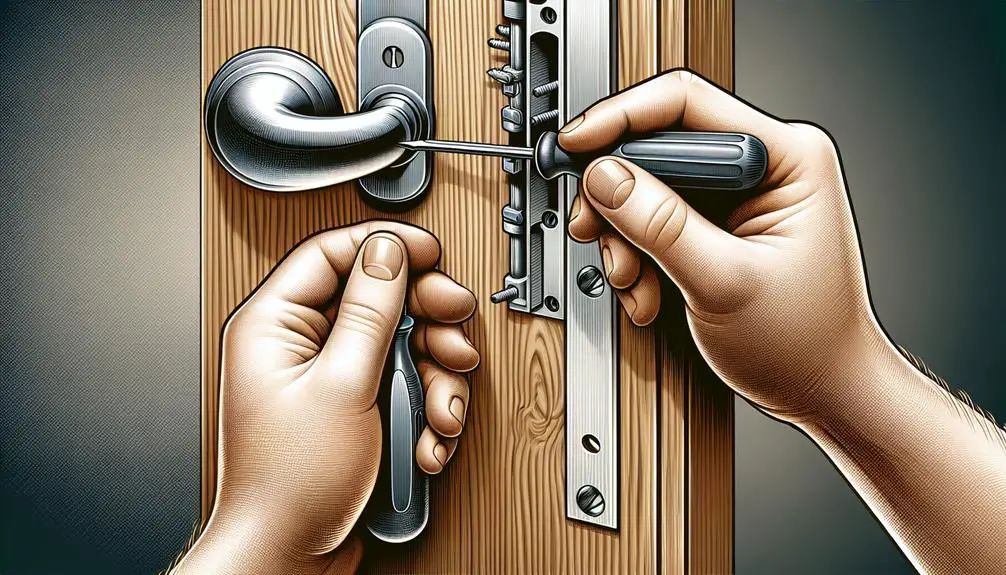
Install New Handle
With your door now prepped, it's time to install the new handle, ensuring you have all necessary tools and components at hand. Begin by aligning the handle components with the holes and slots on your door. This step is important for both handle aesthetics and safety considerations, as a poorly installed handle can be a security risk.
Here's a step-by-step guide to help visualize the process:
- Position the exterior part of the handle through the hole on the door's outside, ensuring the spindle passes through the latch mechanism.
- Attach the interior part of the handle, making sure it aligns perfectly with the spindle and screw holes.
- Securely fasten the screws, but don't overtighten them as this could strip the threads or damage the door.
- Lastly, place the strike plate on the door frame, aligning it with the latch bolt.
Testing and Adjustments
After installing your new door handle, it's important to test its functionality and make any necessary adjustments for smooth operation. Initially, check the lock alignment. Close the door gently and turn the key or thumb turn. If the bolt doesn't slide smoothly into the strike plate, you'll need to adjust the positioning. Loosen the screws on the strike plate slightly and shift it until the bolt engages without resistance. This might take a few tries to get it just right, so be patient.
Next, assess the handle's durability. Grab the handle and turn it several times, applying a bit more force each time. It should feel secure, without any wiggle or looseness. If it feels shaky, tighten the screws that hold the handle in place. Don't overtighten, though, as this could strip the screws or damage the door.
Conclusion
Congratulations! You've successfully installed your new door handle.
By gathering the right tools, removing the old handle, and carefully preparing your door, you've laid the groundwork for a smooth installation.
Installing the new handle and performing the necessary tests and adjustments makes certain it works perfectly.
Remember, patience and precision are key. If the handle isn't functioning as expected, don't hesitate to revisit the steps for any missed details.
Enjoy the satisfaction of a job well done!