Making your own brake pads involves understanding composite materials and mastering the curing process.
Understanding composite materials is crucial because brake pads are typically made of a mixture of materials like rubber, Kevlar, and carbon fiber. Each material has unique properties that contribute to the overall performance of the brake pad.
Mastering the curing process is essential to ensure that the materials bond together properly and form a strong, durable brake pad. Curing involves subjecting the brake pad material to heat and pressure in a controlled environment to promote chemical reactions that create a solid, stable composite structure.
Understanding Brake Pad Materials
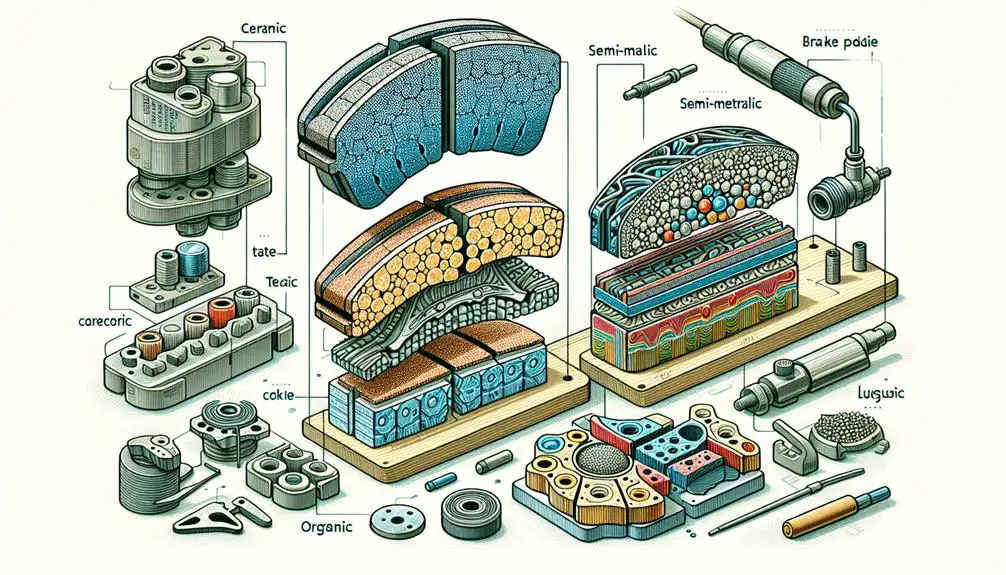
To make your own brake pads, it's vital to initially understand the different materials they can be made from. There are mainly three types: organic, ceramic, and metallic. Each has its own set of pros and cons, depending on what you're looking for in terms of performance, durability, and cost.
Organic brake pads are made from a mix of fibers, fillers, and resin. They're the softest, offering quieter stops but wearing down faster. They're your go-to if you prefer a smoother ride and aren't too hard on your brakes. Plus, they're usually the most affordable option.
Ceramic brake pads are a step up, known for their durability and ability to handle high temperatures without fading. If you often find yourself in heavy traffic or like to push your vehicle's limits, these might be your best bet. They're quieter than metallic pads and produce less dust, but they'll also hit your wallet a bit harder.
Metallic brake pads, made from a blend of metals, offer the best performance in terms of stopping power. They're perfect if you're after a pad that can take a beating, whether it's from frequent stops or more demanding driving conditions. However, they're noisier, generate more brake dust, and can be tough on your rotors.
Choosing the right material for your brake pads depends on your driving habits, the performance you expect, and your budget. Each material offers a unique balance of cost, durability, and performance, making it vital to weigh these factors before making a decision.
Tools and Equipment Needed
After grasping the different materials used in brake pads, you'll need specific tools and equipment to start making your own. Diving into this DIY project isn't just about having the right materials; it's equally about the tools that transform those materials into functional brake pads. Let's get right into what you'll need to bring your brake pads to life.
To start, you're going to require a hydraulic press. This isn't something you might typically find in a standard home garage, but it's essential for compressing your brake pad material into the dense, hard form necessary for effective braking. You can't skimp on this one; ensuring the material is compacted correctly is key to the durability and functionality of your brake pads.
Next, precision is your best friend when it comes to cutting and shaping your brake pads. For this, you'll need:
- A high-quality cutting tool: Whether it's a band saw or a cutting disc, make sure it's suited for the materials you're working with. Cutting brake pad material requires precision and reliability.
- A scale and caliper: Accurate measurements are non-negotiable. You'll need these to measure and verify the dimensions of your brake pads to ensure they fit perfectly.
- A heat source: Specific materials in brake pads need curing or heat treatment. A controlled heat source, like an oven designed for material treatment, will be essential to finalize the properties of your pads.
Armed with these tools and a bit of patience, you're well on your way to crafting your own brake pads. Remember, quality tools contribute to quality results, so don't hesitate to invest in the best you can afford.
Designing Your Brake Pads
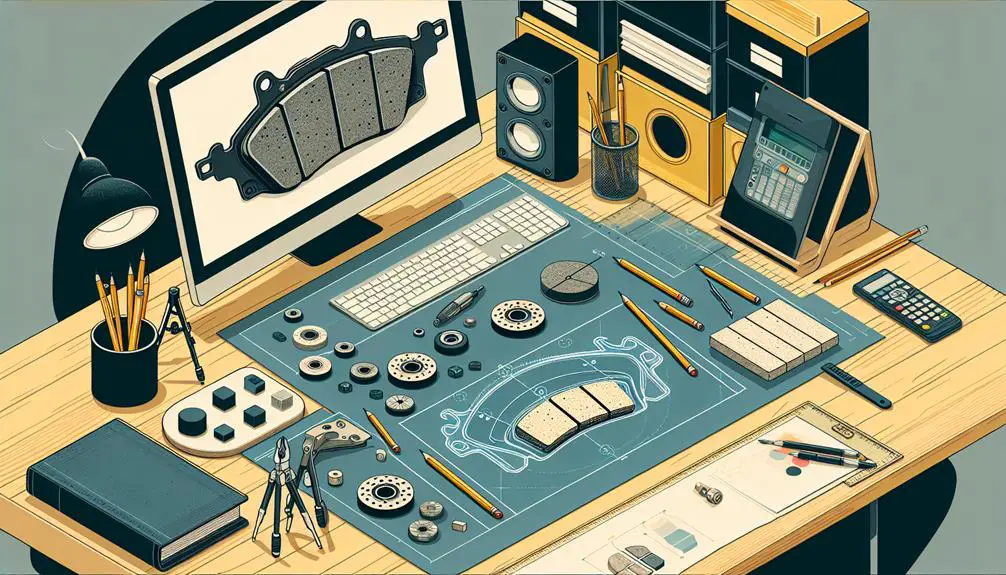
Before diving into the production phase, you'll need to meticulously design your brake pads, considering both their shape and material composition for best performance. The design phase is critical as it directly impacts the efficiency, durability, and safety of your brake pads. You'll want to start with comprehending the specific requirements of your vehicle and driving conditions. This includes the size, thickness, and contour of the brake pads that best suit your vehicle's braking system.
Here's a simplified table to guide you through the basic considerations for designing your brake pads:
| Aspect | Consideration | Reason |
|---|---|---|
| Material | Choose between ceramic, metallic, or organic | Affects performance, noise, and wear rate |
| Shape | Match the original equipment specifications | Ensures compatibility and efficiency |
| Thickness | Adhere to minimum and maximum specifications | Influences braking power and pad life |
Once you've settled on the specifications, it's time to sketch your design. You're not just aiming for compatibility; you're also optimizing for performance under your typical driving conditions. For example, if you frequently drive in wet conditions, you might prioritize materials that perform well in moisture.
Mixing and Molding Process
Once you've designed your brake pads, the next step involves mixing the selected materials and molding them into the desired shape. This stage is important for the functionality and durability of your brake pads. You'll need to meticulously blend your chosen compounds to achieve the perfect consistency.
Here's a concise guide to steer you through the mixing and molding process:
- Preparing the Mixture: Begin by accurately weighing each material according to your design specifications. It's important to mix them thoroughly to guarantee a uniform composition. Most brake pad mixtures include metallic or ceramic fibers, binding resins, and friction modifiers. A mechanical mixer can save you time and energy, providing a consistent mix.
- Molding the Compound: Once your mixture is ready, it's time to press it into the brake pad shape. You can use a pre-made mold that matches your design. Load the mixture into the mold, ensuring it's evenly distributed. Applying pressure is vital at this stage; a hydraulic press can ensure the mixture is compacted uniformly, filling every crevice of the mold.
- Demolding: After pressing, carefully remove the brake pad from the mold. At this point, it will be in its rough form and might require some gentle handling. The brake pad will still be somewhat malleable, making it easier to remove any excess material.
Curing and Finishing Touches
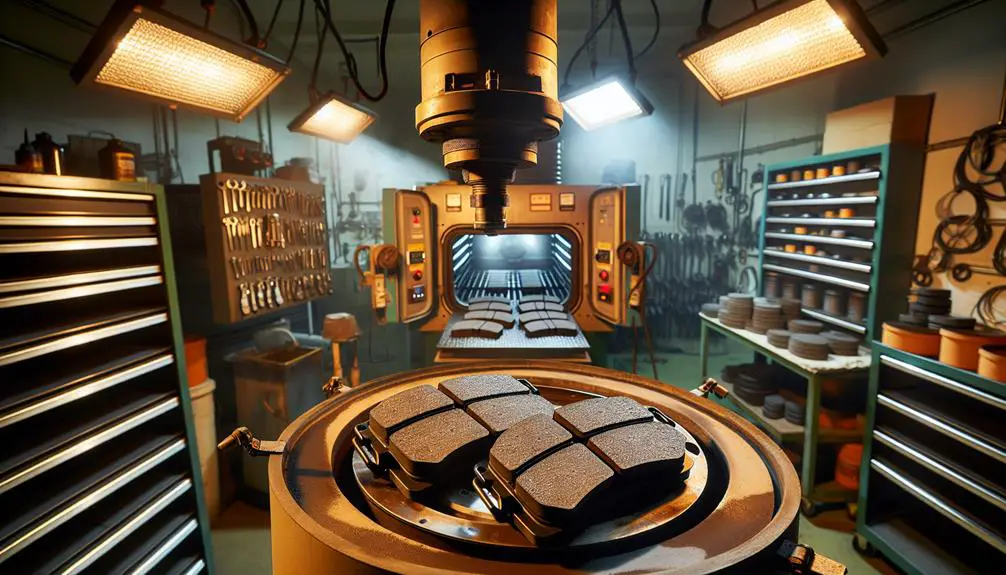
The next vital step is curing your brake pads, a process that solidifies their structure and improves durability. After meticulously mixing and molding, you must give your brake pads the right amount of heat and pressure to make sure they're tough enough for the road. It's not just about baking them; it's about carefully controlling the environment to get the best results.
Curing involves placing your brake pads in a special oven that's preheated to a specific temperature. This process can vary in time, depending on the materials you've used and the thickness of your pads. Keep a close eye on the temperature and time to avoid over or under-curing, which could weaken your brake pads.
Here's a quick guide to help you keep track of the curing process:
| Material Type | Temperature (°C) | Time (Hours) |
|---|---|---|
| Organic | 150 | 6 |
| Ceramic | 200 | 8 |
| Metallic | 250 | 10 |
| Hybrid | 225 | 9 |
After curing, it's time for the finishing touches. You'll need to inspect each pad for any imperfections. Sand down any rough spots gently to make sure a smooth surface. This step is critical for the proper functioning of your brake pads as it prevents uneven wear and tear.
Safety Checks and Installation
After confirming your brake pads have no imperfections, it's important to conduct thorough safety checks and properly install them in your vehicle. This step is vital for your safety and the general performance of your car. Here's how you can make sure everything is up to the mark before hitting the road.
Initially, check the compatibility of your homemade brake pads with your vehicle's make and model. Not all pads fit every car, and using the wrong size or type can lead to serious issues. Once you've verified they're a good fit, proceed to the installation phase with confidence but caution.
Here are three key items to keep in mind during the process:
- Proper Alignment: Make sure the brake pads are perfectly aligned with the brake calipers. Misalignment can cause uneven wear, reduced braking efficiency, and potentially dangerous driving conditions.
- Secure Attachment: Double-check that all components are securely attached. Any loose parts can lead to a failure in the braking system, which is a risk you can't afford to take.
- Testing: Before you consider the job done, perform a series of tests. Start with gentle braking at low speeds in a safe area to ensure everything is working as it should. Gradually increase the intensity to simulate real driving conditions.
Conclusion
Now that you've explored into the world of DIY brake pads, you're set to bring your design to life. Remember, choosing the right materials and following each step carefully makes certain your brake pads are safe and effective. Don't skip on the curing and finishing touches—they're critical.
Before hitting the road, double-check your work with a thorough safety inspection. You've got this! Crafting your own brake pads isn't just rewarding, it's a proof of your dedication and skill. Safe driving!