Replacing car brake shoes is an important maintenance task that ensures your vehicle's safety on the road. Follow these steps to replace the brake shoes on your car:
- Gather Necessary Tools: Before starting the replacement process, make sure you have all the necessary tools such as a lug wrench, jack stand, brake cleaner, brake fluid, and a brake shoe spring tool.
- Raise the Vehicle: Begin by loosening the lug nuts on the wheels of the car. Then, jack up the car and secure it with jack stands to provide a safe working environment.
- Remove the Wheels: Once the car is safely elevated, remove the wheels to access the brake assembly. This will give you a clear view of the brake drum and the brake shoes.
- Remove the Brake Drum: Use a hammer to tap the brake drum gently and loosen it from the wheel hub. Once the drum is free, carefully remove it to expose the brake shoes.
- Replace the Brake Shoes: Locate the brake shoe assembly inside the drum. Use the brake shoe spring tool to remove the old brake shoes and replace them with new ones. Make sure the new shoes are properly aligned and secured in place.
- Reassemble the Brake System: Once the new brake shoes are in place, reassemble the brake drum and wheel assembly. Tighten the lug nuts securely and lower the car back to the ground.
- Test the Brakes: After replacing the brake shoes, pump the brake pedal a few times to ensure proper brake function. Take the car for a test drive in a safe area to confirm that the brakes are working correctly.
By following these steps carefully, you can successfully replace the brake shoes on your car and maintain optimal braking performance for safe driving. Remember to consult your vehicle's manual for specific instructions and safety precautions.
Gather Necessary Tools
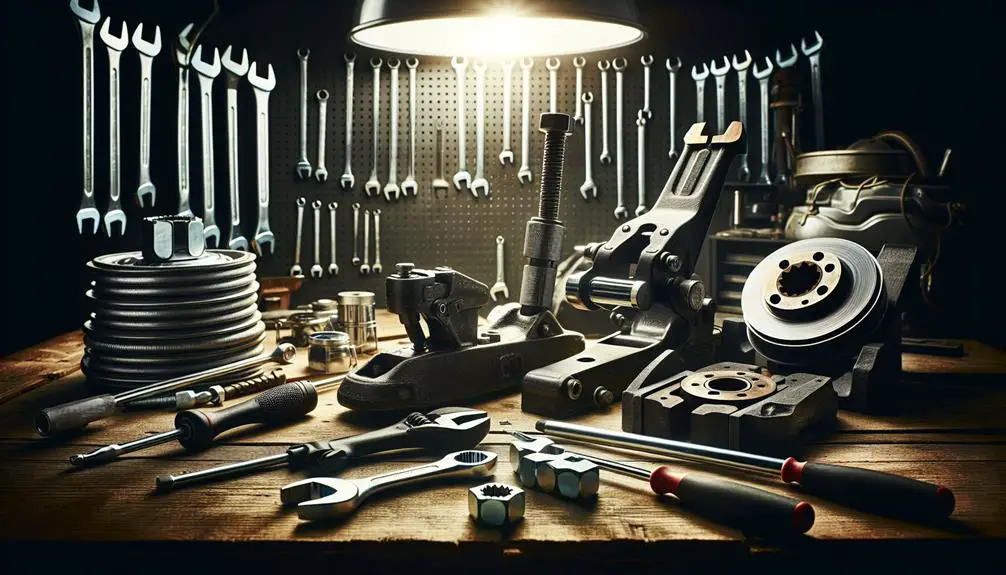
Before you begin replacing your car's brake shoes, make sure you've gathered all the necessary tools for the job. You'll need a few basics to get started: a jack and jack stands for safety, a lug wrench, and a set of pliers. However, the specifics don't end there.
You'll also require a brake spring tool. This specialized tool helps you easily remove and install the springs holding the brake shoes in place, a task that's nearly impossible to do safely and correctly with just any old pair of pliers. Don't forget a screwdriver set, as you'll encounter several screws during the process.
An adjustable wrench and a hammer will also come in handy. The wrench will help you adjust different components, while the hammer can be used carefully to remove any parts that are stuck or to gently tap new parts into place.
Lastly, make sure you have a set of new brake shoes ready to go. Choosing the right size and type for your car is vital, so double-check the specifications before purchasing. With these tools and parts at your disposal, you're ready to tackle the job confidently.
Remove the Wheel
Now that you've gathered all the necessary tools, the next step is to remove the wheel from your car. This step is important as it paves the way for accessing the brake shoes, which are vital for your car's braking system. To start, make sure your car is parked on a flat surface and the emergency brake is engaged. This prevents the car from rolling while you're working on it.
Before lifting the car, you'll need to loosen the lug nuts on the wheel. It's easier to do this while the wheel is still on the ground as the resistance helps. Don't remove the nuts completely—just loosen them enough. Next, use a car jack to lift the car off the ground. Be sure to place the jack under the designated lift point to avoid damaging your car. Once the car is securely lifted, you can remove the lug nuts all the way and take the wheel off.
To hook the audience, keep in mind:
- Safety top: Always make sure the car is securely supported by the jack before removing the wheel.
- Right tools: Using the correct size wrench for the lug nuts makes the job easier.
- Proper lifting: Knowing your car's lift points prevents damage and ensures stability.
Access the Brake Assembly
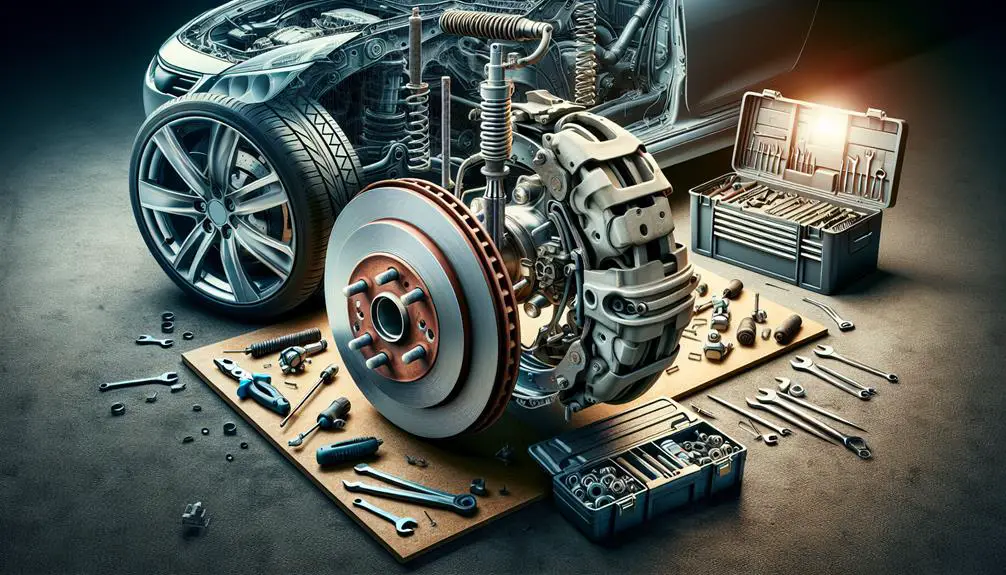
With the wheel removed, you're ready to access the brake assembly directly behind where the wheel was mounted. This is where you'll see the brake drum that houses the brake shoes. But before you jump in, it's important to make sure your car is securely supported on a jack stand. Safety first—you don't want the car shifting while you're working on it.
Next, you'll need to locate the brake drum. Depending on your car model, there might be a few bolts or clips holding the drum in place. You'll find these around the perimeter of the drum. Using the appropriate tools, carefully remove these fasteners. Remember, they might be tight or corroded, so some penetrating oil can be handy here.
Once the fasteners are removed, the drum should come off relatively easily. However, if it seems stuck, don't force it. Instead, there could be an adjustment mechanism through a small access slot at the back of the assembly. This might require turning to loosen the brake shoes inside, allowing the drum to be removed without force. Patience is key here to avoid damaging any components.
Replace the Brake Shoes
Once you've removed the brake drum, you're all set to replace the worn-out brake shoes. This step is important for making sure your vehicle's braking system functions effectively. Begin by carefully removing the old brake shoes. You might need to detach the springs and clips holding them in place. Handle these components gently to avoid bending or damaging them, as you'll need to reuse some of them.
Next, compare the old brake shoes with the new ones to make sure they're the right fit. Then, install the new brake shoes by attaching them to the backing plate. You'll have to reattach the springs and clips you removed earlier. This process requires some patience and precision, as making sure everything is securely fastened is important for your safety.
To add depth:
- Ensure compatibility: Double-check that the new brake shoes match the specifications of your vehicle.
- Handle with care: Springs and clips can be easily damaged. Handle them gently to avoid any issues during reassembly.
- Secure attachment: Make certain all components are securely reattached to prevent any rattling or misalignment, which could affect braking performance.
Reassemble and Test
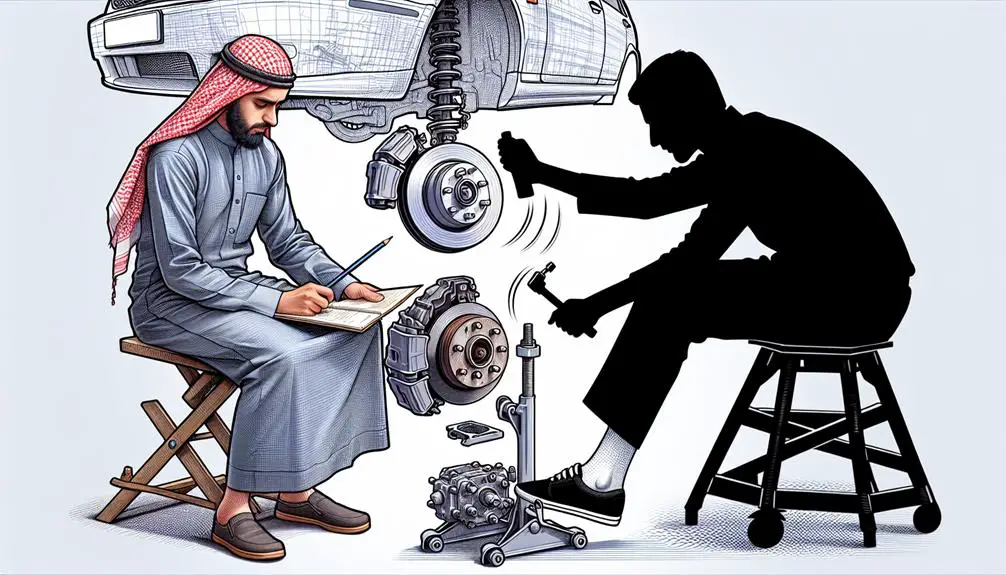
After reattaching the springs and clips, it's vital to meticulously reassemble the braking components and conduct a thorough test to make sure everything functions correctly. You'll want to guarantee that each piece is properly placed and secured. It's essential to double-check the tension of the springs to prevent any brake malfunctions. Once everything's back in place, it's time to test your work.
Begin by carefully lowering your vehicle and removing any supports. Next, hop into the driver's seat and press down on the brake pedal several times. This helps in adjusting the brake shoes to their proper position. Feel for any unusual resistance or sponginess in the pedal, as these could indicate issues that need further attention.
Here's a quick checklist to guide you through the final steps:
| Step | Description | Check |
|---|---|---|
| 1 | Lower vehicle safely | ✅ |
| 2 | Press brake pedal | ✅ |
| 3 | Check for resistance | ✅ |
| 4 | Conduct a test drive | ✅ |
| 5 | Listen for unusual noises | ✅ |
Conclusion
You've successfully navigated through replacing your car's brake shoes!
Starting with gathering the necessary tools, removing the wheel, and accessing the brake assembly, you've carefully replaced the worn-out brake shoes.
After reassembling everything and conducting a test, you can now drive with confidence, knowing your car's braking system is in top shape.
Remember, regular maintenance is key to your vehicle's longevity and safety.
Great job on taking this crucial step in car care into your own hands!