To use an OEM spring compressor effectively, the first step is to prepare your workspace by ensuring you have enough room to work safely and comfortably. This includes gathering all necessary tools and equipment before beginning the compression process.
Understanding the compression process is crucial in using an OEM spring compressor. Make sure you follow the manufacturer's instructions carefully to avoid damaging the tool or the spring. It is important to know the specific steps for compressing the spring safely and efficiently.
Prioritizing safety is essential when using an OEM spring compressor. Always wear appropriate safety gear, such as gloves and safety glasses, to protect yourself from any potential hazards. Additionally, make sure the compressor is securely attached to the spring to prevent any accidents.
Lastly, be prepared to troubleshoot common issues that may arise while using an OEM spring compressor. This could include issues with the tool itself or difficulties compressing the spring. Having a basic understanding of potential problems and solutions will help you complete the task successfully.
Overall, following these steps will ensure that you use an OEM spring compressor effectively and safely. Remember to always prioritize safety and follow the manufacturer's instructions carefully to avoid any accidents or damage.
Understanding the OEM Spring Compressor
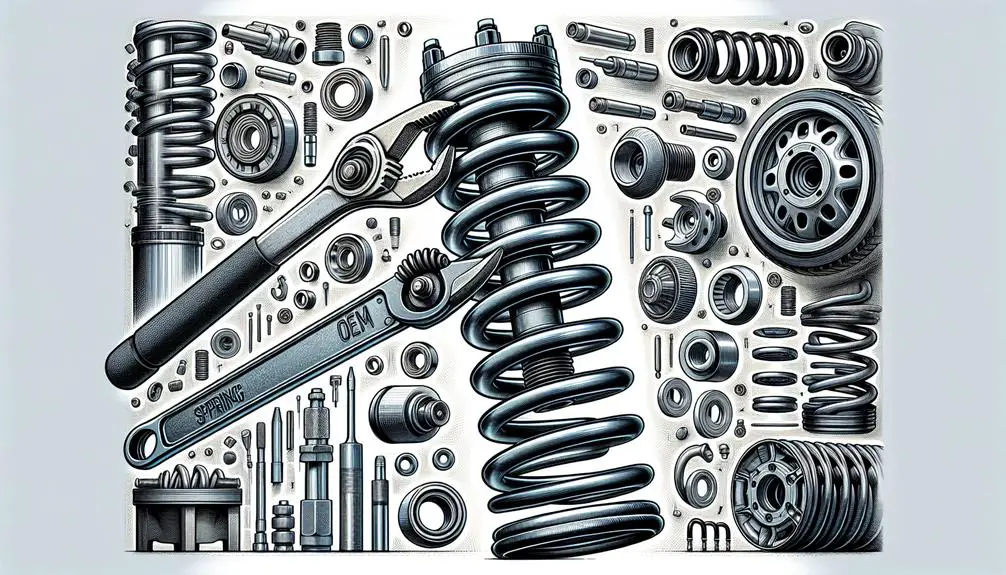
An OEM spring compressor is a specialized tool designed to safely compress and decompress the springs in your vehicle's suspension system, allowing for easier removal and installation. When you're ready to work on your car's suspension, knowing how this tool operates is essential. You'll find it indispensable for tasks like replacing shock absorbers or repairing the suspension.
This compressor works by applying even pressure to compress the spring, reducing its size so you can work on the suspension components without the spring's tension causing difficulties or hazards. It's a straightforward tool, but you've got to use it correctly to avoid accidents. The key here is ensuring that the compressor's jaws are securely attached to the spring, maintaining a firm grip throughout the process.
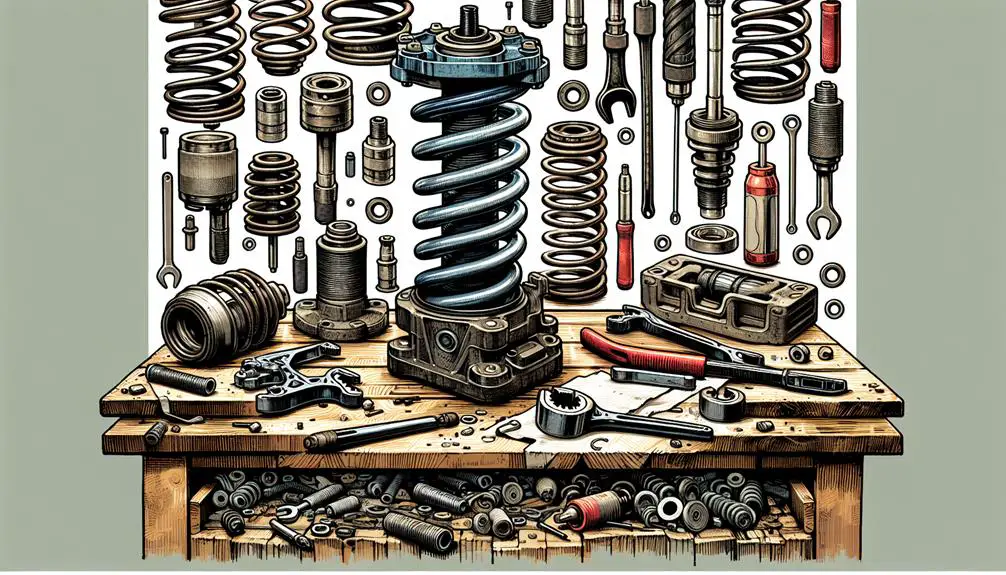
Preparing Your Workspace
Before diving into the task of compressing your vehicle's springs, make sure your workspace is clean, organized, and free of any hazards. This preparation step is important not only for your safety but also for making sure that the spring compression process goes smoothly without any unnecessary interruptions or accidents.
Here are four important steps to prepare your workspace:
- Clear the Area: Remove any unrelated tools, equipment, or debris. This minimizes the risk of tripping or accidentally using the wrong tool. A clutter-free environment allows for better focus and maneuverability.
- Lighting: Ensure your workspace is well-lit. Good lighting is important for visibility, especially when working with intricate parts like springs and compressors. You don't want to miss any small but critical steps because of poor lighting.
- Safety Gear: Have your safety gear ready. This includes gloves, safety glasses, and steel-toed boots. Preparing these items beforehand means you won't have to scramble for them later, keeping your workflow uninterrupted.
- Organize Your Tools: Lay out the OEM spring compressor and any other tools you'll need in an orderly fashion. Knowing exactly where each tool is cuts down on time wasted searching and allows you to stay focused on the task at hand.
Compression Process Steps
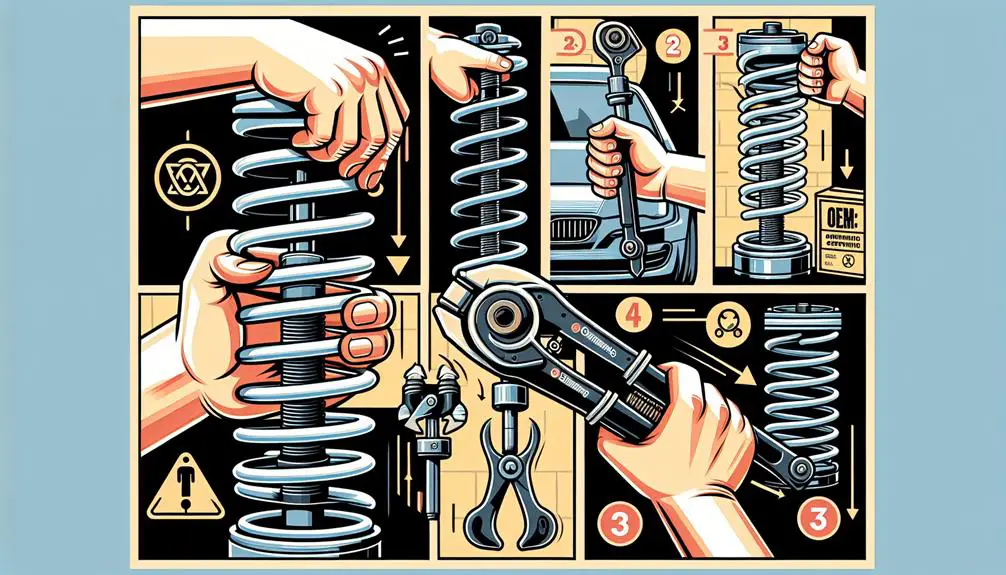
Now that your workspace is ready, let's walk through the steps of compressing your vehicle's springs using an OEM spring compressor.
First off, you'll need to securely attach the spring compressor. Make sure you've got a firm grip on the spring. This is important for your safety and the effectiveness of the process. Begin by positioning the compressor's jaws on opposite sides of the spring, ensuring they're evenly spaced.
Next, start tightening the compressor. This part is done manually or with power tools, depending on your compressor model. Turn the bolts or screws evenly to maintain balance. You'll notice the spring starting to compress. Keep an eye on the compression rate; you don't want to overdo it or compress unevenly.
Once the spring is compressed sufficiently for your task—maybe you're changing a strut or working on suspension maintenance—carefully move to the next step of your project. Remember, the spring is under a lot of tension, so maintaining control and balance during compression and the subsequent steps is important.
Safety Tips and Tricks
While using a spring compressor, it's crucial to keep safety at the forefront of your mind to prevent accidents. This tool, integral for working on vehicle suspensions, can be dangerous if not handled correctly. Here are important safety tips and tricks to make sure your work isn't only effective but safe:
- Wear Protective Gear: Always wear safety glasses and gloves. The potential for flying debris or a slip means you've got to protect your eyes and hands at all times.
- Inspect Your Tools: Before you begin, inspect the spring compressor for any signs of wear or damage. A compromised tool can fail under pressure, leading to dangerous situations.
- Work in a Stable Environment: Make sure the vehicle is securely supported on jack stands and the work area is clear of any obstacles. A stable work environment reduces the risk of the vehicle shifting or the compressor slipping.
- Release Tension Slowly: When you're ready to decompress the spring, do it slowly and evenly. Rapid release can cause the spring to eject forcefully, potentially causing injury or damage.
Troubleshooting Common Issues
Even with meticulous preparation, you might encounter issues when using an OEM spring compressor. It's not uncommon, and often, there's a straightforward solution. Below is a quick guide to help you troubleshoot some of the most common problems.
| Issue | Solution |
|---|---|
| Spring won't compress uniformly | Ensure the compressor's jaws are correctly aligned and evenly positioned on both sides of the spring. |
| Compressor slipping off the spring | Tighten the compressor grips securely and check if the spring's surface is clean and dry. |
| Difficulty turning the compressor | Lubricate the compressor threads with a bit of oil and make sure you're turning it with appropriate force. |
| Tool feels unstable | Double-check that your work area is level and the tool is properly secured to prevent any movement. |
If you're still facing issues, don't force it. Take a step back and review the manufacturer's instructions. Sometimes, a small detail can make a significant difference. Remember, safety first – if a problem persists, consider seeking professional help rather than risking injury or damage to your vehicle.
Conclusion
Now that you've got the hang of using an OEM spring compressor, remember to keep your workspace tidy and well-organized for safety.
Always follow the compression process steps carefully, and don't skip on those safety tips and tricks to avoid any mishaps.
If you hit a snag, refer back to the troubleshooting section to find your way around common issues.
With a bit of practice, you'll be compressing springs like a pro in no time.
Stay safe and keep learning!