Fixing a backup camera involves the following steps:
- Cleaning the lens
- Checking wiring connections
If issues persist, resetting the camera system may help.
Assessing the Problem
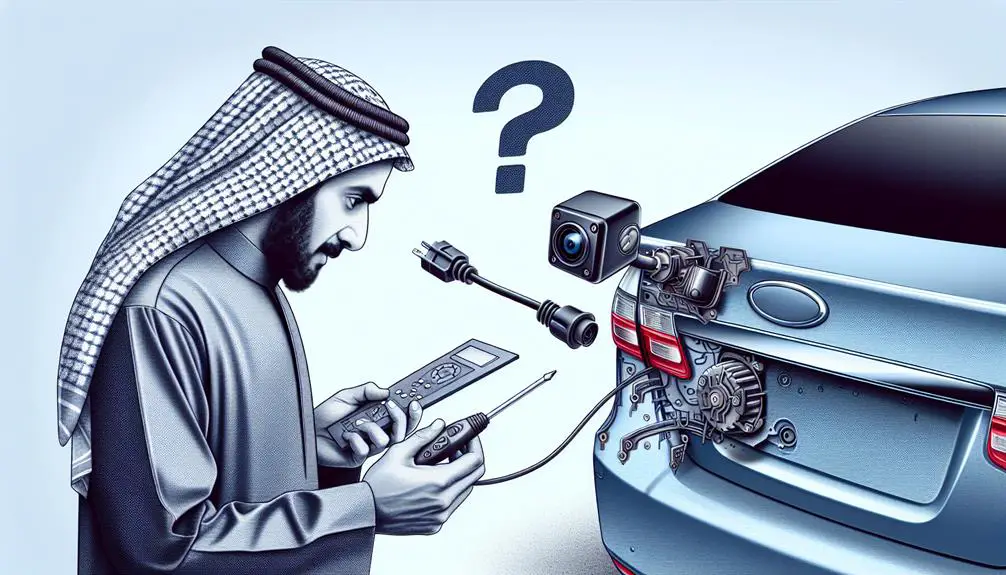
Before tackling a faulty backup camera, it's critical to accurately diagnose the issue at hand. You've got to start by grasping the symptoms. Is your camera not turning on at all, or is the image it's displaying fuzzy, distorted, or completely black? Perhaps it's the intermittent functionality that's driving you up the wall. Pinpointing the exact problem will guide you towards the right solution.
To start with, check the power source. It's simpler than it sounds. Make sure your vehicle is in reverse; this often activates the camera. If there's no joy here, inspect your fuse box. A blown fuse can often be the culprit, and it's an easy fix. Replace it, and you might just be back in business.
Next, consider the wiring. Loose or corroded connections can wreak havoc on your backup camera's performance. You'll need to locate the wiring – typically found at the rear of your vehicle – and inspect it for any obvious signs of damage or wear. Tighten any loose connections and replace corroded wires. This step might require a bit more elbow grease, but it's well worth the effort.
To end, don't overlook the possibility of a software glitch. Modern vehicles are akin to computers on wheels, and sometimes, all you need is a reset. Consult your vehicle's manual on how to reset the camera system. It might just be the magic fix you're looking for.
Cleaning the Camera Lens
After ensuring the camera's power and wiring are in good condition, it's significant to clean the lens, as dirt or debris can greatly impair image quality. You mightn't notice at the start, but even a small smudge or speck can blur your backup camera's vision, making it difficult to see obstacles or navigate tight spaces safely.
Initially, you'll need a microfiber cloth – the kind used for cleaning eyeglasses or camera lenses. These cloths are designed to remove dirt without scratching the lens. If the dirt is stubborn, lightly dampen the cloth with distilled water or a lens cleaning solution. It's essential to avoid household cleaners or tap water, as they can damage the lens coating or leave residues that blur the image.
Gently wipe the lens in a circular motion, starting from the center and moving outward. This method helps to lift and remove the dirt without pushing it around the lens. If you encounter any tough spots, don't apply more pressure; instead, apply a bit more cleaning solution to soften it before trying again.
After cleaning, take a moment to check your work. Power up the camera and observe the image quality. If it's still not clear, there might be smudges left, or the issue might lie deeper, such as internal problems with the camera itself.
Checking Wiring Connections
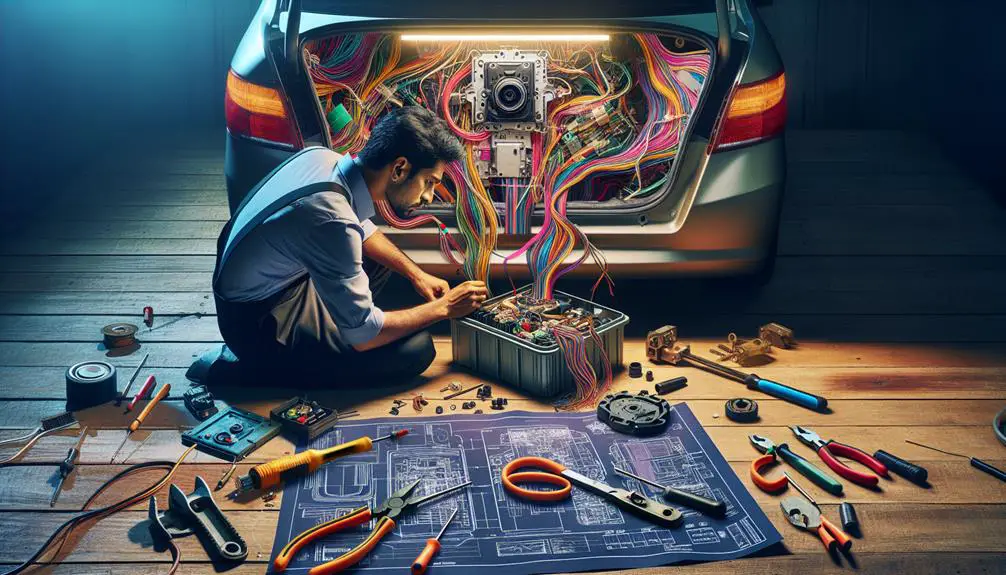
Once you've cleaned the camera lens and the image quality hasn't improved, it's time to check the backup camera's wiring connections for any issues. Faulty or loose wiring can often be the culprit behind a malfunctioning backup camera. You don't need to be a tech whiz to do this; just a little patience and some basic comprehension of your car's wiring system.
Start by locating the backup camera's wiring harness. It's typically found in the trunk or near the license plate. Once you've found it, make sure that all connections are tight and secure. Corrosion or damage to the wires can also lead to camera failure, so inspect each wire carefully for any signs of wear and tear.
When examining the wiring, keep an eye out for:
- Loose connections that need tightening
- Corroded wires that may need cleaning or replacement
- Damaged insulation that exposes the wires
If you spot any of these issues, it's critical to address them immediately. Loose connections can often be fixed by simply pushing the connector firmly in place. However, corroded or damaged wires might require a bit more work. If you're not comfortable handling electrical components, it might be wise to consult a professional.
Resetting the Camera System
If your backup camera still isn't working properly after checking the wiring connections, you may need to reset the camera system. Resetting can often resolve software glitches or errors that aren't immediately apparent. The process is generally straightforward, but it varies slightly depending on your vehicle's make and model. Here's a basic guide to get you started:
First, locate the camera settings in your vehicle's infotainment system. You might find it under 'Settings' or 'Camera.' From there, look for an option to reset or recalibrate the camera. If the instructions aren't clear or you can't find these settings, referring to your vehicle's manual can provide model-specific guidance.
For a broader understanding, here's a table outlining common steps across different vehicle types:
| Step | Action | Note |
|---|---|---|
| 1 | Navigate to camera settings | May vary by model |
| 2 | Select the reset option | Could be labeled differently |
| 3 | Confirm the reset | Some systems ask for confirmation |
| 4 | Wait for the system to restart | Takes a few moments |
| 5 | Test the camera | Ensure it works correctly |
If these steps don't resolve the issue, don't rush to conclusions. Sometimes, a simple reset is all it takes, but other times, the problem might be more complex. Without jumping ahead to seeking professional help, consider whether there are updates available for your vehicle's software. Manufacturers sometimes release updates that can fix bugs or improve functionality, including the backup camera's performance.
Consulting a Professional
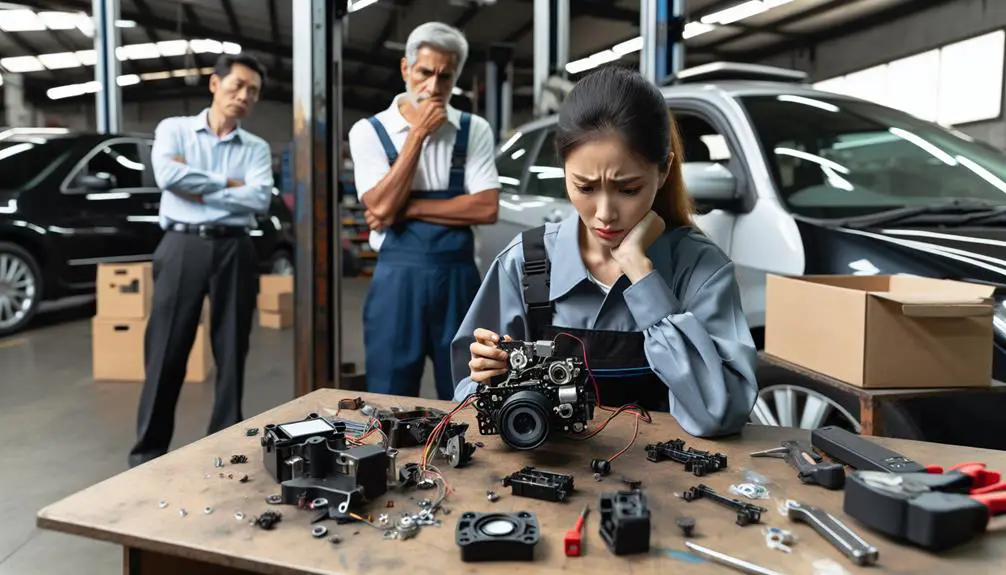
When troubleshooting and resetting don't fix your backup camera, it's time to consult a professional who can diagnose and address the issue accurately. Taking your car to a certified technician or a specialized car electronics service can be the best decision for ensuring the longevity and functionality of your backup camera system. Professionals have the tools, knowledge, and experience to pinpoint the problem and provide an effective solution that mightn't be apparent to the average car owner.
Here's why consulting a professional is a smart move:
- Expertise: Certified technicians have undergone specific training to deal with advanced automotive electronics. They can quickly understand complex systems and find solutions that aren't available in your car's manual or online forums.
- Equipment: Professionals have access to the latest diagnostic tools and software needed to accurately diagnose and fix issues with backup cameras and related systems.
- Warranty and Guarantee: Services performed by professional technicians often come with a warranty or guarantee, offering you peace of mind. If the issue persists, you can usually take your car back for a follow-up at no additional cost.
Conclusion
In wrapping up, if your backup camera's giving you trouble, don't fret. Start by evaluating the problem and giving the lens a good clean.
If that doesn't do the trick, check the wiring connections for any issues. A system reset might be necessary.
However, if you've tried all these steps and still aren't seeing any improvement, it's time to call in a professional. They've got the expertise to diagnose and fix even the trickiest of issues.
Don't let a faulty camera keep you from safe driving.