Changing the blower motor in a Hyundai Sonata involves a few key steps:
- Identifying the faulty motor: Before starting the replacement process, it's crucial to locate the blower motor that is not functioning properly.
- Removing the old motor: Once the faulty motor is identified, it needs to be carefully removed from the vehicle. This may involve accessing the motor through the dashboard or engine compartment.
- Installing a new motor: After removing the old blower motor, the new one can be installed in its place. This step typically requires the use of a set of tools to securely attach the new motor.
Overall, changing the blower motor in a Hyundai Sonata is a manageable task that can help restore proper ventilation and heating/cooling functions to the vehicle.
Identifying a Faulty Blower Motor

Before you start the repair, it's crucial to recognize when your Hyundai Sonata's blower motor is on the fritz. The symptoms of a failing blower motor can range from the obvious to the subtle, but knowing what to look for can save you time and prevent further damage to your vehicle.
Initially, if you turn on your heating or cooling system and it doesn't blow air at all, that's a clear sign something's wrong. But it's not just about the absence of airflow. You might notice that the air isn't coming out as powerfully as it used to, or it's only working at certain speeds. This inconsistency can indicate that your blower motor is struggling to perform properly.
Another tell-tale sign is strange noises coming from the dashboard area when the air system is in use. If you hear rattling, banging, or whining, it's likely that the blower motor's components are worn out or damaged. This isn't something to ignore, as it can lead to a complete failure.
Moreover, pay attention to unusual smells. A burnt odor could mean the motor is overheating, which is a serious issue. This can happen when the motor's working harder than it should, possibly because of blockages or mechanical failure.
Spotting these signs early can make the difference between a simple fix and a costly repair. So, it's essential to be vigilant and address any issues as soon as you notice them. This way, you'll make sure your Hyundai Sonata's blower motor is in top shape.
Necessary Tools and Materials
Identified the signs of a faulty blower motor in your Hyundai Sonata, you'll now need a specific set of tools and materials to carry out the repair. This step is important because having everything ready before you start will make the process smoother and faster. You don't want to be halfway through the job only to realize you're missing a key tool.
To start, you'll need a basic toolkit. This should include screwdrivers (both flathead and Phillips), a socket set, and pliers. These tools will help you remove screws, bolts, and other fasteners.
Next, make sure you have a good flashlight or a work light. You're going to be working in some tight, dimly lit spaces under the dash, and good visibility is important for a successful job.
To end, it's wise to have some electrical contact cleaner on hand. This can be used to clean the electrical connections on your new blower motor before installation, ensuring a good, clean contact and helping to prevent future issues.
Here's a quick checklist to keep you on track:
- Basic Toolkit: Includes screwdrivers, a socket set, and pliers.
- Lighting: A strong flashlight or work light to illuminate the working area.
- Electrical Contact Cleaner: For cleaning connections on the new blower motor.
Having these tools and materials at the ready won't only expedite the replacement process but also help ensure that the job is done right the first time. Remember, preparation is key to a smooth and efficient repair.
Accessing the Blower Motor
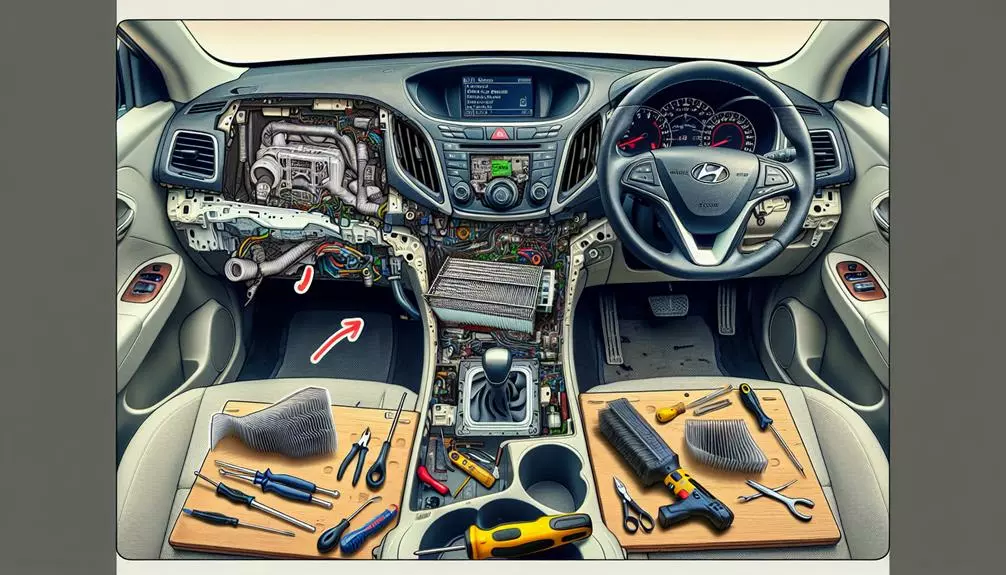
To access the blower motor in your Hyundai Sonata, you'll need to locate it beneath the passenger side dashboard. This spot is typically shielded by a plastic cover or panel, which you'll have to remove. Grab your screwdriver as you'll need it to unscrew the panel. Keep a container nearby to hold these screws; you don't want to lose them.
Once the screws are out, gently pull the panel away. You might encounter some resistance, but it should come off without much force. Be mindful of any electrical connectors attached to the panel. If you find any, disconnect them carefully to avoid damaging the wires.
With the panel removed, you'll get your initial glimpse of the blower motor. It's usually a cylindrical component, easily distinguishable from the surrounding parts. Before you proceed, take a moment to examine the area. Make sure there's no debris or anything else that might obstruct your work. If you see leaves or dirt around the motor, now's a good time to clean it out. Just make sure you're not disturbing any electrical connections.
You might notice the blower motor's electrical connector. Don't unplug it just yet, as that's a step for later in the process. Instead, familiarize yourself with its location and how it's attached. Knowing this will save you some hassle when it's time to disconnect it.
Removing the Old Blower Motor
Once you've located the blower motor, you'll need to disconnect its electrical connector to remove it. This is a vital step in ensuring you don't damage the motor or the vehicle's electrical system. Firmly press down on the tab on the connector and pull it away from the motor. It should come off easily, but if it doesn't, wiggle it gently until it releases.
Next, you'll encounter a few screws or bolts securing the blower motor in place. Here's where you'll need a few tools handy:
- Screwdriver or Drill: For unscrewing the fasteners. A magnetic tip is helpful to avoid dropping screws.
- Socket Wrench: Some models use bolts instead of screws. A socket wrench with the appropriate size socket will make this task easier.
- Flashlight: Good lighting is vital. Often, the blower motor is in a dimly lit area.
After the fasteners are removed, you'll need to gently pull the blower motor out of its housing. It might be a bit snug, so be patient and apply even pressure to avoid damaging any components. Sometimes, the motor will have a rubber gasket or seal around it. If this is the case, make sure you don't tear it as you remove the motor.
Installing the New Blower Motor
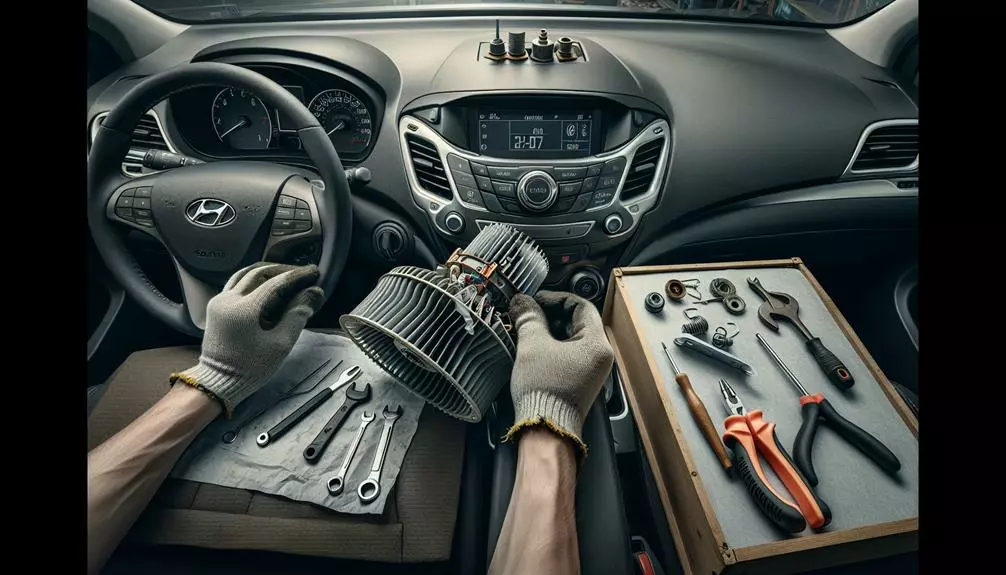
After removing the old blower motor, it's time to install the new one to make sure your Hyundai Sonata's HVAC system operates smoothly. This step is important for making sure that your car's interior remains comfortable, regardless of the weather outside.
Start by carefully aligning the new blower motor into the housing. Make sure it's positioned correctly; it should fit snugly without any force. Once it's in place, secure it with the screws you removed earlier. Don't overtighten them, as this could damage the new motor or its housing.
Next, reconnect the electrical connector. This should click into place easily if you've aligned everything correctly. It's vital to ensure a secure connection to avoid any operational issues with your HVAC system.
Lastly, it's time to test your new blower motor. Turn on your car and adjust the HVAC settings to different speeds. You should notice a smooth operation and a significant improvement in air flow. If everything sounds and feels right, you've successfully installed your new blower motor.
To aid in the installation process, here's a quick reference table:
| Step | Description |
|---|---|
| 1 | Align and insert the new motor into the housing |
| 2 | Secure the motor with screws |
| 3 | Reconnect the electrical connector |
| 4 | Test the new blower motor |
This table provides a concise overview of the installation steps, helping you make sure that nothing is overlooked. By following these instructions, you'll have your Hyundai Sonata's HVAC system running efficiently in no time.
Conclusion
You've successfully navigated through identifying and swapping out a faulty blower motor in your Hyundai Sonata. Armed with the right tools and a bit of patience, you've accessed, removed, and installed the new motor, ensuring your car's HVAC system is back in top shape.
Remember, maintaining your vehicle's components is key to a comfortable and safe driving experience. Great job on taking this DIY project head-on and giving new life to your Sonata's blower motor!