To change the Hyundai i30 brake light:
- Gather your tools.
- Access the rear light assembly.
- Remove the old bulb.
- Install the new one carefully to avoid damage.
Gather Your Tools

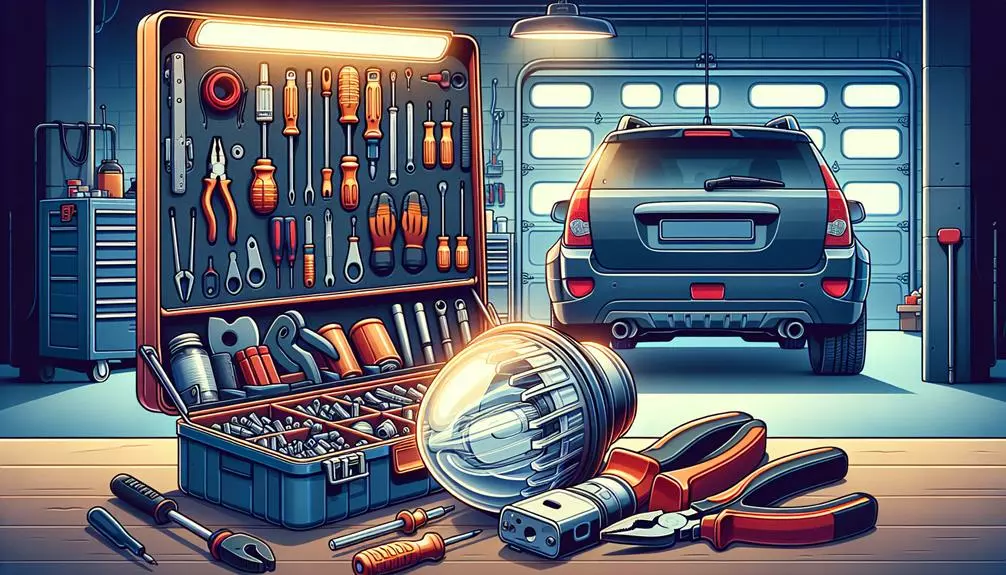
Before you start the process of changing the brake light on your Hyundai I30, you'll need to gather a few necessary tools. Initially, you'll need a screwdriver, but make sure you've got both a flathead and a Phillips-head since you might encounter different types of screws. Don't forget that some I30 models might require specific tools for removing the light assembly, so it's a vital idea to check your car's manual just to be sure.
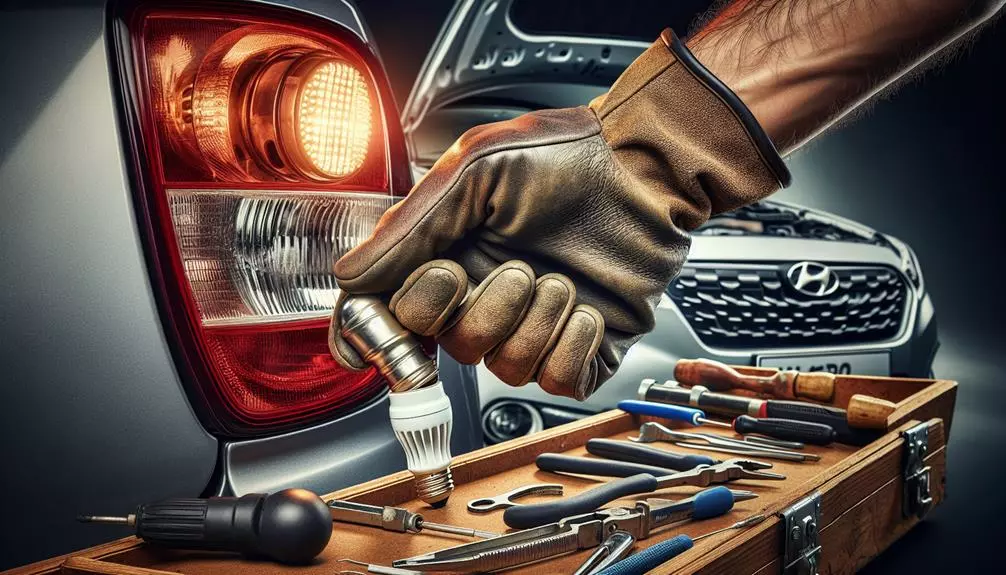
Next, you'll want to grab a pair of gloves. Working with gloves isn't just about keeping your hands clean; it's crucial about safety and ensuring you don't accidentally damage the new brake light bulb with oils from your skin. A clean, lint-free cloth will also come in handy for cleaning the area around the brake light housing or the new bulb before installation. This step is essential for ensuring that everything fits perfectly and operates without a hitch.
You'll also need the replacement brake light bulb. It sounds obvious, but you'd be surprised how many folks forget to pick one up before they start. Your Hyundai I30's manual should tell you exactly what type of bulb you need. If you've lost your manual, a quick internet search or a visit to your local auto parts store should set you straight.
Accessing the Brake Light
Once you've gathered all the necessary tools, accessing the brake light on your Hyundai I30 is the next step in the replacement process.
To start, you'll need to open your car's trunk to reach the brake light compartment. Depending on your I30 model, the brake light might be located on the trunk lid itself or above the rear window. Look for a plastic cover or panel on the inside of the trunk lid or the car's interior lining near the rear window. This cover protects and conceals the brake light assembly.
Next, carefully remove this cover. In most cases, it's held in place by clips or screws. If it's clips, you can use a flathead screwdriver to gently pry the cover off. Be gentle to avoid breaking the clips. If it's screws, you'll need a screwdriver that matches the screws' head. Turn the screws counterclockwise to loosen them, and keep them somewhere safe so you don't lose them.
Once the cover is off, you'll see the backside of the brake light assembly. This is where the brake light bulb is housed. You should be able to clearly see the bulb and its socket. It's crucial not to touch or disturb any other wires or components in the assembly unnecessarily. Remember, we're just accessing the brake light at this stage, not removing anything yet.
Removing the Old Bulb

To remove the old brake light bulb from your Hyundai I30, make sure the vehicle's engine is off and the lights are switched to the 'off' position. Safety first, so also make certain you're wearing gloves to protect your hands from any sharp edges or the possibility of shattered glass.
Once you've accessed the brake light compartment, you'll see the bulb holder. It's usually a plastic base that the bulb fits into. Grasp this firmly and turn it counterclockwise. This action should release the holder from the light assembly. Different models might have slight variations, but generally, a quarter turn is all it takes.
With the bulb holder free, you can now remove the old bulb. It should pull straight out of the holder without much resistance. If it feels stuck, gently wiggle it back and forth while pulling it out to avoid breaking the bulb. Remember, these bulbs can be hot if they've been used recently, so caution is key.
Dispose of the old bulb properly. It's not just about tidiness; some brake light bulbs contain materials that are better off not thrown in the regular trash. Check your local regulations to see if automotive bulbs require special disposal methods.
At this point, you've successfully removed the old brake light bulb from your Hyundai I30. You're halfway through the process. Make sure to keep the bulb holder accessible and in a safe place to avoid any unnecessary hassle when you're ready to install the new bulb.
Installing the New Bulb
With your old brake light bulb removed, it's now time to install the new one into your Hyundai I30. This process is straightforward but requires careful handling to make sure the new bulb functions correctly and lasts. Here's a step-by-step guide to help you through the installation process:
- Select the Correct Bulb: Make sure you've got the right bulb for your Hyundai I30. The vehicle manual or an online search can confirm the bulb type you need. Using the wrong type can lead to malfunctioning lights or damage to your vehicle's electrical system.
- Prepare for Installation: Before handling the new bulb, it's wise to wear gloves or use a clean cloth. The oils from your skin can shorten the bulb's lifespan. Additionally, make sure the area around the light socket is clean to avoid any dirt getting into the housing.
- Insert the New Bulb: Carefully insert the new bulb into the socket. For most models, this will involve aligning the bulb with the socket and gently pushing it in until it's snug. Avoid forcing the bulb, as this can cause damage.
- Secure the Bulb: Once the bulb is in place, you'll need to secure it. This usually means twisting the bulb clockwise until it locks. Make sure it's firmly in place but don't over-tighten, as this could damage the bulb or socket.
Installing your new brake light bulb correctly ensures that it works efficiently and prevents premature failure. Follow these steps carefully to maintain your Hyundai I30's safety features.
Testing Your Work

After installing the new brake light bulb in your Hyundai I30, it's vital to test it to make sure it functions properly. You've already done the hard part, but this final step is critical to guarantee your safety and compliance with road regulations.
Here's how to test your work efficiently. Initially, you'll need a helper to assist you since it's difficult to press the brake pedal and check the lights at the same time. If you're alone, you can use a heavy object to apply pressure to the brake pedal, but having another person is safer and more reliable.
Before you start, make sure your car is in a safe position, preferably parked with the engine off and the parking brake engaged. You don't want it to accidentally move while testing the lights. Then, turn the ignition to the 'ON' position without starting the engine. This will power the electrical systems, including your brake lights.
Now, have your helper press the brake pedal while you stand behind the car to observe the brake light. It should light up immediately and brightly. If it doesn't, double-check the bulb installation and make sure that it's properly seated and connected. Also, check for any blown fuses or electrical issues that might be affecting the brake light circuit.
Testing your work not only confirms the success of your bulb replacement but also gives you peace of mind knowing that your vehicle is safe for driving. It's a simple step but a vital one for maintaining your Hyundai I30's functionality and safety on the road.
Conclusion
Congratulations! You've successfully changed the brake light on your Hyundai i30. By gathering the necessary tools, accessing the brake light, carefully removing the old bulb, and installing the new one, you've tackled an important maintenance task.
Always remember to test your work to make sure everything is functioning properly. This not only keeps your car in top shape but guarantees your safety on the road.
Great job on completing this DIY project with ease!