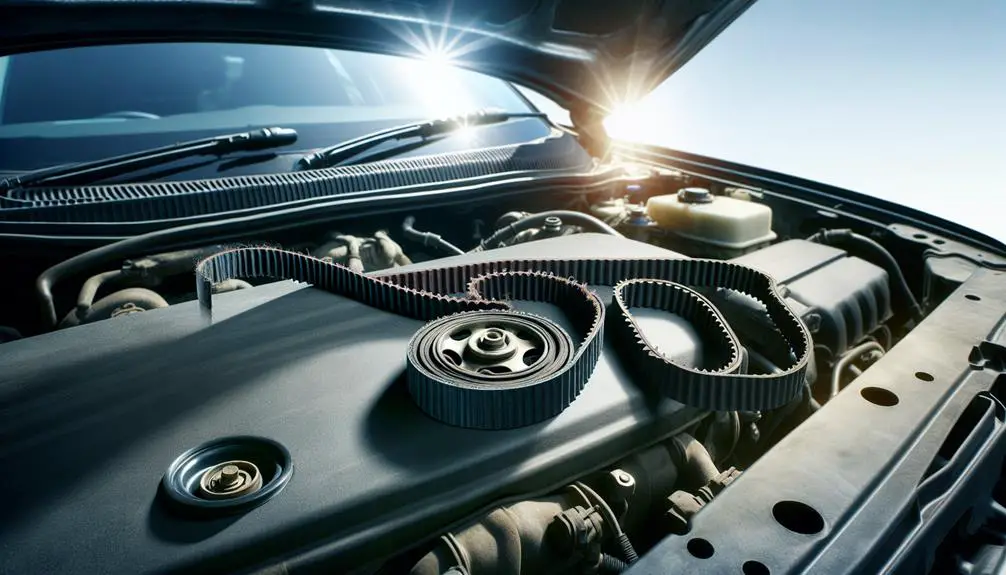
Fixing a broken drive belt involves several steps:
- Identifying the issue.
- Gathering tools.
- Removing the old belt.
- Installing the new one.
- Performing final checks.
Each of these steps is crucial for successfully repairing the drive belt.
Identify the Problem

Before tackling the repair, it's important to accurately diagnose a faulty drive belt by listening for unusual noises or observing fraying and cracks upon visual inspection. Knowing the belt's lifespan is vital; most manufacturers recommend a replacement every 60,000 to 100,000 miles, but this varies based on the belt's material and your vehicle's specific demands. If you're hearing a squealing or chirping under the hood, especially during startup or when you're using the vehicle's HVAC system, it's a clear sign the belt's integrity is compromised.
Noise diagnosis isn't just about recognizing the sounds but understanding what they indicate. A consistent squeal, for instance, often points to belt slippage – a sign of wear or improper tension. On the other hand, a rhythmic chirping noise might suggest misalignment or a pulley issue. During your visual inspection, look for signs of glazing on the belt's surface, which appears shiny and smooth. This indicates the belt has been slipping and is likely due for a replacement. Cracks, fraying, or any visible damage to the belt's ribs also demand immediate attention, as these flaws significantly reduce the belt's lifespan and the overall efficiency of your vehicle's system.
Gather Necessary Tools
Having identified a faulty drive belt, you'll now need a set of specific tools to undertake the repair effectively. It's imperative to gather all necessary equipment before starting to make sure the process is smooth and to adhere to safety precautions. Each tool plays a critical role in the repair, and proper tool maintenance is vital for both performance and safety.
Here's what you'll need:
- Socket Set: A complete socket set is indispensable for loosening and tightening the different bolts and nuts you'll encounter. Make sure your set includes a range of sizes to fit your vehicle's specifications.
- Screwdrivers: You'll need both flathead and Phillips screwdrivers. These are important for removing any covers or components obstructing access to the drive belt. Keep them in good condition, with clean, undamaged tips for the best grip.
- Torque Wrench: To make sure all components are reassembled to the correct tightness, a torque wrench is necessary. Over-tightening can cause damage, while under-tightening might lead to parts coming loose, so always follow the manufacturer's specifications.
Remove the Old Drive Belt

Guarantee your vehicle's engine is completely turned off and cooled down to avoid any injuries as you prepare to remove the old drive belt. Identifying the drive belt type is important before proceeding, as vehicles may be equipped with serpentine belts, V-belts, or timing belts, each requiring a slightly different approach for removal.
Initially, locate the belt tensioner. For serpentine belts, it typically requires a wrench or a special tool to release the tension. V-belts, on the other hand, might have a more straightforward adjustment mechanism. Carefully release the tension and unhook the belt from the pulleys. Inspect the belt as you remove it for signs of wear or damage, providing valuable insights for belt maintenance tips. Cracks, fraying, or significant wear are indicators that the belt was due for a replacement.
While the belt is off, it's an excellent opportunity to check the pulleys and tensioner for damage or wear. Spin them by hand to ensure they move smoothly and don't wobble. Any issues here can shorten the life of your new belt, emphasizing the importance of thorough belt maintenance.
Install the New Drive Belt
After removing the old drive belt, you'll need to carefully align the new belt with the pulleys according to your vehicle's specific layout. This step is critical for making sure the belt functions correctly and doesn't suffer premature wear.
When installing the new drive belt, consider the following:
- Correct Alignment: Make sure the belt sits perfectly in the grooves of the pulleys. Even a slight misalignment can cause the belt to wear unevenly or slip, leading to performance issues or a breakdown.
- Belt Tension: Adjust the tension according to the manufacturer's specification. Too tight, and you'll risk premature bearing wear or belt failure; too loose, and the belt might slip or squeal. A tension gauge can help you achieve the correct tension.
- Warranty Considerations: Make sure the belt you're installing is approved by your vehicle's manufacturer or doesn't void any existing warranties. Using non-approved parts can sometimes lead to warranty issues, should other related problems arise.
Carefully following these steps will help you successfully install your new drive belt, making sure it operates effectively and lasts as intended.
Perform Final Checks

Before you consider the job done, it's significant to conduct a series of final checks to make sure the new drive belt is installed correctly and functioning as expected. Begin with a belt tension adjustment. With the vehicle off, press firmly on the belt at a midpoint between two pulleys. It should deflect no more than 1/2 to 3/4 inch. If it deflects more or less, adjust the tensioner following the manufacturer's specifications. Too tight, and it can wear out bearings and the belt prematurely; too loose, and it might slip or squeal.
Next, start the engine for an engine performance test. Listen for any unusual sounds such as squealing or chirping, which could indicate an improperly aligned belt or incorrect tension. Watch the belt in motion to ensure it's running smoothly over the pulleys without wobbling or fraying edges. Additionally, check all related components like the alternator and water pump to make sure they're operating correctly.
These steps are significant for verifying that the belt installation was successful, preventing potential breakdowns, and extending the lifespan of the belt and associated components. Remember, skipping these checks could lead to further issues down the road.
Conclusion
Now that you've successfully installed your new drive belt, it's essential to perform a final inspection. Make sure it's correctly aligned and tensioned to prevent slippage or damage.
Fire up your engine and listen for any unusual noises, indicating improper installation. Remember, regular checks and maintenance on your drive belt can greatly extend its lifespan.
Keep this guide handy for future reference, and don't hesitate to consult a professional if you encounter any issues during the process.