Identifying the correct bulb is the first step in replacing the brake light on a 2017 Hyundai Elantra. Once the correct bulb is identified, it is crucial to gather all the necessary tools for the job. Accessing the brake light assembly is the final step in the process. With proper guidance and attention to detail, this process can be smooth and straightforward.
Remember to exercise caution and follow the manufacturer's instructions carefully when working on your vehicle's brake lights.
Identifying the Right Bulb

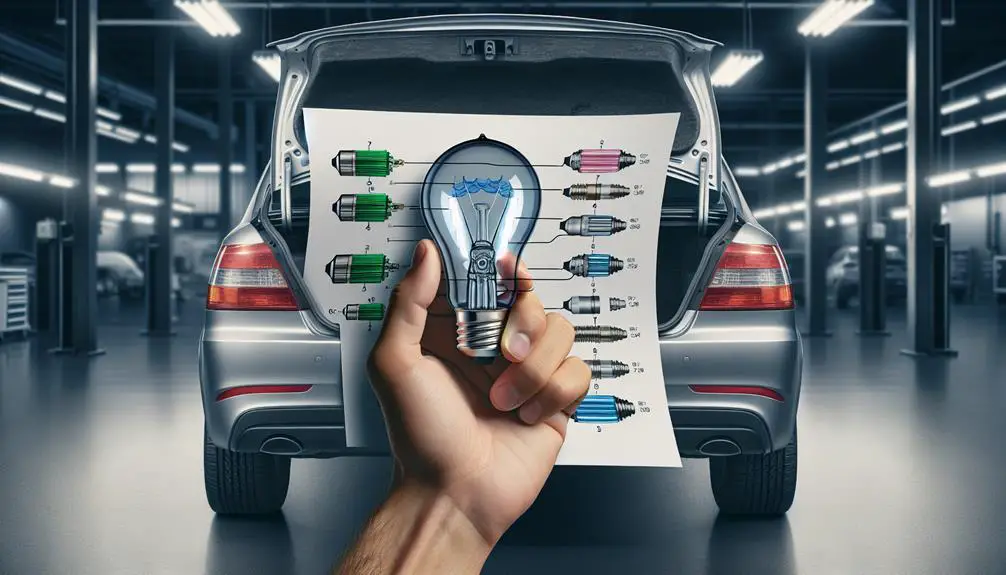
Before you can replace your 2017 Hyundai Elantra's brake light, you'll need to identify the correct bulb type. This might seem challenging at the outset, but don't worry, it's a straightforward process once you know what you're looking for. The manual that came with your car is your best friend in this situation. It'll list the exact bulb type required for your brake lights. Typically, for a 2017 Hyundai Elantra, you're looking at a bulb type of 2357 for the brake light.
If you've misplaced your manual, don't worry. You've got other options. A quick search online with your car's make, model, and year will yield the right bulb type. There are online databases and forums where car enthusiasts and professionals share this kind of information. Just make sure you're double-checking the source to guarantee accuracy.
Another approach is to remove the existing bulb and look for any markings that indicate its type. Most bulbs will have the type printed on the base or the bulb itself. This can be a bit more hands-on but ensures you're getting the exact match for your replacement.
Gathering Necessary Tools
Now that you've identified the correct bulb type for your 2017 Hyundai Elantra's brake light, it's time to gather the tools you'll need for the replacement.
First off, you'll need a Phillips head screwdriver. This tool is critical for removing the screws that hold the brake light cover in place. Make sure you have a screwdriver that fits well to avoid stripping the screws.
Next, grab a flathead screwdriver as well. You might need it to gently pry off the brake light cover without causing any damage. It's all about being gentle and precise here.
Another important tool is a pair of gloves. You'll want to wear these to keep your hands clean and to avoid direct contact with the new bulb. Oils from your skin can shorten the bulb's lifespan, so this step is more vital than it might seem.
It's also wise to have a small container or a magnetic tray on hand. As you remove the screws and possibly other small parts, you don't want to lose them. Keeping them in a container ensures they're right where you need them when it's time to put everything back together.
Lastly, make sure you have good lighting. Whether it's a work light or a flashlight, you need to see what you're doing clearly. Working in a well-lit area reduces the chances of mistakes and makes the process smoother.
Gathering these tools before you start ensures a smooth replacement process. You're now ready to move on to the next step, equipped with everything you need to successfully replace your brake light.
Accessing the Brake Light Assembly

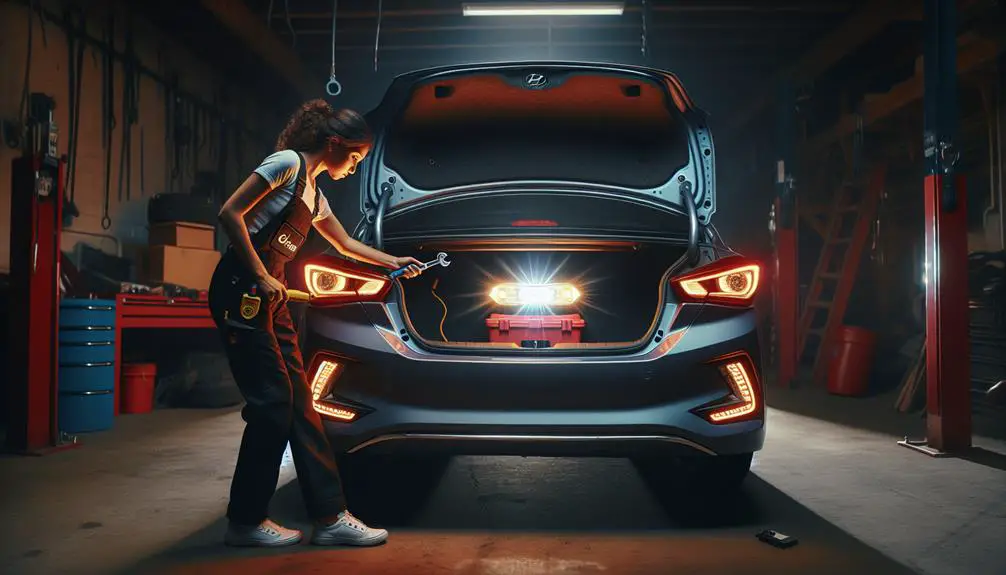
With all the necessary tools in hand, it's time to access your 2017 Hyundai Elantra's brake light assembly for replacement. This step is important and must be done with care to avoid any damage to the vehicle's exterior or the brake light assembly itself. Initially, make sure your Elantra is parked on a flat surface and you've turned off the engine. It's wise to engage the parking brake for added safety.
Accessing the brake light assembly involves a few straightforward steps:
- Open the trunk of your Elantra to expose the backside of the brake lights. You'll need to remove the trunk's lining or cover to reach the brake light assembly. This is usually secured by clips or fasteners that can be easily removed by hand or with a flathead screwdriver.
- Look for a plastic access cover or panel directly behind the brake light you intend to replace. These covers are designed to protect the backside of the light assembly from dust and damage.
- Carefully remove the access cover. This should expose the back of the brake light assembly, including the socket that holds the brake light bulb in place.
Removing and Replacing the Bulb
Once you've exposed the brake light assembly, gently twist the bulb socket to remove it and access the burnt-out bulb. This step requires a bit of importance— you don't want to apply too much force and risk damaging the socket. With the socket in hand, you'll see the old bulb. It's held in place by a simple push-and-turn mechanism. Push gently and turn it counter-clockwise to free it from the socket. Don't be too hasty here; it should come out with minimal effort.
Now, you're ready to insert the new bulb. Before you do, take a moment to compare it with the old one. Make sure it's the same type and size. Any discrepancy could mean a trip back to the store or, worse, a non-functioning brake light. Once you're sure it's the correct bulb, insert it into the socket. This time, you'll push and turn clockwise until it locks into place. It's important that the bulb is securely fitted; a loose bulb can lead to intermittent light function or none at all.
With the new bulb snugly in its socket, it's time to reattach the socket to the brake light assembly. Align it carefully and twist it clockwise until it's firmly in place. This shouldn't require much force. Make sure it's properly secured, as a loose connection can lead to issues down the line.
You've now successfully replaced the bulb in your 2017 Hyundai Elantra's brake light. This simple process can save you a trip to the mechanic and the associated costs, in addition to the satisfaction of having done it yourself.
Testing the New Brake Light

Before hitting the road again, it's vital you test the newly installed brake light to make sure it's working correctly. This step is critical not just for your safety, but also to make sure you're complying with road safety regulations. Here's how you can efficiently test the brake light on your 2017 Hyundai Elantra.
Initially, you'll need a helping hand – someone who can press the brake pedal while you check the light from the outside. If you're alone, you can set up a mirror behind the car to reflect the light, allowing you to see it from the driver's seat, even though having a friend assist you is more reliable.
Once you're set up, follow these simple steps:
- Turn on the ignition: You don't need to start the engine, but the ignition must be on for the brake lights to work.
- Press the brake pedal: Have your helper press down on the brake pedal or do it yourself if you're using the mirror method.
- Observe the brake light: Look for the illumination of the newly installed brake light. It should light up brightly and consistently without flickering.
If the brake light turns on as expected, you've successfully replaced it, and your car is safer for it. However, if it doesn't light up or flickers, double-check your installation. Make sure the bulb is properly seated and that all connections are secure. Sometimes, a simple adjustment can fix the issue.
Testing your brake light is a quick but vital step in ensuring your vehicle's safety features are fully operational.
Conclusion
You've successfully navigated through identifying the correct bulb, gathering the tools you needed, accessing the brake light assembly, and replacing the bulb in your 2017 Hyundai Elantra.
Now, with the new brake light in place, it's important to test it out to make sure it's working perfectly. Turn on your car, press the brake pedal, and maybe have a friend check or use a reflection to confirm the light's functionality.
You've tackled this task efficiently, making sure your safety on the road. Well done!