If you need to replace a catalytic converter on your vehicle, you can follow these general steps:
- Prepare the Vehicle:
- Park the vehicle on a flat surface and engage the parking brake.
- Allow the exhaust system to cool down before starting the replacement process.
- Locate the Catalytic Converter:
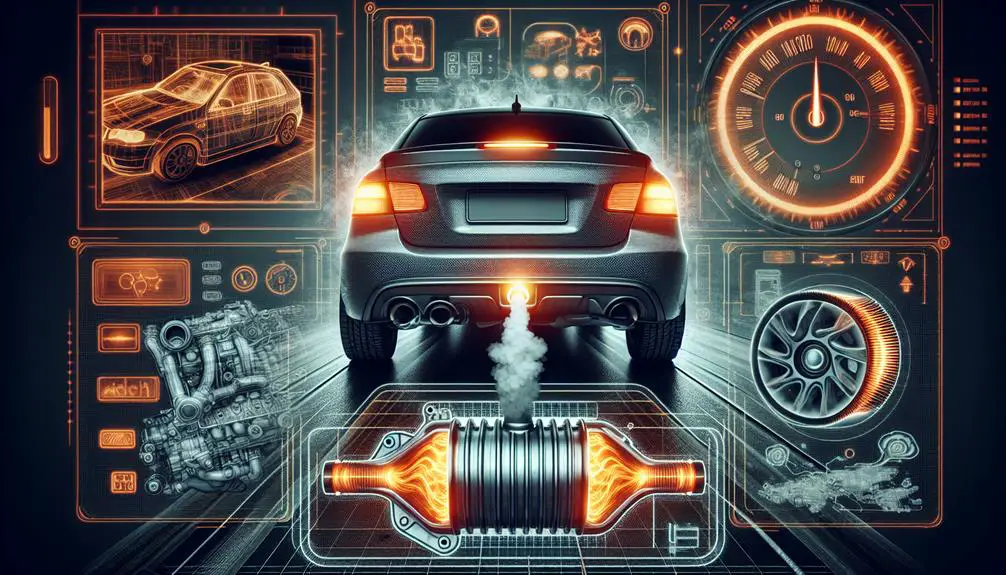
- The catalytic converter is typically located underneath the vehicle, between the exhaust manifold and the muffler.
- Disconnect the Old Converter:
- Use a wrench to loosen and remove the bolts or clamps securing the old catalytic converter to the exhaust system.
- Carefully disconnect any sensors or pipes attached to the converter.
- Install the New Converter:
- Position the new catalytic converter in place and reconnect any sensors or pipes.
- Secure the new converter by tightening the bolts or clamps.
- Test the Installation:
- Start the vehicle and check for any exhaust leaks or unusual noises.
- Take a short test drive to ensure the new catalytic converter is functioning properly.
Remember to consult your vehicle's manual or seek professional help if you are unsure about any step in the replacement process.
Recognizing Failure Symptoms
Identifying the signs of a failing catalytic converter can save you from more severe car troubles down the line. You'll initially notice a decrease in gas mileage. If you're filling up the tank more often without changing your driving habits, it's a red flag. Your car might struggle to accelerate, feeling sluggish when you press the gas pedal. This lack of power is because of the converter's reduced ability to process exhaust gases.
Another tell-tale sign is a sulfur or rotten egg smell emanating from the exhaust. This odor indicates that the converter isn't breaking down the sulfur compounds in the fuel completely. If you're hearing a rattling noise from under your vehicle, it's possible that the internal structure of the converter is breaking down.
Lastly, if your check engine light comes on, don't ignore it. While this light can indicate a variety of issues, combined with the symptoms above, it strongly suggests your catalytic converter needs attention. Paying heed to these signs and acting promptly can prevent further damage to your vehicle and guarantee you're not caught off guard by a sudden breakdown.
Selecting the Right Converter
Choosing the right catalytic converter for your vehicle is pivotal to make sure it runs efficiently and meets emission standards. This decision can greatly impact your car's performance and its ability to pass emissions tests. It's not just about grabbing any converter off the shelf; you need to take into account several key factors to make sure you select the best option for your needs.
When selecting a catalytic converter, take into account the following:
- Compatibility: Make certain the converter you choose is designed for your vehicle's make, model, and year. Mismatched converters can lead to poor performance or even damage to your vehicle.
- Type of Converter: There are universal converters and direct-fit converters. Universal converters require modifications for installation, while direct-fit converters are designed to be an exact replacement, making installation straightforward.
- Emission Standards: Your vehicle must meet specific emission standards, which can vary by state or country. Check the requirements for your area to make sure the catalytic converter you choose is compliant.
Selecting the right catalytic converter isn't just a matter of compliance; it's about optimizing your vehicle's performance and ensuring it runs cleanly and efficiently. By taking into account these factors, you'll be well on your way to making an informed choice.
Preparing for Replacement

Once you've selected the right catalytic converter, it's time to prepare for its replacement to guarantee a smooth installation process. Initially, make sure you've got all the necessary tools on hand. You'll need a wrench set, a ratchet and socket set, possibly a breaker bar for extra force, and safety equipment like gloves and safety glasses. Don't forget about the jack stands and hydraulic jack for safely lifting and securing your vehicle.
Next, give yourself enough time and space. Replacing a catalytic converter isn't a quick job, so clear out a workspace where you won't be rushed. Make sure the ground is flat and stable to safely support your vehicle on jack stands.
Before you start, it's essential to let your car cool down. Working on a hot exhaust system is dangerous. Allow your vehicle to sit until it's completely cool, typically a few hours after use. This waiting period isn't just for safety; it also prevents damage to both the new converter and your vehicle.
Installation Process
Begin by raising your vehicle securely on the jack stands to access the catalytic converter easily. Once you've removed the old converter, it's time to install the new one. Make sure you've got all your tools and the new converter ready. The installation process is straightforward, but attention to detail is essential.
Before you start, consider these key points:
- Make sure the engine is cool: Working on a hot engine increases the risk of burns.
- Have the right tools: A ratchet set, wrenches, and possibly a penetrating oil spray will make the job easier.
- Check for gaskets and seals: Some converters come with new gaskets; if not, you'll need to purchase them separately.
Align the new catalytic converter with the exhaust system's mounting points. It's important to get this alignment correct to avoid leaks or performance issues. Hand-tighten the bolts initially to ensure everything lines up properly. Once you're sure of the fit, use your wrench to tighten the bolts to the manufacturer's recommended torque specifications. Remember, overtightening can strip the threads or damage the new converter, so proceed with caution.
Now that the new converter is in place, you're ready to lower the vehicle and start the engine. Check for any unusual noises or signs of exhaust leaks before taking it for a test drive.
Post-Installation Tips
After installing your new catalytic converter, it's important to perform a few follow-up checks to make sure everything is functioning correctly.
First, double-check all connections to make sure they're secure and leak-free. Loose or improper fittings can lead to exhaust leaks, which not only reduce your vehicle's efficiency but can also be dangerous.
Next, start your vehicle and let it run for a few minutes. Listen closely for any unusual noises, such as rattling or hissing, which could indicate that the converter isn't fitted correctly or there's a leak somewhere in the exhaust system. If you hear anything out of the ordinary, it's essential to address it immediately to prevent further issues.
It's also a good idea to take your car for a short test drive. This allows you to monitor the performance and make sure the engine's running smoothly with the new converter in place. Pay attention to any warning lights on your dashboard, especially the check engine light, as this could indicate a problem with the installation.
Conclusion
Now that you've tackled the task of replacing your catalytic converter, you're set for a smoother ride. Remember, recognizing the signs of failure early on, choosing the right converter, and preparing thoroughly are key steps.
With careful installation and adhering to post-installation tips, you've not only fixed an important part of your car but guaranteed it runs efficiently. Keep an eye on your vehicle's performance and enjoy the benefits of your hard work.
Safe driving!