Replacing a Hyundai door handle involves several steps, starting with removing the door panel.
Next, unhook the old handle carefully to avoid damaging any surrounding components.
Finally, install the new handle securely, making sure it is aligned properly for smooth operation.
Gather Required Tools

Before beginning the replacement of your Hyundai door handle, make sure you've gathered all necessary tools, including a Phillips head screwdriver, a flat blade screwdriver, and a panel removal tool, to help with a smooth and efficient process. Proper tool selection is vital for handle maintenance, ensuring that you don't damage the door or the handle mechanism during the replacement.
A Phillips head screwdriver is indispensable for unscrewing the fasteners that secure the door handle in place. Opt for a screwdriver with a comfortable grip and a size that matches the screws on your Hyundai door handle to prevent stripping the screw heads.
The flat blade screwdriver serves a dual purpose. You'll use it to gently pry open the cover that hides the screws securing the handle, and to help with the detachment of connectors, if necessary, without causing damage. Its slim profile allows for precision in tight spaces.
Lastly, a panel removal tool is necessary to safely detach the door panel clips without breaking them. This specialized tool is designed to evenly distribute force, reducing the risk of damaging the door panel during removal.
Together, these tools form the foundation of a successful handle maintenance toolkit, ensuring you're well-equipped to tackle the replacement with confidence.
Remove Door Panel
With the necessary tools in hand, you'll next want to carefully remove the door panel to access the Hyundai door handle mechanism. The process requires attention to detail, ensuring you don't damage the panel or the components hidden beneath it. Here's a step-by-step guide:
- Locate and unscrew all visible screws on the door panel. They're often hidden under caps or within the door handle cavity. Remember, precise unscrewing prevents damage to the panel's aesthetics and ensures smoother reassembly.
- Pry gently around the edges of the door panel with a trim removal tool. Start at the bottom and work your way around. This step requires patience and delicacy to maintain the integrity of the panel and prevent any unsightly prying marks.
- Disconnect any electrical connectors. This might include power window controls or door lock cables. Handle these connectors with care to avoid any damage that could affect the functionality of your door's features.
- Lift the door panel away from the frame. Once all fasteners and connectors are detached, lift carefully to access the door handle mechanism. This is the perfect time to apply door lubrication, ensuring smooth operation and enhancing the handle's aesthetics and functionality.
Unhook Old Handle
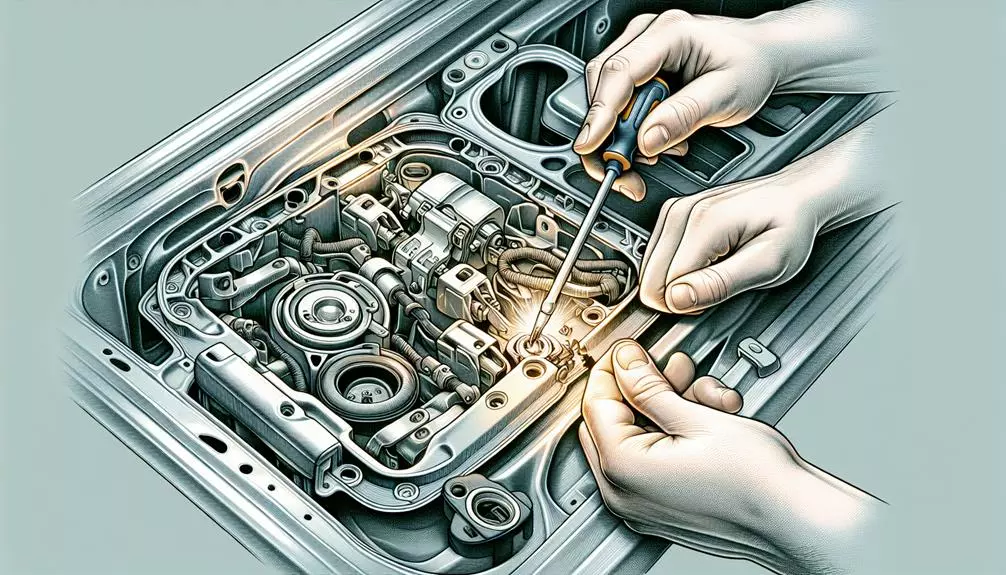
Once you've successfully removed the door panel, locating and accessing the old Hyundai door handle mechanism is your next step. You'll find the handle secured by screws or bolts, hidden beneath coverings or directly visible, depending on your Hyundai model. Use the appropriate screwdriver or socket wrench to carefully remove these fasteners. Remember, handle durability is important for maintaining your car's functionality, so proceed with caution to avoid damaging the surrounding areas.
Next, you'll need to disconnect any mechanical or electrical connections. This might include a linkage rod for the lock mechanism or wiring for integrated lights or sensors in the case of more advanced models. Gently detach these connections, taking note of their configuration for later reassembly.
Once all connections are unhooked, the handle should be free to remove. Inspect it for signs of wear or damage that could have contributed to its failure. If you're planning on reusing any components like the locking mechanism, now's the time to detach them carefully.
Before proceeding to the next step, make sure you have a replacement handle that matches your Hyundai's color and specifications. Color matching is important for maintaining your vehicle's aesthetic.
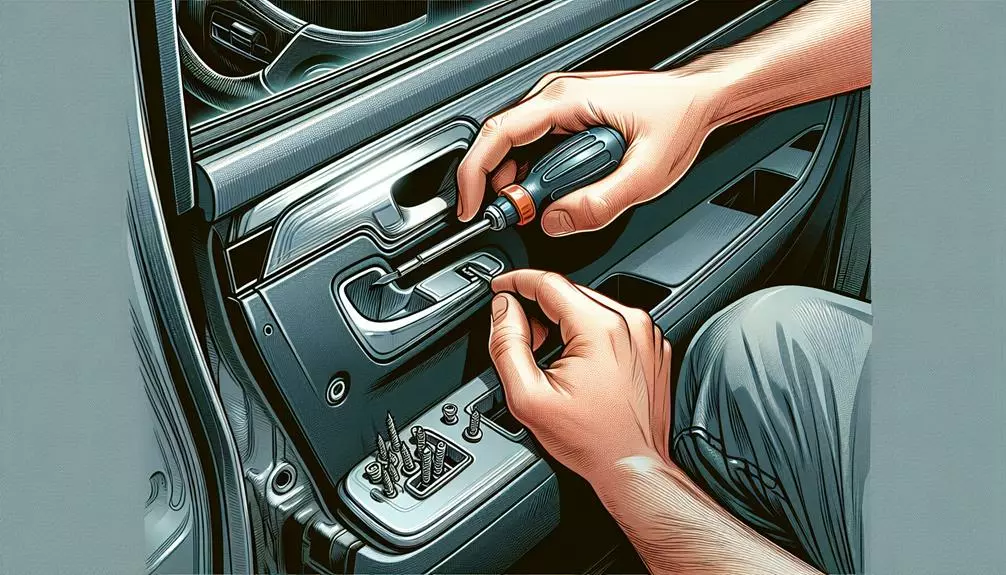
Install New Handle
Having ensured you have the correct replacement handle for your Hyundai, the next step involves positioning it against the door to align with the mounting holes. This is important for both handle maintenance and door aesthetics.
Here's how you proceed:
- Carefully insert the new handle into the door's exterior side. Make certain it's perfectly flush against the panel, ensuring an aesthetically pleasing fit that compliments your Hyundai's sleek design.
- Align the handle with the mounting holes. This might require slight adjustments. Feeling the handle click into place can be surprisingly satisfying, marking a significant step towards restoring your car's functionality and appearance.
- Secure the handle with screws or bolts, depending on your model. Tighten them sufficiently but avoid over-tightening, as this could damage the handle or door. This balance ensures longevity and reliable handle performance.
- Reconnect any electrical connections if your model has keyless entry or power locks. This step is important for the handle to function correctly and integrates it seamlessly with your vehicle's security features.
Reassemble Door Panel
Now that you've successfully installed the new handle, it's time to focus on reassembling the door panel to complete the repair process on your Hyundai. Begin by aligning the door panel with the mounting brackets. Make sure that the panel is correctly positioned to avoid any gaps or misalignments that could affect door functionality or appearance. Before securing the panel, double-check the paint matching around the handle area to guarantee a seamless look.
Next, firmly press the panel into place, starting from the top corner and working your way down. This ensures all clips and fasteners engage correctly. If your door panel uses screws or bolts, replace them by hand initially to prevent cross-threading. Once all are in place, tighten them with the appropriate tool but be careful not to over-tighten and damage the panel.
Now, apply lubrication tips for a smooth operation. A light application of grease on the handle mechanism and any moving parts can prevent future sticking or noise issues.
Lastly, reconnect any electrical connectors for window controls or door locks that were disconnected during disassembly. Test these functions to make sure everything is working correctly before considering the job completed.
Conclusion
Once you've installed the new handle, carefully retrace your steps to reassemble the door panel. Make sure all clips and screws are securely fastened, and don't forget to reconnect any electrical connectors you've disconnected.
Gently snap the panel back into place, making sure a snug fit without forcing it. Your Hyundai's door should now open smoothly with the new handle in place.
Remember, precise and patient work during installation guarantees ideal functionality and maintains the integrity of your door's structure.