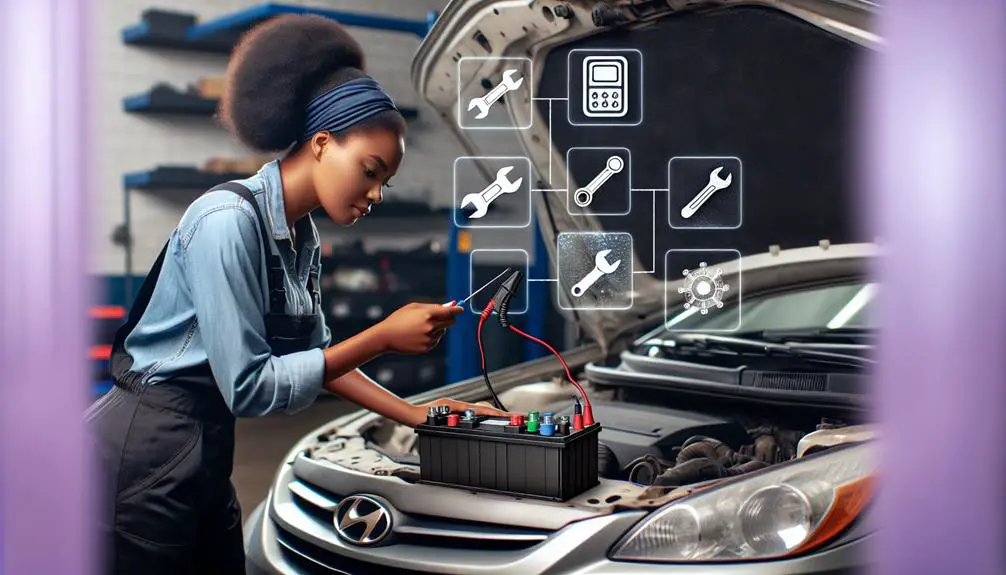
Replacing your Hyundai's car battery involves several steps.
First, you need to identify the old battery's condition.
Next, gather all the necessary tools for the task.
Then, correctly disconnect the old battery.
After that, install the new battery securely.
Finally, follow a post-installation checklist to ensure everything is in order.
Identifying Battery Issues

Several signs show your Hyundai's battery may be failing. These include:
- Slow engine start: If the engine takes longer to start when you turn the key or press the start button, your battery may be weak.
- Dimming headlights: Headlights that fade or flicker at low speeds indicate a low battery power.
- Electrical issues: If the radio, dashboard lights, or other electrical components work inconsistently or with reduced effectiveness, the battery mightn't be holding a charge well.
- Frequent jump-starts: Needing to jump-start your car often suggests the battery is close to failing.
- Physical damage: Check the battery for leaks, bulges, or bloating, which are signs of a potentially hazardous failing battery.
Noticing these signs early can prevent you from being stranded with a dead battery. It's important to replace a failing battery promptly.
Necessary Tools and Materials
To replace a Hyundai battery, you need specific tools and materials for a safe and successful process.
- Wrench or Socket Set: Essential for loosening and tightening the battery terminals and bracket. A 10mm size is usually needed.
- Protective Gloves and Safety Glasses: These are crucial for protecting your hands and eyes from battery acid and sparks.
- Baking Soda and Water: Have this mixture ready to neutralize any acid spills.
- New Battery: Make sure it's the right size and type for your Hyundai. Check the owner's manual or do an online search for this information.
Here's a summary table:
| Tool/Material | Purpose | Notes |
|---|---|---|
| Wrench or Socket Set | Loosen/tighten terminals | 10mm common |
| Protective Gloves | Protect hands | Safety priority |
| Safety Glasses | Protect eyes | Avoid injury from acid or sparks |
| New Battery | Replacement part | Ensure correct type for your model |
With these items, you're ready to change the Hyundai battery.
Removing the Old Battery

Before removing the old battery, park your Hyundai on flat ground and turn off the ignition. Wear gloves and eyewear for protection.
Follow these steps to remove the battery:
- Find the Battery: Open the hood and locate the battery, near the front, on either side. Look for the plus (+) and minus (-) signs on the terminals.
- Disconnect the Terminals: Start with the negative terminal to avoid short circuits. Loosen the nut with a wrench and remove the cable. Keep it away from metal. Do the same for the positive terminal.
- Take Out the Battery: Loosen the clamp or bracket holding the battery. Lift the battery out carefully, keeping a good grip.
Be careful and follow each step to safely remove the old battery and get ready to install a new one.
Installing the New Battery
After removing the old battery, it's important to make sure the new battery fits your Hyundai properly. Check for a correct size and type to avoid problems.
Before installing the new battery, inspect the battery tray and area for corrosion or damage. Clean or fix any issues to ensure a good base for the battery.
Follow these steps to install the new battery:
- Place the new battery so the terminals match the correct orientation.
- Use the clamp to firmly secure the battery in place.
- Connect the positive (+) terminal first to avoid short circuits.
- Connect the negative (-) terminal next.
- Ensure all connections are tight and secure to prevent starting issues or power loss.
By connecting the positive terminal before the negative, you reduce the risk of electrical shorts. Tight connections are crucial for reliable operation.
You have now successfully installed the new battery in your Hyundai. This process is efficient and can save time and money. Remember to dispose of the old battery properly according to local laws to protect the environment.
Post-Installation Checklist
After installing the new battery in your Hyundai, follow these steps to make sure everything is set correctly:
- Check Battery Connections
Make sure the battery terminals are connected well. The positive (+) and negative (-) terminals must be tight to avoid power problems. If connections are loose, it might cause issues with starting or electricity. Clean any dirty or corroded terminals with a wire brush for a good connection.
- Inspect for Correct Installation
Ensure the battery sits right in its tray and the clamp that holds it down is tight. This stops the battery from moving or shaking when driving, which could lead to damage or short circuits.
- Test Electrical System
Turn on your Hyundai and check if lights, radio, and air conditioning work well. This confirms the battery is giving power correctly and there are no hidden problems. If something doesn't work right, recheck your connections and the battery's charge level.
Following these steps makes sure the new battery is installed and working well. Your Hyundai is now ready to be driven with assurance.
Conclusion
Great job! You've changed your Hyundai car battery all by yourself. Now that your new battery is in place, you can drive around without worrying.
It's important to check how your battery is doing from time to time and take care of it to prevent any problems later.
Also, remember it's important to throw away your old battery the right way to help protect the environment.
Enjoy your drives knowing your car has the power it needs. Drive safely!