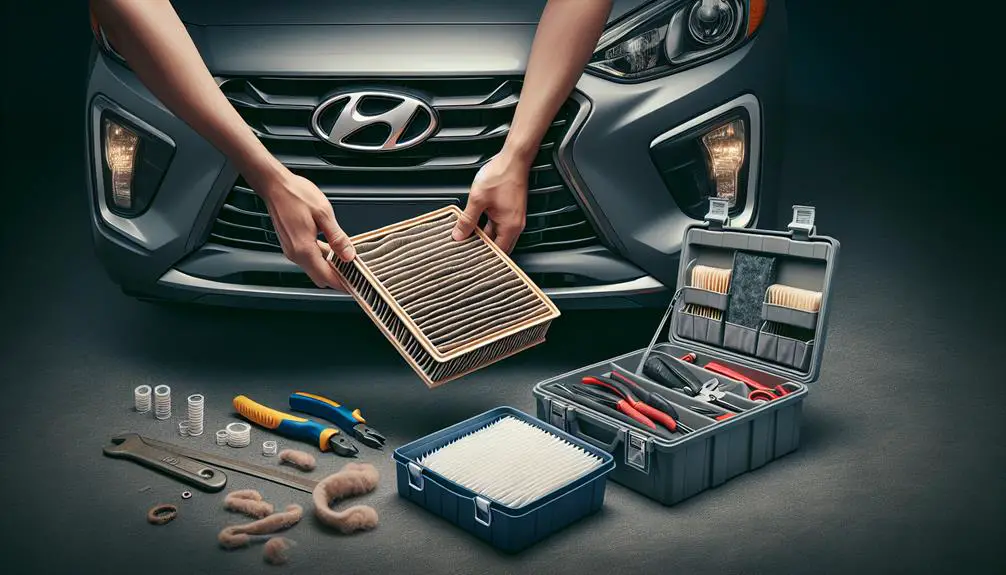
To replace the cabin air filter in a Hyundai Elantra:
- Gather basic tools.
- Locate the filter behind the glove box.
- Remove the old filter.
- Install a new one, ensuring proper fit and function to maintain interior air quality.
Gather Necessary Tools

To replace your Hyundai Elantra's cabin air filter, you need a few tools.
First, a Phillips-head screwdriver is essential, and a flat-head screwdriver might also be useful for removing screws or fasteners.
Wear gloves to keep your hands clean from dirt and protect them from sharp edges.
Use a flashlight or headlamp for better visibility in dim areas.
Finally, ensure you have the correct new cabin air filter for your car model and year ready before starting.
This preparation will make the replacement process smoother and quicker.
Locate the Cabin Air Filter
To find the cabin air filter in a Hyundai Elantra, follow these steps:
- Empty the glove box to make sure nothing falls out.
- Open the glove box fully by pressing the stoppers towards the center. This will let the glove box hang down and show the area behind it.
- Look for a rectangular plastic cover behind the glove box. This is where the filter is. The cover might have clips or tabs.
- Remember how the filter cover is placed. This is important for putting it back correctly later.
Remove the Old Filter

To remove the old cabin air filter in a Hyundai Elantra, follow these steps:
- Make sure the car is off and open the glove box completely. You may need to empty it for better access.
- Remove any fasteners or clips holding the glove box by using your hands or a screwdriver. Then, lower or remove the glove box to see the filter housing.
- Find the cover of the cabin air filter housing. It's usually a rectangular plastic lid with tabs or clips. Open it by pressing down or sliding these tabs.
- Before removing the old filter, remember its placement direction for later.
- Take out the old filter carefully. It might be tight, so gently wiggle it out. Expect some dust or debris to fall.
- Before putting in a new filter, check the housing for debris or leaves. Clean it with a vacuum cleaner using a soft brush attachment.
This ensures the new filter works well and improves air quality in the car.
Install the New Filter
To install the new cabin air filter correctly in your Hyundai Elantra, follow these simple steps:
- Check Filter Direction: Look for the airflow direction arrow on the filter. It should point towards the car's back. This matches the airflow system direction.
- Insert the Filter: Slide the new filter into its housing without leaving any gaps. If it doesn't fit right, it might be the wrong way around.
- Ensure Good Fit: Press the filter edges down after inserting it. This prevents unfiltered air from getting through.
- Reattach Clips or Cover: If there were any clips or a cover, put them back to secure the filter and stop any noise or movement while driving.
Final Checks and Testing

After installing the new cabin air filter in your Hyundai Elantra, check it works well. Do these steps:
- Turn on the ignition but don't start the engine. Put the air system on high and see if the air is stronger or smells better. If not, the filter might be in wrong or not all the way in.
- Listen for weird noises like rattling or whistling. If you hear any, turn off the system and check the filter again.
Here's a summary of what to check:
- Airflow: Look for stronger and fresher air.
- Noise: There shouldn't be any strange sounds.
- Odor: The bad smell should be gone, showing the filter is clean.
- Visual Inspection: Make sure the filter is in right.
Make sure everything is correct before finishing.
Conclusion
You did a great job changing the cabin air filter in your Hyundai Elantra! You found the right tools, took out the old filter, and put in a new one. This helps the air in your car stay clean. Always check to make sure everything is done right.
Changing the filter makes the air better and helps your car run well. Keep taking good care of your Elantra to make driving it nicer.