Replacing a Hyundai Elantra door handle involves several steps:
- Gathering tools.
- Removing the door panel.
- Disconnecting the old handle.
- Installing a new one with careful attention to detail.
Gather Necessary Tools

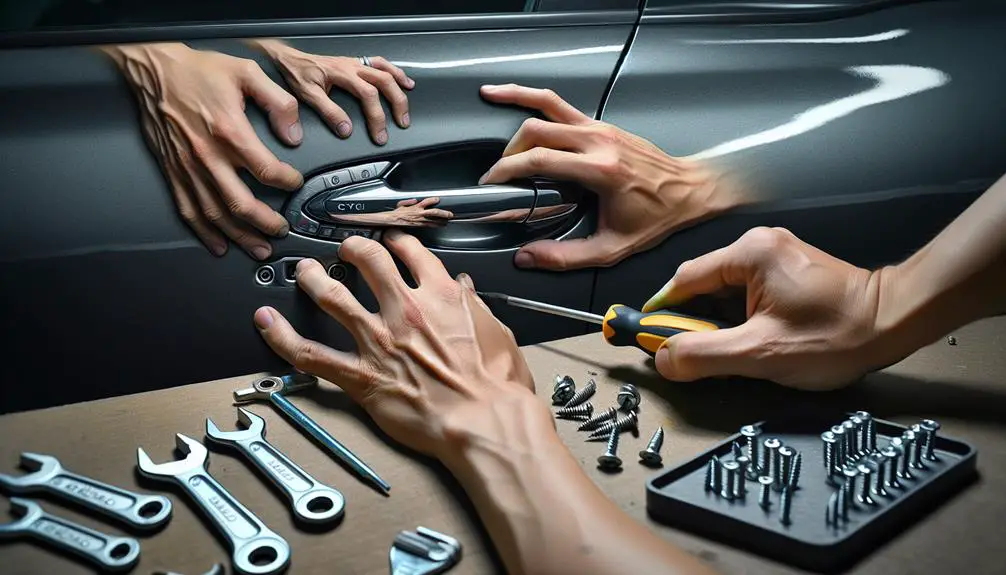
Before commencing the replacement of your Hyundai Elantra's door handle, make sure you've assembled the necessary tools: a Phillips head screwdriver, a flat-head screwdriver, a panel removal tool, and a Torx screwdriver set. These tools are critical in ensuring a smooth and efficient operation, minimizing the risk of damage to your vehicle's door panel and the handle mechanism itself.
Moreover, don't overlook the importance of cleaning supplies. A clean work area prevents debris from entering the door mechanism, which could impair the functionality of your new handle. A set of microfiber cloths and a gentle cleaning solution should suffice to wipe down the area before and after the installation process.
Comprehending the handle design of your Hyundai Elantra is essential. The design dictates the type of tools you'll need and influences the replacement process. Make sure you've familiarized yourself with the handle's design, including any unique fasteners or clips that might require specific tools not mentioned here.
Remove Door Panel
Having gathered all the necessary tools, you're now ready to remove the door panel from your Hyundai Elantra, starting with carefully prying off the trim piece around the handle using a panel removal tool. This initial step is essential for gaining access to the door panel clips that secure the panel in place.
To proceed with the interior trim removal, follow these steps closely:
- Locate the Screws: Find all screws holding the door panel to the frame. Typical locations include beneath the armrest, along the bottom edge, and behind the trim piece you just removed.
- Remove Screws: Using the appropriate screwdriver, carefully remove all screws. Keep them in a safe place to avoid loss.
- Detach Door Panel Clips: With all screws removed, gently but firmly pull on the door panel to release the door panel clips. A trim removal tool can be helpful here to avoid damage.
- Lift and Remove: Once all clips are detached, lift the door panel upwards to clear the window ledge and then away from the door to complete the removal.
Disconnect Old Handle

With the door panel removed, you'll next need to locate and disconnect the linkage connecting to the old handle. This step is important for successful handle maintenance and guarantees a smooth switch to a new handle that matches the color and specifications of your Hyundai Elantra.
To disconnect the linkage, you'll initially need to identify the clip or connector that secures it to the handle mechanism. This might require a bit of maneuvering and gentle force. Use a flathead screwdriver or a specialized tool, if available, to carefully pry open the connector without damaging the linkage or the handle assembly.
| Step | Tool Needed |
|---|---|
| Locate Clip | Flashlight |
| Pry Open | Flathead Screwdriver |
| Disconnect Linkage | None (Hand Force) |
| Inspect for Damage | Magnifying Glass |
Once you've successfully disconnected the linkage, take a moment to inspect both the linkage and the handle for any signs of wear or damage. This is a great opportunity to perform a bit of handle maintenance, ensuring everything is in the best condition before proceeding. Keep in mind the importance of color matching when selecting a new handle, as you'll want to maintain the aesthetic integrity of your vehicle.
Install New Handle
Now that you've removed the old door handle, it's time to install the new one, ensuring it's perfectly aligned and securely fastened to your Hyundai Elantra. The process requires attention to detail to ensure handle durability and proper color matching, which are vital for both aesthetics and functionality. Follow these steps for a seamless installation:
- Position the New Handle: Carefully align the new door handle with the mounting holes on the door. Make sure it sits flush against the door's surface, paying close attention to the alignment to prevent any gaps or misalignments.
- Secure with Screws: Using the appropriate screwdriver, fasten the handle in place with screws. Don't overtighten, as this could damage the handle or affect its operation. Ensure each screw is snug, providing a secure fit that contributes to the handle's durability.
- Check for Color Matching: Once the handle is installed, step back and examine it from different angles to ensure the color matches the rest of your Elantra. Proper color matching is necessary for maintaining the vehicle's aesthetic appeal.
- Test the Handle: Gently pull on the handle to ensure it's securely attached and operates smoothly. This is a critical step to verify that the installation was successful and the handle functions as expected.
Reassemble Door Panel
Once you've securely attached the new door handle, it's time to focus on reassembling your Hyundai Elantra's door panel, ensuring all components are correctly positioned and fastened. You'll want to start by aligning the door panel with the door frame. This step is important for both aesthetic reasons and functionality. If the panel is misaligned, it may lead to issues with door closure or even paint mismatching over time due to uneven wear.
Next, carefully reattach any wiring harnesses or connectors that were disconnected during the disassembly process. Make sure these are securely connected to avoid any electrical issues with window controls or door locks.
Now, align the clips or fasteners on the back of the door panel with the corresponding holes in the door frame. You'll need to apply firm, even pressure to pop these back into place. It's important that each clip is fully engaged to prevent rattling or looseness.
Conclusion
To conclude, replacing your Hyundai Elantra door handle is a detailed process. Initially, gather the required tools to guarantee a smooth operation.
Carefully remove the door panel, paying close attention to the clips and screws. Disconnect the old handle with precision, avoiding damage to the linkage.
Install the new handle meticulously, making sure it's securely fastened.
To wrap up, reassemble the door panel, making sure every component is accurately placed.
This precise approach guarantees a successful replacement, restoring your vehicle's functionality efficiently.