Replacing the Hyundai i20 battery involves the following steps:
- Removing the old battery.
- Installing a new battery.
- Conducting final checks and testing.
This process is relatively simple and can be done with basic tools and a little bit of time and effort.
Gather Necessary Tools
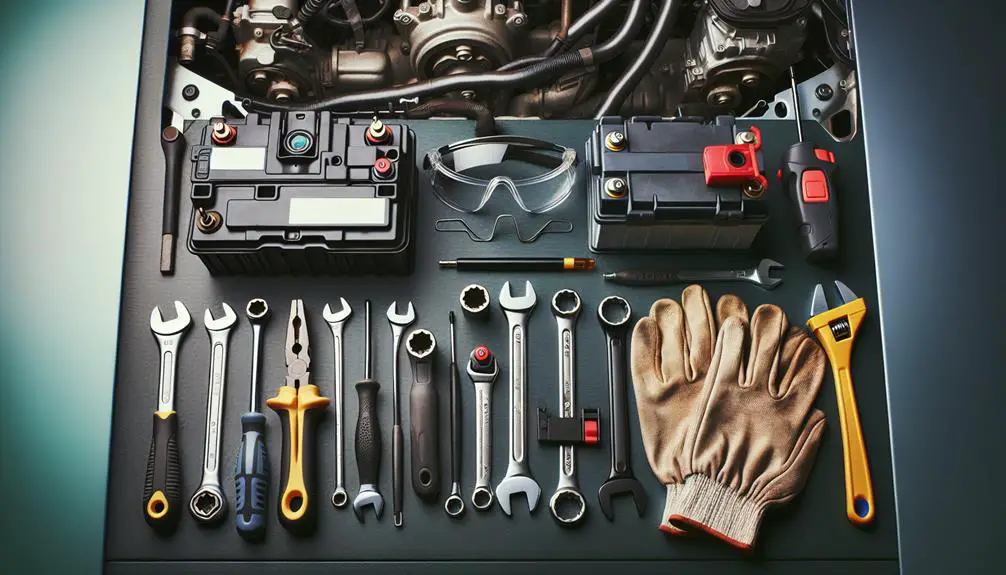
Before you start replacing the battery in your Hyundai I20, make sure you have all the necessary tools. This will help you avoid stops during the process. You need several tools and safety items for a smooth and safe replacement.
First, get a set of wrenches or a socket set. You'll most likely need a 10mm wrench for the battery terminals and a 12mm or 13mm wrench for the battery bracket. These tools allow you to easily loosen and remove nuts and bolts.
You should also wear safety gloves. Car batteries have sulfuric acid which can burn your skin. Gloves protect your hands from acid leaks or spills.
Wear safety glasses to protect your eyes from splashes or debris.
A wire brush is useful for cleaning battery terminals and connectors. This removes corrosion, ensuring a good connection for your new battery.
Lastly, prepare a cleaning solution of baking soda and water. Use this with the wire brush to clean the terminals effectively.
Having these tools ready will ensure a smooth and safe battery replacement in your Hyundai I20.
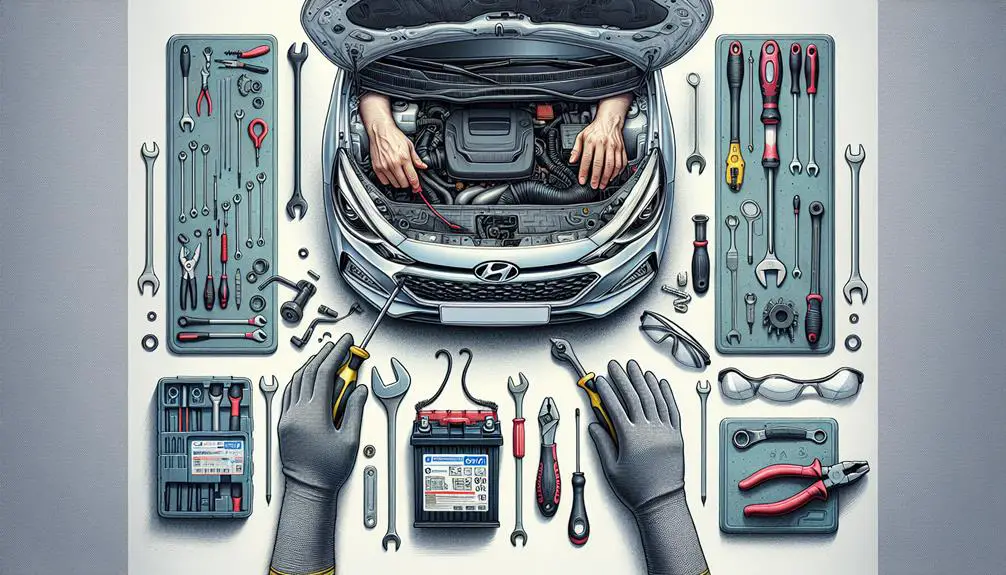
Locate the Battery
To find the battery in your Hyundai I20, open the hood and look at the front right near the engine. The battery is usually rectangular with two terminals, one positive (+) and one negative (-).
Wear gloves because the battery has acidic substances. Make sure the car is off and the keys aren't in the ignition. Remove any debris around the battery area.
Notice how the battery is secured and the cables connected to the terminals. This will help you when removing the battery. Knowing the battery's location and connections is important for a smooth removal process.
Remove the Old Battery
To remove the old battery from a Hyundai I20, follow these steps. Make sure the car's engine is off and the keys aren't in the ignition. Wear gloves and goggles for safety.
First, use a wrench to loosen the nut on the negative terminal and take off the cable. It's important to start with the negative to prevent electrical shorts. Then, do the same with the positive terminal.
Next, remove the clamp or bracket holding the battery using a socket wrench or pliers. Carefully lift the battery out, being aware of its weight and fit.
Checklist for battery removal:
- Engine off and keys out: Yes
- Wearing safety gear: Yes
- Negative terminal disconnected: Yes
- Positive terminal disconnected: Yes
- Securing clamp/bracket removed: Yes
Install the New Battery
Remove the old battery and place the new one in the Hyundai I20. Make sure the new battery sits flat in the tray and the positive and negative terminals are correctly aligned. Don't mix up the terminals as it can damage the car's electrical system.
Secure the battery with the hold-down clamp you took off earlier, but don't tighten the bolts too much to avoid damaging the battery case.
Reconnect the battery terminals, starting with the positive one. Take off the protective cap from the new battery's positive terminal and attach the positive cable. Tighten it properly. Then, attach the negative cable in the same way after removing any protective cap. Make sure both connections are tight.
Clean the terminal connectors with a wire brush if they're dirty or corroded before connecting them to the battery. This ensures a good electrical connection.
The new battery is now installed in the Hyundai I20.
Final Checks and Testing
After installing a new battery in your Hyundai I20, it's important to do some checks to make sure everything works well. This will help you know the battery is installed correctly and your car's electrical system is working fine.
First, start your car to see if it begins smoothly. If it doesn't start right away, check the battery connections to ensure they're tight. Then, turn on your car's headlights and interior lights. They should be bright, showing the battery is connected well and charged.
Here's a simple checklist to follow:
- Make sure the engine starts without trouble.
- Check that headlights and interior lights are bright.
- Look at the dashboard to confirm no warning lights are on.
- Test all electrical parts like the radio and air conditioning to see if they work.
- Check the battery terminals are clean and tight.
If you see any warning lights on the dashboard, look in your car's manual to figure out what they mean. Also, make sure there's no corrosion on the battery terminals and that they're not loose.
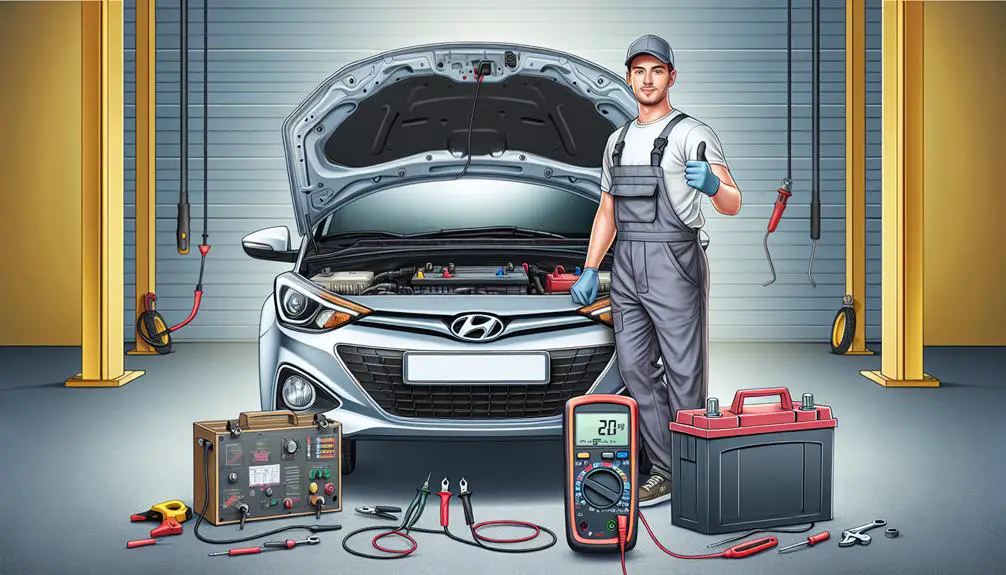
Conclusion
You did a great job changing the battery in your Hyundai i20. You picked the right tools, replaced the battery, and checked to make sure everything works right.
Make sure all the connections are tight and the car's electric parts work before you go driving. Also, remember to throw away the old battery the right way.
By doing this, you saved a visit to the car fixer and learned how to take care of your car. Drive safely!