Yes, replacing a Hyundai i20 door handle can be straightforward with the right approach.
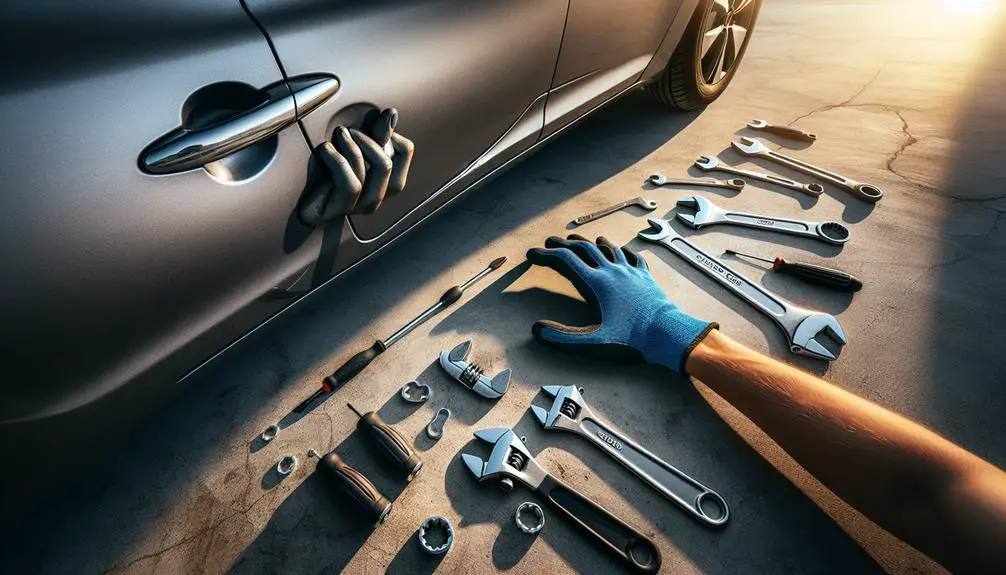
You're about to start this task and have prepared your tools.
The process involves carefully removing the door panel, avoiding damage to clips or wiring.
Gently disconnect the old handle and precisely install the new one.
Reassembling the door panel is the final step, which requires particular attention to detail.
Continue reading for helpful tips and tricks to simplify this process.
Gather Your Tools

Before you begin the process of replacing your Hyundai i20 door handle, you'll need to gather a few critical tools, typically including a Phillips head screwdriver, a flat-head screwdriver, and a panel removal tool. Ensuring these tools are in good condition is pivotal for a smooth operation. Tool maintenance isn't just about keeping them clean; it's about ensuring they're free from rust and the screwdrivers' tips aren't worn out. A worn tip can strip screws, making them harder to remove and potentially damaging your car's door.
When selecting a replacement handle, you're faced with different handle choices. It's crucial to choose one that's compatible with your Hyundai i20 model. Compatibility guarantees that the new handle fits perfectly and functions as intended. You'll find handles made from different materials and designs, so consider the durability and aesthetics that suit your vehicle best.
Remove Door Panel
To remove the door panel of your Hyundai i20, make sure you've parked the vehicle on a level surface and turned off the ignition. Begin by carefully prying off the trim pieces that conceal the door panel screws. These are typically located near the handle and along the bottom edge of the panel. Use a trim removal tool to avoid damaging the surfaces. Once exposed, use a screwdriver to remove the screws.
Next, gently lift the door panel to disengage it from the door frame. The door panel clips, which hold the panel securely in place, require a firm but careful pull to release without causing damage. Pay special attention to the area around the window alignment, as improper handling here could affect the window's operation once the panel is reinstalled.
Once the clips are disengaged, carefully maneuver the door panel away from the door, ensuring you don't pull too hard and damage the wiring harnesses connected behind it. At this stage, focus solely on the removal of the door panel itself without detaching any of the components connected to it, as those steps will be covered in the subsequent sections of this guide.
Disconnect Old Handle

With the door panel removed, you'll next focus on detaching the old handle from your Hyundai i20's door. This step is important for ensuring the longevity and aesthetic integrity of your vehicle, especially considering handle durability and color matching. Follow these steps closely to prevent any damage to your car's door mechanism.
- Locate and Unscrew the Mounting Bolts: Identify the mounting bolts that secure the handle to the door. These are usually hidden underneath a plastic cap or directly behind the door panel. Using the appropriate screwdriver or socket, carefully unscrew each bolt. Keep these bolts safe as you might need them for the new handle installation.
- Disconnect the Linkage Rod: The linkage rod connects the handle to the door's locking mechanism. Gently push the plastic clip that secures the rod in place and slide the rod out. It's important to handle this part delicately to avoid snapping the clip or bending the rod.
- Slide Out the Handle: Once the bolts are removed and the linkage rod is disconnected, gently slide the handle out from the exterior of the door. Pay attention to the alignment and any gaskets or seals that come out with the handle to ensure proper reinstallation and color matching with the new handle.
Install New Handle
After removing the old handle, you'll need to align the new Hyundai i20 door handle with the mounting holes on the door, ensuring a snug fit. The handle design is specific to the Hyundai i20 model, so it's critical to make sure you've obtained the correct replacement part.
Begin by carefully positioning the handle into place. Once aligned, gently press until the handle's clips or fasteners engage with the door's surface. It's vital to apply steady pressure without forcing the handle, as this could damage both the handle and the door.
Installation safety is paramount. Make sure you're wearing protective gloves to avoid any sharp edges on the door or handle. Before securing the handle with screws, double-check the alignment. Misalignment can lead to improper latch function or damage to the locking mechanism.
Using the appropriate screwdriver, tighten the screws or bolts that came with the new handle. Don't over-tighten, as this could strip the threads or crack the handle.
Reassemble Door Panel
Once you've securely attached the new Hyundai i20 door handle, it's important to begin the process of reassembling the door panel, ensuring all components are correctly aligned and fastened. This step is vital for the functionality and aesthetics of your door. Keep in mind, proper handle maintenance and following lubrication tips are key to a smooth operation.
Here are 3 critical steps to focus on during reassembly:
- Align the Door Panel: Carefully align the door panel with the mounting holes. Make sure the clips or screws that secure the panel to the door frame are in perfect alignment. Misalignment can lead to improper fit and operational issues.
- Reconnect Electrical Components: If your Hyundai i20 has power windows or door locks, reconnect any electrical connectors you disconnected during the disassembly. Ensure a firm connection to prevent future electronic malfunctions.
- Test the Handle Before Finalizing: Before you fully secure the door panel, test the new handle to make sure it operates smoothly. Apply lubrication tips here; a well-lubricated mechanism operates more efficiently and extends the handle's lifespan.
Reassembling the door panel with precision ensures your new handle functions correctly and lasts. Handle maintenance, including regular checks and lubrication, will keep your Hyundai i20's doors in top condition.
Conclusion
In summary, you've successfully replaced your Hyundai i20's door handle by initially gathering the necessary tools.
Then, you removed the door panel to access the old handle. After disconnecting it, you installed the new handle with precision.
To end, you reassembled the door panel, ensuring every component was securely in place.
Remember, accuracy and attention to detail are essential in each step to guarantee the handle functions correctly and the door's integrity is maintained.
Well done on completing this technical task.