Replacing your Hyundai Sonata's brake light involves a few steps:
- Identifying the correct bulb.
- Gathering necessary tools.
- Carefully removing the old bulb and installing the new one to ensure safety and compliance with road regulations.
Identifying the Correct Bulb

Before you start the replacement process, it's crucial to identify the correct bulb for your Hyundai Sonata's brake light. Your vehicle's manual is your best friend in this endeavor. It'll list the exact specifications of the bulb you need, including type and wattage. If you've misplaced your manual, don't worry. You can still find this information online, either on Hyundai's official website or through a quick search on automotive forums.
Remember, using the wrong bulb can lead to malfunctions or even damage your car's electrical system. So, you've got to make sure you're picking the right one. Brake lights typically use a specific type of bulb known as a 'dual filament' because it serves both the tail light and brake light functions. However, the exact model can vary depending on the year and trim of your Sonata.
Once you've got the specifications, you might feel tempted to just grab any bulb that matches. But here's a pro tip: go for quality. Opting for a reputable brand can save you a lot of hassle down the road. Cheaper bulbs might fit your budget better now, but they often have a shorter lifespan and could end up costing you more in replacements.
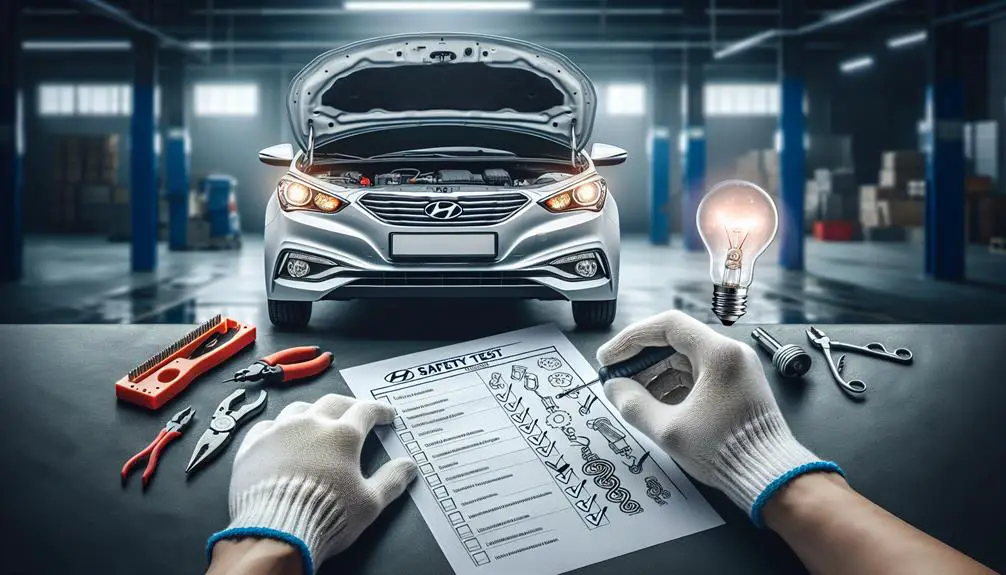
Gathering Necessary Tools
To substitute your Hyundai Sonata's brake light effectively, you'll need to gather a few necessary tools. This step is important to make sure a smooth and hassle-free replacement process. By having everything ready beforehand, you'll not only save time but avoid any mid-repair runs to the hardware store. Let's plunge into the necessary tools you'll need for the job.
- Screwdriver Set: Most Hyundai Sonata models require a Phillips or flathead screwdriver to remove the tail light assembly or access panel. Make sure you have both types on hand, as some models may use different screws.
- Replacement Brake Light Bulb: While this is more of a part than a tool, having the correct bulb is vital. You've already identified the correct bulb in the previous step, so now is the time to make sure it's within reach.
- Gloves: To keep your hands clean and protect the new bulb from oils on your skin, which can reduce its lifespan, it's wise to use a pair of clean gloves. These can be either mechanic's gloves or disposable latex gloves, depending on your preference.
Having these tools and materials ready will streamline the replacement process. Remember, the goal here is to prepare adequately so that when it comes time to remove the old bulb and install the new one, you're not scrambling to find the necessary items. By following this guide, you're setting yourself up for a successful and efficient brake light replacement on your Hyundai Sonata.
Removing the Old Bulb

With your necessary tools in hand, you'll next need to carefully remove the old brake light bulb from your Hyundai Sonata. The process isn't tough, but it requires your full attention to avoid damaging any parts. Initially, make sure your Sonata is turned off and the lights are not engaged. This is critical for your safety and the integrity of the vehicle's electrical system.
After confirming safety, access the brake light compartment from the trunk of your car. You might need to remove some interior panels or covers. Typically, these are held in place by clips or screws. Gently pry them open or unscrew them, and keep them safely aside.
Here's a quick reference table for the steps you'll take next:
| Step | Action |
|---|---|
| 1 | Locate the brake light socket. |
| 2 | Turn the socket counterclockwise to open it. |
| 3 | Pull the socket out gently to expose the bulb. |
Once you have the socket out, you'll see the old bulb. Hold the base of the bulb and turn it counterclockwise if it's a bayonet-type, or pull it straight out if it's a wedge-type. Be gentle to avoid breaking the bulb. If it's stuck, wiggling it slightly while pulling out can help.
Now that you've successfully removed the old bulb, inspect the socket for any signs of damage or corrosion. If everything looks good, you're ready to proceed. However, don't jump ahead to installing the new bulb just yet. Make sure to check the compatibility of the new bulb with your Hyundai Sonata's specifications to ensure a perfect fit.
Installing the New Bulb
Having removed the old bulb, you're now ready to install the new one in your Hyundai Sonata's brake light. It's a straightforward process, but paying close attention to the details guarantees a smooth installation.
Start by taking your new bulb out of its packaging. Be sure to handle it by the base or with a clean cloth to avoid getting oils from your skin on the glass, which can affect its lifespan.
Next, align the new bulb with the socket. You'll notice that it should fit in a specific way – don't force it. Gently push and twist the bulb clockwise until it locks into place. This step is critical; a properly seated bulb guarantees functionality and prevents future issues.
To guarantee a successful installation, follow these key points:
- Avoid touching the glass of the new bulb with your bare hands. Oils and dirt can shorten the bulb's life.
- Check the bulb's orientation before inserting it. It should fit naturally without resistance.
- Guarantee a firm connection between the bulb and socket. A loose bulb can lead to intermittent brake light function.
Once the new bulb is securely installed, you can proceed to reattach any components you'd to remove during the removal process. This typically involves snapping the brake light assembly back into place and securing it with any screws or clips you initially removed.
Congratulations! You've successfully installed a new brake light bulb in your Hyundai Sonata. Remember, this guide ensures you're equipped to handle the task confidently and efficiently, without needing professional help.
Safety and Testing
Before hitting the road again, it's critical you test the newly installed brake light to guarantee your safety and that of other drivers. Testing isn't just a precaution; it's a necessary step to make sure everything's working as it should. You don't want to find out the hard way that your brake light isn't functioning properly.
Start by turning on your Hyundai Sonata's ignition, but there's no need to start the engine. Next, press the brake pedal and ask someone to check if the light illuminates. No buddy around? No problem. You can position your car near a reflective surface like a garage door or a large window. When you press the brake, you should be able to see the light reflected.
If the brake light doesn't light up, double-check your installation. Make sure the bulb is correctly inserted and fully seated in its socket. Also, check the fuse related to the brake lights. A blown fuse could be the culprit.
Once you've confirmed the brake light works, don't forget to test the other lights as well. Turn signals, reverse lights, and parking lights are all integral to safe driving. Confirming they're all in working order gives you peace of mind.
Conclusion
You've successfully replaced your Hyundai Sonata's brake light by following these steps:
- Identify the right bulb
- Gather the necessary tools
- Remove the old bulb
- Install the new one
Remember, safety comes foremost, so always confirm your car is parked on a flat surface and the ignition is off before starting.
At last, don't forget to test the new brake light to confirm it's working properly.
This straightforward process not only improves your safety but keeps your Sonata in compliance with traffic laws.