- Replacing a Hyundai Sonata tail light assembly involves gathering tools and preparing the workspace.
- Ensuring the car is safely parked is crucial before starting the replacement process.
- Removing the old assembly and installing the new one are the next steps in the process.
- Choosing the correct replacement part is essential to ensure proper fit and functionality.
- Finally, performing final safety checks after installation is necessary to ensure everything is in working order.
Preparing Your Vehicle

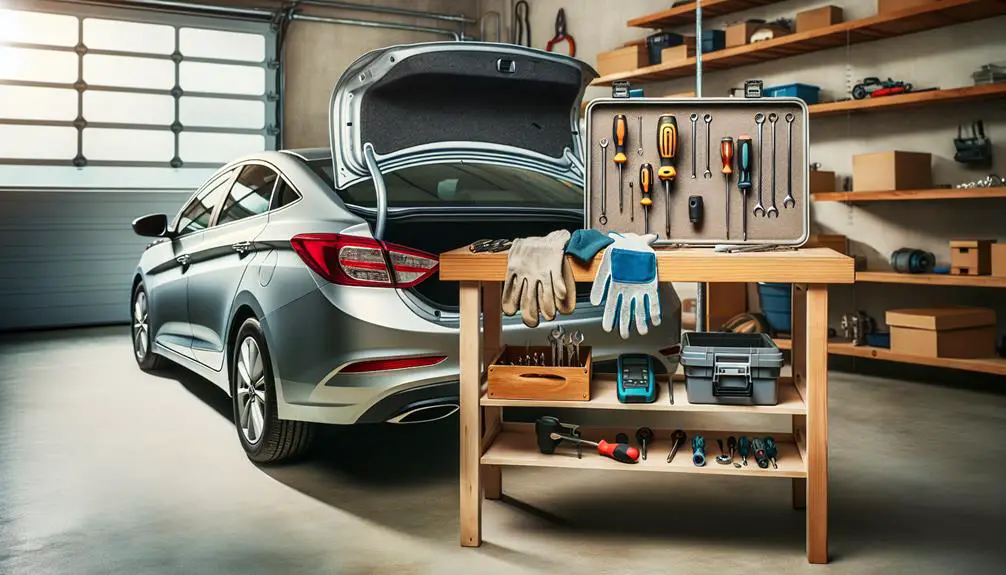
Before starting the replacement of your Hyundai Sonata tail light assembly, double-check your vehicle is parked on a flat surface and the engine is turned off. This ensures your safety and prevents the car from rolling. Next, you'll want to gather all the necessary tools and parts for the job. Typically, you'll need a Phillips head screwdriver, a flat head screwdriver, and a new tail light assembly that's compatible with your Sonata's model year.
You need to make sure you're wearing the right protective gear. A pair of gloves can protect your hands from sharp edges and dirt. Safety glasses are a good idea too, as they'll keep your eyes safe from any unexpected debris.
Once you've got your tools and safety gear ready, it's time to locate your vehicle's tail light assembly. In most Hyundai Sonatas, you'll find it on the rear of the vehicle, behind the trunk area. However, the exact location can vary slightly depending on the model year of your Sonata. It's a good idea to consult your car's manual to be sure.
Before you plunge into the task, take a moment to inspect the area around the tail light assembly. Make sure it's clean and free of any debris that might get in the way. If there's dirt or grime, give it a quick wipe down. This not only makes the process smoother but helps you avoid any unnecessary scratches or damage to your vehicle's exterior.
Now that you've properly prepared, you're ready to move on to removing the old assembly.
Removing the Old Assembly
With your vehicle prepped and tools in hand, you're now ready to remove the old tail light assembly from your Hyundai Sonata. This step is important for ensuring that the replacement process goes smoothly and that your car's rear end is both functional and aesthetically pleasing once again. Here's how you can efficiently remove the old assembly:
- Open the Trunk: Start by opening your Sonata's trunk to access the back of the tail light assembly. You'll often find a trunk liner or panel that needs to be removed or pulled back to reveal the assembly's mounting points. This might require gently prying off or unscrewing any fasteners holding the liner in place.
- Disconnect the Wiring Harness: Before you can remove the assembly, you need to disconnect the wiring harness. Look for a connector that links the tail light to the car's electrical system. Press down on the clip or tab to detach the connector. It's important to do this gently to avoid damaging the wiring.
- Remove Mounting Bolts or Screws: The tail light assembly is usually secured with bolts or screws. Using the appropriate screwdriver or socket, remove these fasteners. Keep them in a safe place, as you'll need them to install the new assembly.
- Pull Out the Assembly: With the fasteners removed and the wiring disconnected, you can now carefully pull the old tail light assembly away from the vehicle. It may require a bit of wiggling to free it from its position, but it should come out without too much force.
Choosing the Right Replacement

Choosing the correct replacement tail light assembly for your Hyundai Sonata is crucial for guaranteeing compatibility and functionality. You've got to make sure you're selecting the right part that fits your car's specific model year. Hyundai Sonata models can vary greatly from year to year, so grabbing the initial tail light you see mightn't cut it.
Commence by checking your car's manual or the old tail light assembly for any part numbers. These numbers are like a secret code, guiding you to the exact match for your vehicle. If you can't find the manual or any numbers, don't fret. Head over to reputable auto parts retailers' websites. They often have user-friendly tools where you input your car's make, model, and year, and they'll display parts tailored to your Sonata.
Take into account the quality of the replacement parts. While it's tempting to opt for the cheapest option, bear in mind that lower-priced tail lights mightn't offer the same longevity or brightness as higher-quality ones. It's worth investing a bit more for a tail light that'll last longer and perform better.
Moreover, think about if you want an OEM (Original Equipment Manufacturer) part or an aftermarket option. OEM parts are made by Hyundai and will ensure a perfect fit and function, but they can be pricier. Aftermarket parts can be just as good and more budget-friendly but make sure you're selecting a reputable brand.
Installing the New Assembly
Once you've secured the right replacement tail light assembly for your Hyundai Sonata, it's time to start on the installation process. Installing the new assembly is straightforward if you follow these steps carefully. You'll not only save time but also guarantee your tail lights function correctly, keeping you safe on the road.
- Prepare Your Vehicle: Before you begin, make sure your Sonata is parked on a level surface and the engine is turned off. For added safety, engage the parking brake. Open the trunk to access the back of the tail light assembly. You might need to remove any trunk lining or panels that cover the tail light assembly screws or bolts.
- Remove the Old Assembly: Using a screwdriver or a socket wrench (depending on your Sonata model), carefully remove the screws or bolts that secure the tail light assembly to the car. Gently pull out the old assembly, being careful not to damage any wiring connected to it.
- Disconnect the Wiring Harness: Locate the wiring harness that connects the tail light assembly to the car's electrical system. Press down on the tab or squeeze the connector to disconnect it. It's crucial to handle the harness gently to avoid damage.
- Install the New Assembly: Take the new tail light assembly and connect it to the wiring harness. Guarantee the connection is secure. Then, align the assembly with the mounting area on your Sonata. Use the screws or bolts you removed earlier to secure the new assembly in place. Tighten them sufficiently to ensure the assembly is firmly attached but be careful not to overtighten and damage the assembly or the car body.
Final Checks and Testing

After installing your new tail light assembly, it's important to perform some final checks to make sure everything works properly. You've come a long way, but ensuring that your efforts have paid off is important for both safety and satisfaction. Now, let's get into what you need to do next.
First, double-check all the connections you've made. It's easy to overlook a small clip or wire in the process. Make sure each connector is securely attached and that there's no loose wiring that could cause issues later. This step is necessary for preventing any electrical problems or malfunctions.
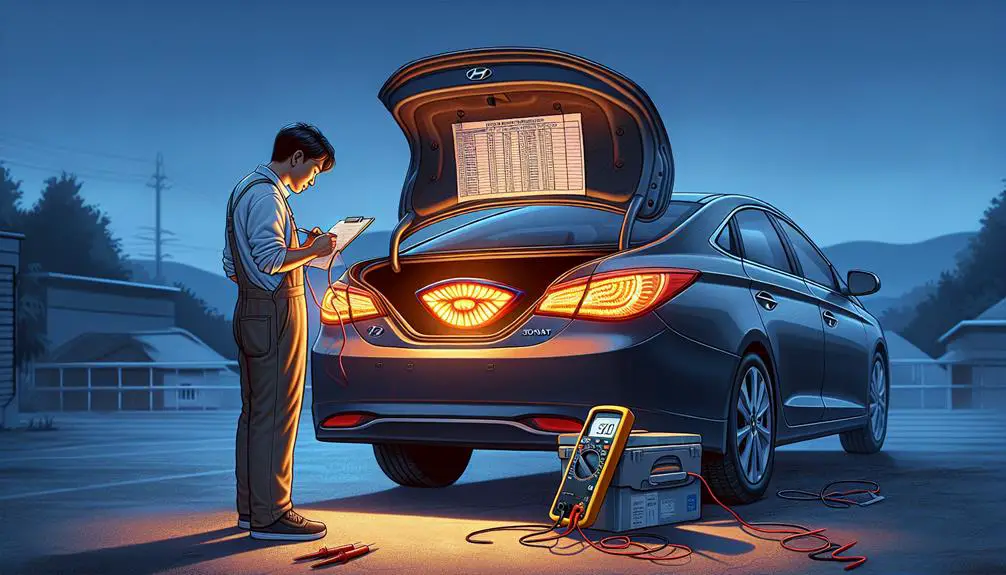
Next, it's time to test the tail lights. Turn on your Hyundai Sonata and activate the tail lights, brake lights, turn signals, and reverse lights. You'll need to either have someone assist you by observing the lights as you activate them or set up a mirror behind your car so you can see them yourself. This is the moment of truth; every light should illuminate brightly and respond promptly to your controls.
If you find that a light isn't working as expected, don't panic. Check the bulb and the connections again. Sometimes, a simple adjustment is all it takes to resolve the issue. If everything checks out, give yourself a pat on the back. You've successfully replaced your Hyundai Sonata's tail light assembly!
Conclusion
You've successfully navigated the replacement of your Hyundai Sonata tail light assembly, from preparation to installation. By carefully removing the old assembly, selecting the perfect match for your vehicle, and installing the new one, you've guaranteed your Sonata's safety and style aren't compromised.
Always remember to perform final checks and test the new lights to confirm everything's in working order. With these steps, you've maintained your car's integrity and are ready to hit the road safely once again.