Replacing a Hyundai Elantra wheel bearing involves:
- Gathering tools
- Removing the wheel
- Extracting the old bearing
- Installing a new one with precision and patience.
Gather Necessary Tools

Before diving into the task of replacing your Hyundai Elantra's wheel bearing, you'll need to gather a few key tools. This preparation step is important to guarantee the process goes smoothly and safely.
To start, you're going to need a jack and jack stands to lift and secure the car. Don't skimp on safety; make sure they're sturdy and rated for your vehicle's weight.
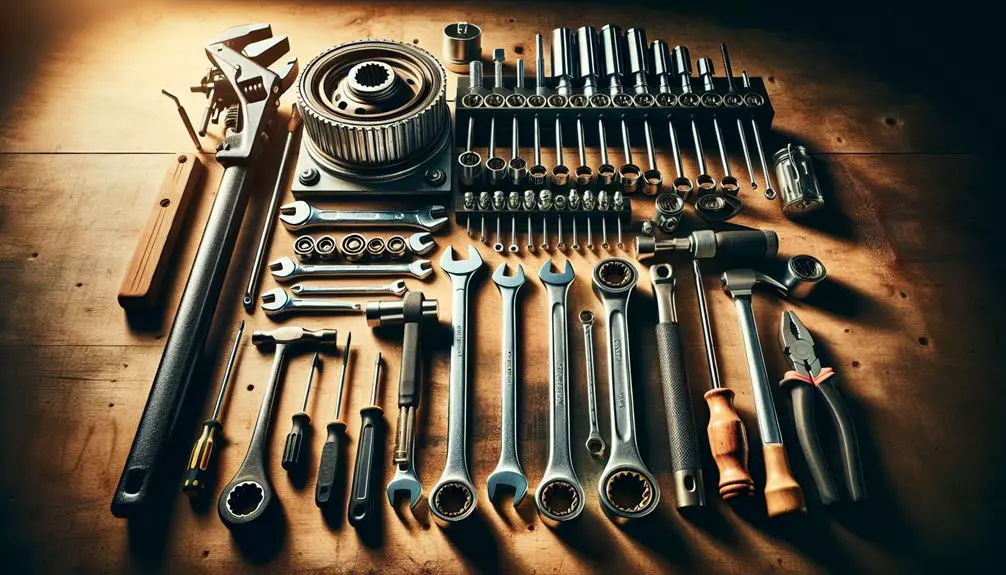
Next, you'll require a lug wrench or a socket wrench set to remove the wheel nuts. A set of sockets is necessary for different bolts you'll encounter during the replacement. It's wise to have a range of sizes, as you'll be dealing with varied bolt sizes. You'll also need a torque wrench to properly tighten the wheel bearing nut and other components to the manufacturer's specifications.
A screwdriver set and a pair of pliers might come in handy for removing any clips or retaining rings holding the wheel bearing or related parts in place. Moreover, a hammer and a punch could be required to dislodge the old wheel bearing from its seat.
Finally, don't forget to have a new wheel bearing ready. It's vital to purchase a quality replacement that matches your Elantra's specifications to avoid any compatibility issues.
Gathering these tools before starting the job will save you time and frustration. With everything on hand, you're now set to tackle the wheel bearing replacement with confidence. Remember, preparation is key to a successful repair.
Remove the Wheel
Lift your Hyundai Elantra using the jack and secure it with jack stands to start the wheel removal process. It's essential to make sure the vehicle is on a stable, flat surface to prevent any accidents. Once the car is safely raised, you're ready to tackle the wheel removal.
Before proceeding, it's vital to have your gloves on for protection. Loosen the lug nuts with a lug wrench while the tire is still touching the ground, but don't remove them completely. This initial loosening prevents the wheel from spinning once it's lifted off the ground.
After the car is securely lifted, finish unscrewing the lug nuts and keep them in a safe place—you'll need them to secure the wheel back later. Now, you can easily remove the wheel from the hub. This exposes the brake rotor and ultimately, the wheel bearing that you're aiming to replace.
To add depth and ensure you're fully prepared, here's a quick checklist:
| Step | Description |
|---|---|
| 1 | Make sure the car is on a stable, level surface |
| 2 | Loosen lug nuts slightly before lifting the car |
| 3 | Use jack and jack stands to raise and secure the car |
| 4 | Remove the wheel to access the wheel bearing |
Extract the Old Bearing

With the wheel now removed, you're ready to tackle extracting the old wheel bearing from your Hyundai Elantra.
Initially, you'll need to locate the brake caliper and remove it to gain clear access to the wheel bearing. Use a ratchet and the appropriate socket to unbolt the caliper. Hang it securely with a piece of wire or a bungee cord to prevent strain on the brake hose.
Next, you'll have to remove the brake rotor. Sometimes it's stuck since of rust or debris. If it doesn't come off easily, a few taps with a rubber mallet around the edges should loosen it. Be careful not to damage the rotor if you're planning to reuse it.
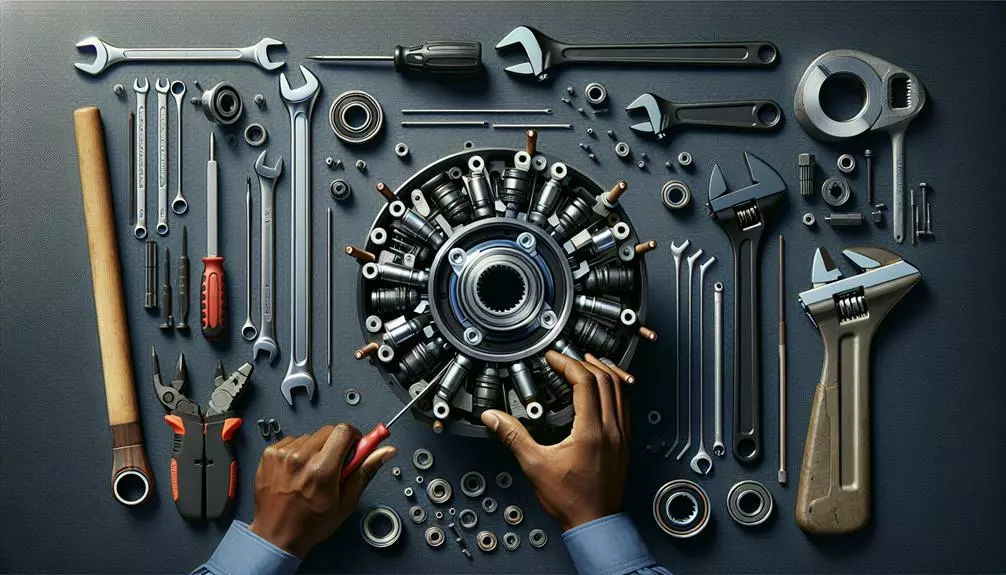
After the rotor is out of the way, you'll see the wheel hub assembly, which houses the bearing. Depending on your Elantra's model year, the hub might be held in place by a central axle nut or by bolts from the back. If it's an axle nut, use a suitable socket and breaker bar to remove it. For bolted hubs, access the bolts from the rear and unscrew them.
With the fasteners removed, the hub assembly might still resist because of corrosion. You can use a hub puller or a slide hammer to free it. Attach the tool to the hub and apply force evenly until the hub—and the bearing within—releases from the knuckle.
Carefully set aside the hub assembly. You've now successfully extracted the old bearing from your Hyundai Elantra, clearing the path for the new bearing installation.
Install the New Bearing
Now that you've cleared out the old bearing, it's time to slide the new one into place in your Hyundai Elantra. This step is important for ensuring your vehicle runs smoothly and safely, so let's make sure you do it right.
Before you start, it's necessary to have your new bearing ready and confirm it's the correct model for your Elantra. Once you've got that sorted, follow these steps to install the new bearing:
- Prepare the Hub: Ensure the hub area where the new bearing will sit is clean and free from any debris. Any dirt or grime left behind can cause the new bearing to fit incorrectly or fail prematurely.
- Insert the New Bearing: Carefully align the new bearing with the hub. It should fit snugly without forcing it. If you're having trouble getting it to sit right, double-check to make sure it's the correct bearing for your model and that the area is clean. Sometimes, gently tapping the bearing with a soft mallet can help it settle into place properly. Just make sure you're applying pressure evenly to avoid damaging the bearing.
- Secure the Bearing: Once the bearing is in place, you'll need to secure it. This usually involves reinstalling a retaining clip or nut that was removed during the extraction process. Make sure this is tightened to the manufacturer's specifications to prevent any play or movement in the bearing once it's in use.
Reassemble and Test

Having successfully secured the new bearing, it's time to reassemble your Hyundai Elantra's wheel components and test for smooth operation. Begin by carefully placing the hub back into position, making sure it aligns perfectly with the new bearing. Next, you'll want to reattach the wheel hub assembly. Tighten all bolts to the manufacturer's specified torque settings to avoid any loose parts that could lead to uneven wear or dangerous wheel detachment.
Now, reattach the brake rotor. Make sure it sits flush against the hub and secure it with the retaining screws. It's critical these are tight to prevent any wobbling or misalignment. Following this, reinstall the brake caliper, which might require some gentle persuasion to fit over the new rotor. Again, use the specified torque settings for the bolts.
With the brake components in place, you're ready to mount the wheel back onto your vehicle. Screw the lug nuts on by hand initially to ensure proper threading, then tighten them with a wrench in a star pattern. This method ensures even pressure distribution and prevents warping of the brake rotor.
Lastly, it's testing time. Lower your Elantra to the ground and take it for a gentle test drive. Listen for any unusual noises and pay attention to how it handles. A successful bearing replacement will result in a smoother ride, with no humming or grinding sounds from the wheel.
Congratulations, you've just completed a critical maintenance task on your Hyundai Elantra, ensuring your safety and your vehicle's longevity.
Conclusion
You've successfully navigated the process of replacing the wheel bearing on your Hyundai Elantra. Starting by gathering the necessary tools, removing the wheel, and carefully extracting the old bearing, you've tackled each step with precision.
Installing the new bearing and reassembling everything back together, you're now ready to test drive. This DIY repair not only saves you money but also improves your vehicle maintenance skills.
Remember, regular checks can prevent future issues, ensuring your Elantra runs smoothly.