Optimizing your Honda's backup camera involves adjusting settings for better visibility.
Understanding on-screen guidelines for easier parking and maneuvering is also crucial.
Understanding Your Backup Camera
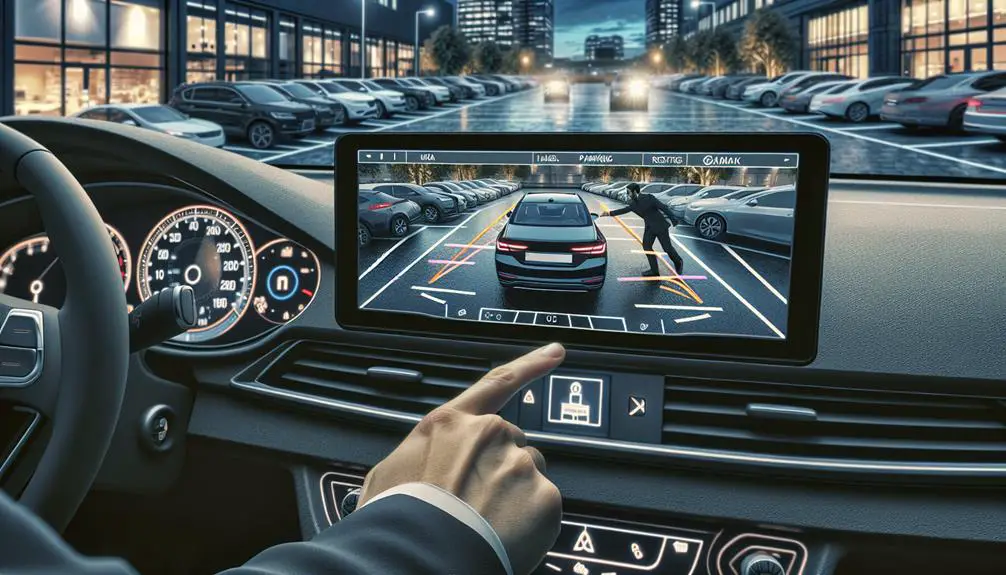
Your Honda's reverse camera is an essential tool, designed to enhance your visibility and safety while backing up. It's not just a fancy gadget; it's your extra set of eyes at the back, ensuring you've got a clear view of what's behind your vehicle, something your rearview mirror can't always provide. This camera becomes indispensable, especially in tight parking spots or when moving through busy areas where children or pets might suddenly cross your path.
The moment you shift your car into reverse, the reverse camera automatically activates, displaying a live feed on your car's dashboard screen. This isn't just any image. It's a wide-angle view that captures more of the environment behind you than you'd typically see. You'll notice some models feature static or dynamic guidelines on the display. These lines aren't just for show; they're there to help you gauge distance and guide your steering. The closer you get to an object, the more these lines become an essential tool in avoiding a collision.
Comprehending this technology is essential for maximizing its benefits. Remember, while the reverse camera provides a broad view, it doesn't cover everything. You'll still need to check your mirrors and look over your shoulder to cover your blind spots. It's a supplementary tool, enhancing, not replacing, your usual safety checks.
Adjusting Camera Settings
Now that you understand how the backup camera improves safety, it's time to learn how to adjust its settings for best performance.
First, you'll want to locate the camera settings menu. This is usually found on the display screen in your Honda. You can access it by pressing the 'Settings' or 'Menu' button, typically situated near the display or on the steering wheel. Once in the menu, look for an option labeled 'Camera' or something similar.
Brightness and contrast are your go-to adjustments for enhancing the camera's view. If the image is too dark or too bright, tweaking these settings can make a significant difference. Use the on-screen sliders or plus and minus buttons to adjust the levels until you're satisfied with the clarity of the image. Remember, different lighting conditions might require you to revisit these settings.
Another useful setting is the angle of the camera. Some Honda models allow you to adjust this to get the best possible view of what's behind you. If your vehicle has this feature, experiment with different angles to find what works best for you.
Finally, don't forget to check for any software updates for your backup camera. Honda might release updates that improve the camera's functionality or add new features. You can usually find this option in the settings menu under 'System Updates' or something similar.
Adjusting your Honda's backup camera settings can greatly improve your driving experience, ensuring you're getting the most out of this important safety feature.
Interpreting On-Screen Guidelines
Comprehending the on-screen guidelines of your Honda's backup camera is essential for precise and safe maneuvering. These visual cues are your best friends when you're backing up, ensuring you don't bump into anything or anyone. Let's explore what these lines mean and how you can use them to park like a pro.
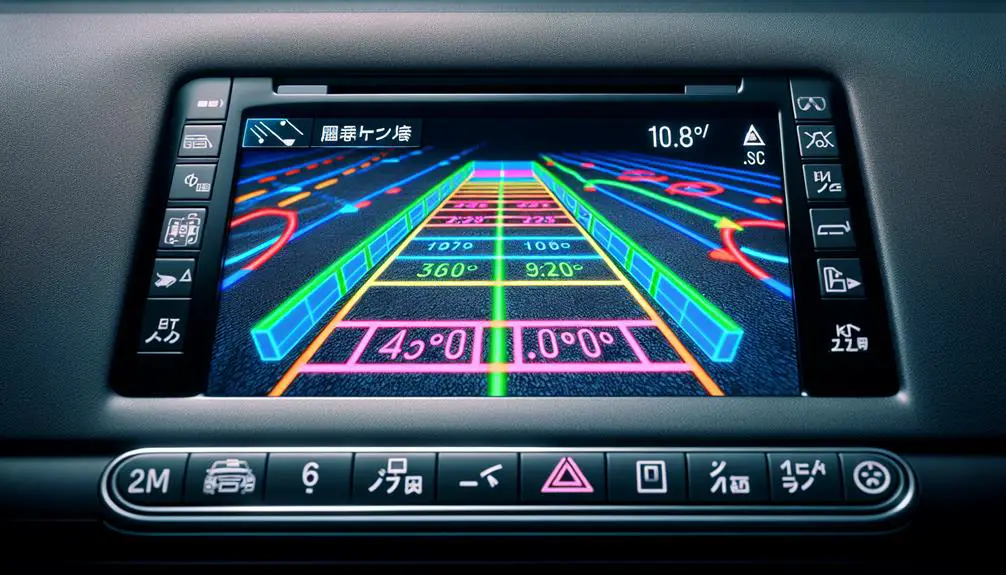
To start with, you'll notice the dynamic guidelines that move as you steer. These lines predict where your vehicle will go based on the current steering angle. So, if you're turning the wheel to the right, the lines will swerve right, showing where your Honda will end up if you keep the wheel at that angle. It's like having a future glimpse of your parking job, allowing you to adjust in real-time.
Then, there are the static lines: usually colored green, yellow, and red. The green lines indicate a safe zone, telling you that you've got plenty of space to back up. Yellow is your caution zone, signaling that you're getting close to potential obstacles. Red is the danger zone; when you see this, it's time to stop as you're very close to something behind you.
Understanding these guidelines is essential for making full use of your backup camera. They're not just there for decoration; they're precision tools designed to guide you into the tightest spots without a hitch. Keep an eye on them, and you'll master the art of reversing in no time.
Tips for Safe Reversing
To guarantee your safety and that of others, it's crucial to master a few key tips for reversing your Honda efficiently. Here are a few strategies you can adopt to make sure you're reversing safely every time you get behind the wheel.
To start with, always check the area around your vehicle before getting in. It's easy to rely solely on your backup camera, but a quick glance can help you spot any immediate obstacles the camera might miss. Once you're in the car and ready to reverse, adjust your mirrors to make sure you've got a clear view of what's behind you. While the backup camera provides a wide angle, your mirrors can help fill in any gaps in visibility.
Next, take it slow. There's no rush when it comes to reversing. Moving slowly gives you more time to react if something suddenly appears in your path.
Lastly, be mindful of the limitations of your backup camera. While it's a valuable tool, it can't see everything. Always use it in conjunction with your mirrors and direct line of sight.
Here's a quick table summarizing these tips:
| Tip | Why It's Crucial | How to Implement |
|---|---|---|
| Check Surroundings | Avoids immediate obstacles | Quick glance around the vehicle |
| Adjust Mirrors | Fills visibility gaps | Ensure mirrors cover different angles |
| Take It Slow | More time to react | Reverse at a slow, controlled pace |
Troubleshooting Common Issues
Even with careful maintenance, you might encounter common issues with your Honda's backup camera that can disrupt its performance. If you're facing a black screen, blurry image, or a camera that won't turn on, don't worry. There are steps you can take to troubleshoot and potentially resolve these issues yourself.
To begin with, if your backup camera's screen is black or won't display an image, check the connection between the camera and your car's display. Sometimes, the issue is as simple as a loose wire that needs resecuring. Moreover, make sure that your car's infotainment system isn't set to the wrong input or source, which can prevent the camera feed from appearing.
For a blurry image, the solution might be right in front of you. Dirt, mud, or snow can obscure the camera lens, reducing image clarity. Regularly cleaning the lens with a soft, clean cloth can prevent this problem and ensure you always have a clear view when reversing.
Lastly, if your camera doesn't turn on at all, it could be a sign of a deeper electrical issue. Check the fuse associated with your backup camera system. A blown fuse is often an easy fix – simply replace it with a new one of the same amperage. However, if these steps don't resolve your issue, it's best to consult with a professional. A certified technician can diagnose and fix problems that are beyond basic troubleshooting, making sure your backup camera functions correctly and keeps you safe on the road.
Conclusion
Now that you've got the hang of your Honda's backup camera, adjusting settings and interpreting on-screen guidelines should be a breeze.
Remember, while this tool improves your visibility and safety when reversing, it's not a replacement for checking your surroundings manually.
If you encounter any issues, quick troubleshooting can usually resolve them.
Keep practicing to make the most of this feature, ensuring you reverse more safely and confidently every time you hit the road.