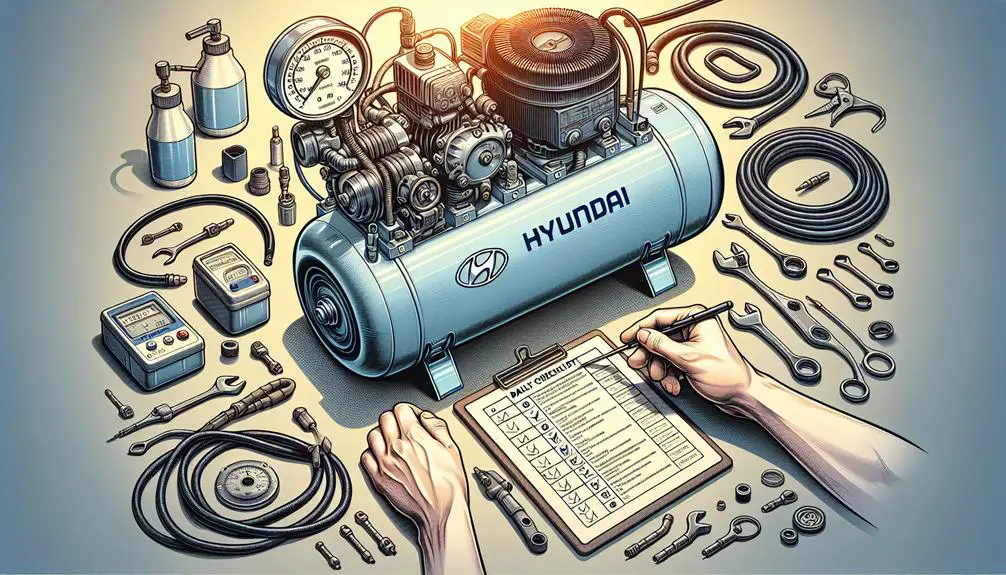
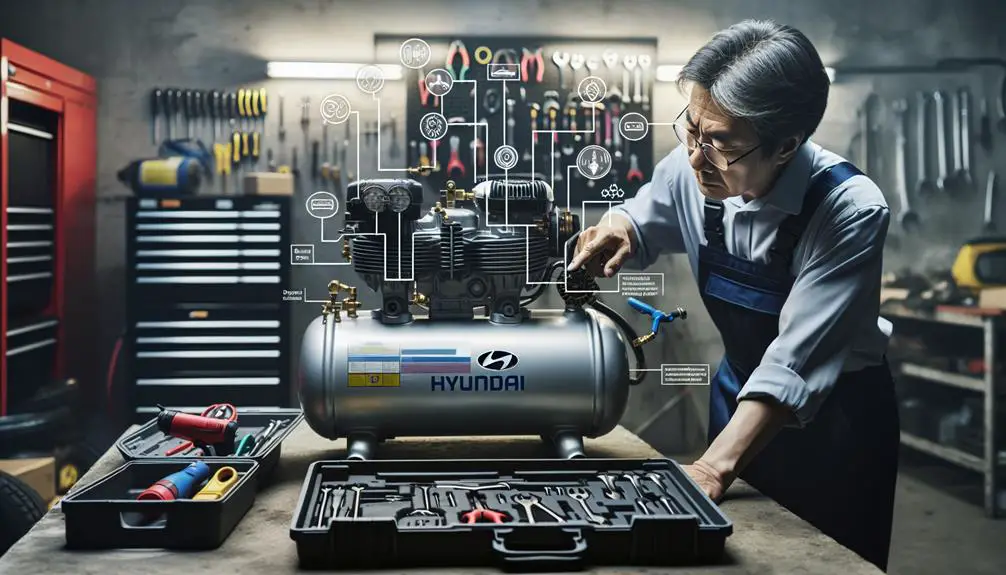
To use a Hyundai air compressor effectively, it's essential to follow these steps:
Understand the assembly process: Carefully read the instruction manual and ensure all components are properly connected and in place before using the compressor.
Learn how to operate the compressor: Familiarize yourself with the controls, such as on/off switches, pressure gauges, and regulators, to ensure safe and efficient operation.
Regularly perform maintenance tasks: This includes checking for leaks, cleaning or replacing air filters, and oiling moving parts as recommended by the manufacturer.
By following these guidelines, you can maximize the performance and longevity of your Hyundai air compressor.
Unpacking and Assembly

Upon receiving your Hyundai Air Compressor, begin by carefully opening the package to avoid damaging its contents. Inside, you'll find several components that you'll need to assemble to get your air compressor up and running. Don't worry; the process is straightforward, and you don't need to be a mechanical expert to do it right.
Initially, you'll need to locate the main unit and gently place it on a stable, flat surface. Make sure it's in a well-ventilated area to prevent overheating during operation. Next, identify the wheels and handles in the package. These are essential for mobility and ease of use, so you'll want to attach them securely. Typically, the assembly requires basic tools, such as a wrench and screwdriver, which you likely already have in your toolbox.
Follow the assembly instructions provided in the manual. They're designed to guide you step by step, ensuring you don't miss anything significant. Remember, it's vital to tighten all screws and bolts to prevent any wobbly parts that could lead to accidents or damage.
Once you've assembled the main components, you're almost ready to start using your Hyundai Air Compressor. However, before diving in, make sure you've checked every part for proper installation. This initial effort guarantees a safer and more efficient operation.
Understanding Controls
Now that you've assembled your Hyundai Air Compressor, it's time to familiarize yourself with its controls for best operation.
First off, you'll find the power switch, usually clearly marked. This is your go-to for turning your compressor on and off. It's straightforward but important for initiating any task.
Next, pay attention to the pressure gauge. This critical component displays the current pressure level inside the tank. You'll need to keep an eye on this to make sure you're working within safe and effective pressure ranges for your specific tasks.
Another key control is the pressure regulator knob. This allows you to adjust the output pressure, which is crucial for matching the tool or application you're using. Turning it clockwise typically increases pressure, while counterclockwise decreases it.
Additionally, you'll see a safety valve, designed to automatically release air if the tank pressure exceeds safe levels. It's an important safety feature, so make sure it's functional.
Lastly, don't overlook the air outlet. This is where you'll connect your hose and tools. Ensuring a secure connection here is important for efficient operation.
Comprehending these controls isn't just about getting your compressor to work; it's about maximizing its performance safely and efficiently.
Daily Operation Tips

How can you guarantee your Hyundai Air Compressor runs smoothly every day? By following a few simple daily operation tips, you can ensure it's always in excellent condition. These tips not only improve performance but also extend the lifespan of your compressor. Here's what you need to know:
- Start with a Quick Inspection: Before you power it on, give your compressor a once-over. Check for any signs of wear or damage, especially around the hoses and connections. This quick check can prevent minor issues from escalating into major problems.
- Monitor Pressure Levels: Keep an eye on the pressure gauge. Operating your compressor within the recommended pressure levels ensures efficiency and reduces the risk of overloading the system. If you notice fluctuations, it might be time to adjust the settings or check for leaks.
- Drain the Moisture: At the end of each day, don't forget to drain the moisture from the air tank. This prevents rust and corrosion, which can affect the compressor's performance. It's a simple step that can save you a lot of headaches down the road.
Maintenance Guidelines
To keep your Hyundai Air Compressor in excellent condition, following a set of detailed maintenance guidelines is crucial.
Initially, you'll need to regularly check and change the oil, if your model requires it. Typically, this should be done every 500 hours of use. However, if you're using your compressor in a dusty environment, it might need more frequent changes. Keep an eye on the oil level and top it off if it gets low.
Air filters also demand your attention. Inspect them monthly and clean or replace them as needed. A clogged air filter can lead to decreased performance and increased wear on your compressor.
Don't overlook the importance of draining the moisture from the tanks. At the end of each use, particularly in humid conditions, release any accumulated water. This prevents rust and corrosion inside the tank.
Regularly inspect hoses for cracks or wear and replace them as necessary to prevent leaks and ensure efficient operation.
Lastly, keep the compressor's exterior clean from dust and debris. A clean unit not only looks better but prevents overheating by allowing proper airflow around the motor and cooling surfaces.
Sticking to these maintenance tasks will extend the life of your Hyundai Air Compressor and keep it running smoothly.
Troubleshooting Common Issues

Although regular maintenance, you might still encounter some common issues with your Hyundai Air Compressor; here's how to troubleshoot them.
- Air Compressor Won't Start: If your compressor won't kick on, initially check the power source. Make sure it's plugged in and the outlet is functioning. Next, inspect the pressure switch and make sure it's not set too high; adjust it if necessary. Sometimes, a simple reset can get things running again.
- Low Pressure: When you're not getting enough pressure, the issue often lies with air leaks or a clogged filter. Check all hose connections for tightness and listen for any hissing sounds that indicate a leak. Replace or clean the air filter if it's dirty. These steps usually restore proper pressure levels.
- Overheating: If your compressor gets too hot, it could be because of poor ventilation or an overworked motor. Make sure there's enough space around the compressor for air to circulate. Additionally, check the oil level and quality; low or dirty oil can cause overheating. Changing the oil might just solve the problem.
Conclusion
Now that you've got the basics down, using your Hyundai air compressor should be a breeze. Remember, it's all about staying familiar with the controls, keeping up with daily operations, and not skipping out on regular maintenance.
If you hit a snag, refer back to the troubleshooting tips. With a bit of care and attention, you'll keep your compressor running smoothly for years to come.
So, go ahead, tackle those projects with confidence knowing you've got this tool mastered.