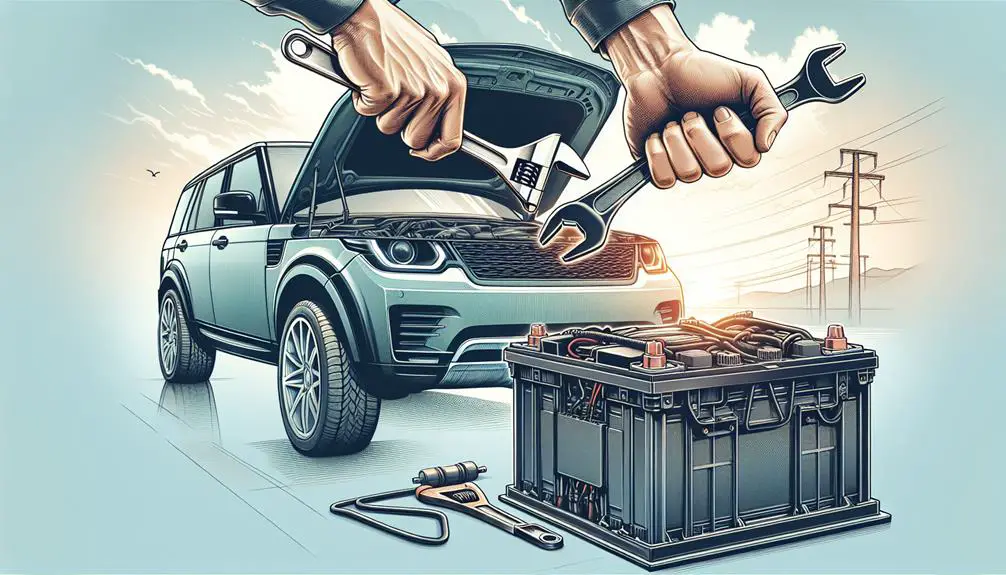
Replacing the battery in your Hyundai Kona involves several steps to ensure a safe and successful process.
- Safety First: Before starting any work on the battery, make sure the car is turned off and the keys are removed from the ignition. Also, wear gloves and eye protection to safeguard yourself from any accidents.
- Removing the Old Battery: Start by locating the battery in your Hyundai Kona. Typically, it is located under the hood. Use the appropriate tools to loosen the clamps and cables that are connected to the battery. Remove the old battery carefully, making sure not to spill any electrolyte.
- Installing the New Battery: Take the new battery and place it in the same position from where you removed the old one. Connect the cables and clamps securely, ensuring a tight fit.
- Post-Installation Checks: Once the new battery is installed, turn on your Hyundai Kona to check if everything is working correctly. Test the lights, radio, and other electrical components to confirm that the battery replacement was successful.
Remember, if you are unsure about any step in the process, it is always best to seek professional help. Double-check all connections and ensure everything is secure before closing the hood and completing the battery replacement process.
Safety Precautions

Before changing your Hyundai Kona's battery, follow these safety steps to avoid accidents or damage. Make sure the car is parked on a level surface and the ignition is off to prevent electrical issues or accidental movement.
Wear protective gear like safety glasses and gloves to protect your eyes and hands from battery acid, which is corrosive.
Identify the battery's negative and positive terminals. Always disconnect the negative terminal first to reduce spark risk, lowering the chance of electrical shorts that could be dangerous.
Work in a place with good airflow. Batteries can release harmful gases, so an open area prevents dangerous gas build-up.
Avoid dropping metal tools on the battery to prevent short-circuits, sparks, explosions, or fires. Following these steps ensures a safer battery replacement process.
Required Tools and Materials
To replace your Hyundai Kona's battery safely and effectively, ensure you have the following tools and materials:
- Wrench set: Needed to adjust battery terminals and remove brackets.
- Battery terminal brush: Cleans terminals and connectors for a good connection.
- Voltage meter or multimeter: Checks the battery's voltage to confirm if it needs replacing.
- Protective gloves: Protects hands from battery acid.
- New battery: Must be the correct size and type for your Hyundai Kona.
Having these items will help you replace the battery smoothly. Preparation is crucial, so make sure you have everything before starting.
Removing the Old Battery

To take out the old battery from a Hyundai Kona, first turn off the car and make sure it's in park or neutral with the handbrake on. Wear gloves and eyewear for safety.
Find the battery in the engine bay, it might be under a plastic cover. If so, remove the cover to see the battery. Start by loosening the negative terminal's nut with a wrench. Always disconnect the negative first to prevent short circuits. Remove the negative cable and keep it away from the battery.
Then, loosen the nut on the positive terminal and remove the positive cable carefully. There will be a clamp holding the battery in place. Loosen this clamp with a wrench or socket set. Lift the battery out carefully, using your legs to avoid hurting your back.
With the old battery out, clean the battery compartment before putting in a new battery. This makes sure the replacement goes smoothly.
Installing the New Battery
Install the new battery in the compartment, making sure it's flat and secure. Align it correctly so the terminals match the car's battery cables. This is important for your Hyundai Kona's electrical systems to work well.
Next, connect the battery terminals. Begin with the positive terminal, marked with a plus sign (+) and usually red. Attach it firmly to the post. Then, attach the negative terminal, marked with a minus sign (-) and usually black. Make sure these connections are tight to avoid electrical problems.
After connecting the terminals, follow these steps:
- Check the terminals for corrosion or damage.
- Make sure the battery is stable in the compartment.
- Ensure the terminal connections are tight.
- Check the battery hold-down bracket is in place to keep the battery stable.
- Make sure there are no tools or items left in the engine compartment.
Post-Installation Checks

After installing a new battery in your Hyundai Kona, follow these checks:
- Ensure all battery connections are tight. Loose connections can cause power problems or be dangerous.
- Start your car. It should start smoothly without strange noises. If it doesn't, the battery might be incorrectly installed or another issue could be present.
- Look at the dashboard for warning lights. The battery light shouldn't be on. If it is, the charging system might've a problem.
- Test the electrical components like headlights, air conditioning, and radio. They should work as before. If not, the battery mightn't be supplying enough power.
Conclusion
Now that you've changed the battery in your Hyundai Kona, you're all set to go. Remember, it's important to wear safety gear and make sure where you're working is safe. It's easy to do with the right tools and some basic knowledge.
After you've put in the new battery, check to make sure everything is working well. Taking good care of your car, like changing the battery when needed, helps it run well.
Drive safely, and enjoy the new energy in your Kona!