To use your Hyundai's reversing camera effectively, you need to follow a few key steps:
- Activate the camera by shifting into reverse gear. This action will automatically turn on the camera display on your dashboard or infotainment screen.
- Understand the display features, such as grid lines that help you gauge distance and trajectory while reversing. Some cameras may also provide additional information like proximity alerts or a wider field of view.
- Interpret the parking guidelines provided on the display. These guidelines are designed to assist you in aligning your vehicle properly within a parking space or avoiding obstacles while reversing.
- Adjust camera settings as needed to suit your preferences. This may include changing the brightness or contrast of the display, toggling between different views (e.g., wide-angle or top-down), or customizing the grid lines for better accuracy.
By following these steps, you can make the most of your Hyundai's reversing camera and enhance your overall driving experience.
Activating Your Camera

To activate your Hyundai's reversing camera, simply shift the vehicle into reverse gear. This easy action triggers the system to power up the camera automatically, ensuring you've got eyes at the back of your car without any additional steps. It's a seamless integration into the driving process, designed to kick in precisely when you need it—during those moments when backward maneuvering is necessary.
You won't have to fiddle with any buttons or enter into complex menus on your dashboard's display. Hyundai has designed their vehicles with convenience in mind, so the switch into reverse gear is all it takes to bring the reversing camera to life. This feature is particularly useful in tight parking spots or in situations where your rear view is obstructed. It gives you a clear view of what's behind you, reducing the risk of accidentally bumping into objects, vehicles, or even pedestrians that might otherwise be out of your direct line of sight.
Understanding the Display
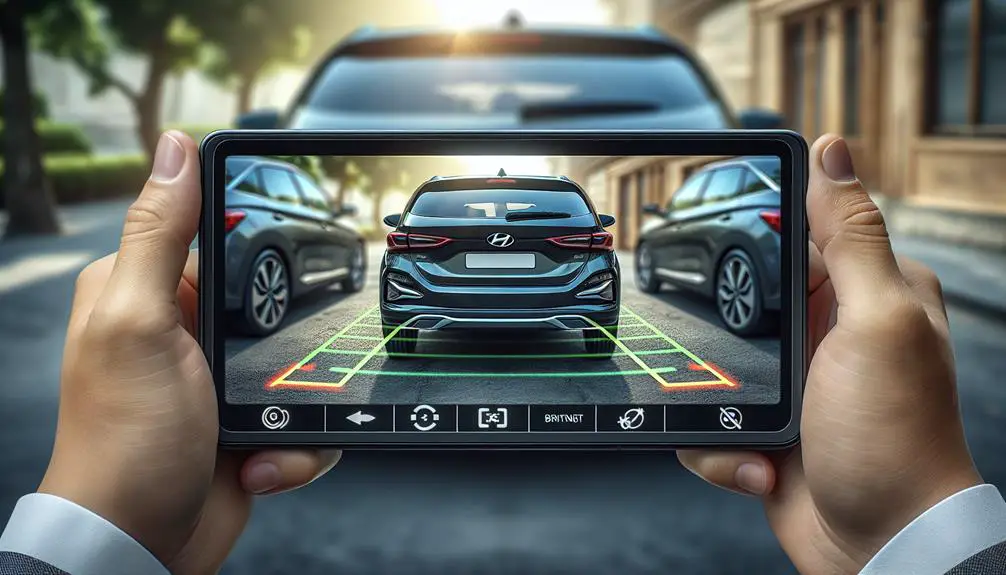
Once you've activated your Hyundai's reversing camera by shifting into reverse, you'll notice the display screen comes to life with a clear view of the area behind your vehicle. This real-time video feed is your eyes at the back, ensuring you reverse safely and effectively. Comprehending what you're seeing on this display is essential for maximizing the use of your reversing camera. Here's a breakdown of the key elements:
- Live Video Feed: The most prominent feature you'll see is the live video feed. This shows everything happening behind your car, in real-time. It's what you'll use to gauge distance and spot any obstacles that might be in your path.
- Camera Angle: Notice the wide-angle view provided by the camera. This design is intentional, offering you a broader perspective than you'd get from looking over your shoulder or in a rearview mirror. However, objects in the camera are closer than they appear.
- Screen Borders: The edges of the display screen might've some static icons or information. These could include the date and time, camera settings, or your car's model. While not directly related to reversing, they're part of the interface you should be familiar with.
- Brightness and Contrast Settings: Depending on the time of day or the weather conditions, you might need to adjust the brightness or contrast to get a clearer view. Most systems adjust automatically, but knowing how to manually tweak these settings can be helpful in unusual lighting conditions.
Comprehending your display is the initial step in mastering the reversing process without delving into the specifics of interpreting parking guidelines. This foundation ensures you're better prepared to use your Hyundai's reversing camera effectively.
Interpreting Parking Guidelines

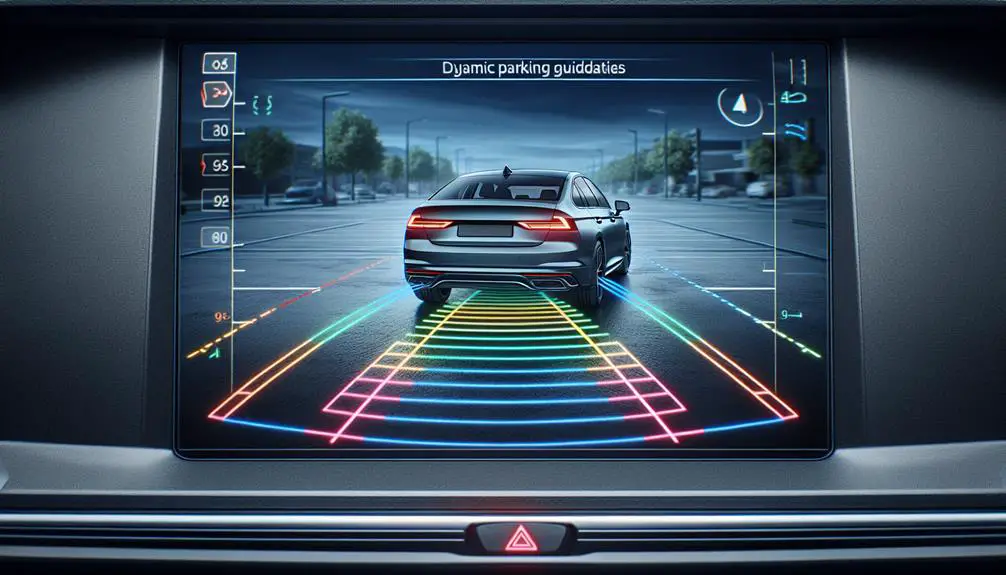
Comprehending the parking guidelines displayed on your Hyundai's reversing camera is crucial for parking with precision and safety. These guidelines appear as colored lines on your screen when you engage reverse gear. They're not just for show; they serve as a visual aid to help you estimate distances and navigate tight parking spots without a hitch.
The guidelines typically include a set of colored lines. The green lines indicate the path your car will take if you keep the steering wheel straight. It's your safe zone, showing you've got enough space to back up without hitting anything. The yellow lines come into play as you turn the steering wheel, dynamically adjusting to show the trajectory your car will follow. They're your cue to be cautious, signaling that you're getting closer to objects behind you. Eventually, the red lines scream 'stop' – they indicate you're only a few feet away from an obstacle, warning you to halt and reassess your parking maneuver.
Adjusting Camera Settings
Adjusting your Hyundai's reversing camera settings can improve visibility and parking accuracy, making it easier to navigate tight spots. With a few simple adjustments, you can fine-tune the camera to meet your specific needs, ensuring a safer and more comfortable driving experience.
Here's how you can adjust the settings:
- Access the Settings Menu: Start by accessing the vehicle's main screen. Look for a 'Settings' option, which is usually found on the touchscreen display. Navigate through the menu until you find the camera settings. This might be listed under 'Vehicle Settings,' 'Camera,' or something similar.
- Adjust the Brightness and Contrast: Once you're in the camera settings, look for options to adjust the brightness and contrast. These adjustments can help improve the camera's visibility in different lighting conditions. Increase the brightness if the camera feed appears too dark, or adjust the contrast to make objects more distinguishable.
- Change the Angle: Some Hyundai models allow you to adjust the angle of the reversing camera. This can be particularly helpful if you're looking for a wider view or if you need to focus on a specific area behind your vehicle. Experiment with different angles to see what works best for you.
- Activate or Deactivate Guidelines: If your Hyundai is equipped with dynamic or static guidelines, you'll have the option to activate or deactivate them. These guidelines can be helpful in judging distances while reversing. Depending on your preference, you can turn them on for extra assistance or off for an unobstructed view.
Tips for Optimal Use

After fine-tuning your Hyundai's reversing camera settings, let's investigate some tips to make sure you're getting the most out of this feature during everyday use.
To begin with, always check the camera lens before you start your car. Dirt, mud, or even snow can obscure your view, making the camera almost useless. A quick wipe can make all the difference, ensuring you've got a clear picture of what's behind you.
Next, don't rely solely on your reversing camera. It's a fantastic tool, but it can't see everything. Use it as a supplement to your mirrors and over-the-shoulder checks. This way, you're covering all your bases and reducing the risk of missing something in your blind spot.
Remember, the camera's field of view is limited. It's great for spotting obstacles directly behind you, but it mightn't catch hazards that are off to the side until they're close. Be aware of this, especially in tight spaces or crowded areas.
Adjust your screen's brightness and contrast settings according to the time of day. What works during a sunny afternoon mightn't be as effective on a dark, rainy evening. Taking a moment to adjust these settings can improve the camera's visibility and your overall safety.
Conclusion
Now that you're familiar with activating your Hyundai's reversing camera, grasping the display, interpreting parking guidelines, and adjusting settings, you're all set to back up like a pro.
Remember, always rely on your camera for added visibility, but don't forget the importance of checking your mirrors and surroundings for a complete picture.
With these tips and a bit of practice, you'll find parking and reversing smoother and safer.
Happy driving and enjoy the convenience your reversing camera brings!