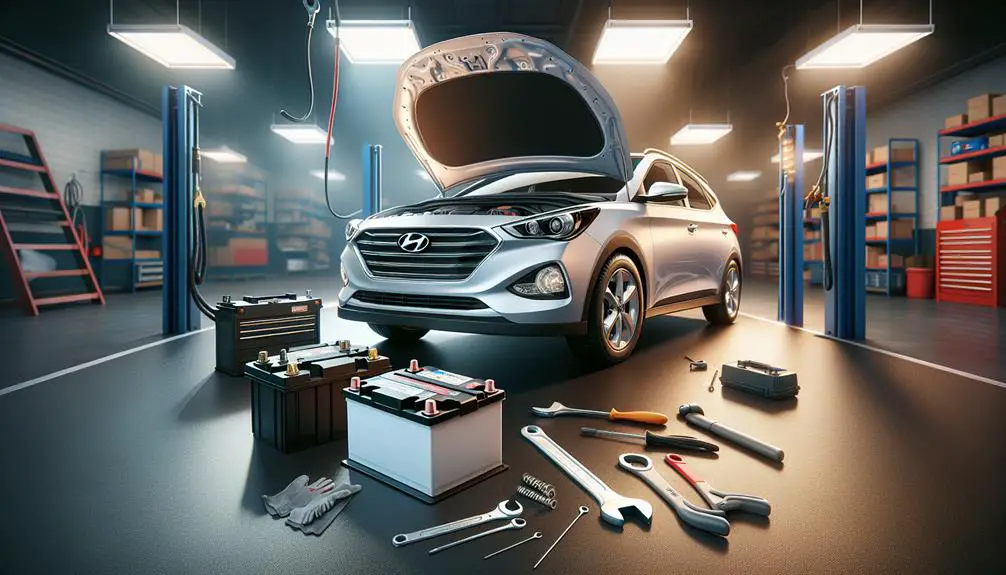
Replacing a Hyundai battery involves several key steps:
- Recognizing when it's needed
- Selecting the right battery
- Safely removing the old one
- Installing the new one
It's important to follow these steps carefully to ensure the battery replacement is done correctly and safely.
Identifying Replacement Signs

It's important to know when to replace your Hyundai's battery to keep your car running well. Here are the main signs:
- Your car takes longer to start. This means the battery mightn't have enough power to start the engine. You'll hear a slow cranking sound when trying to start the car.
- The lights inside the car and the headlights are dimmer than usual. This suggests the battery is weak and affects the car's electrical system.
- Check the battery's charge indicator. Most batteries have this. If it's not green, you might need a new battery.
- If your battery is older than three years, pay attention to these signs. Batteries usually last between three to five years, so age matters in deciding when to replace it.
Selecting the Right Battery
When replacing your Hyundai's battery, first check the owner's manual for the right size. The battery should match your car's model for proper fit and function.
Consider the cold cranking amps (CCA), which tell you how well the battery starts in cold weather. If you live in a cold area, get a battery with a high CCA.
Look at the reserve capacity (RC), which shows how long the battery can run car accessories if the alternator fails. A higher RC means your car can run longer in an emergency.
Choose between a traditional lead-acid battery, which is cheaper, or an Absorbed Glass Mat (AGM) battery, which lasts longer and needs less maintenance. AGM is better for cars with start-stop technology or many accessories.
Preparing for Installation
Before you install a new battery in your Hyundai, make sure you have the necessary tools and a safe place to work. You'll need wrenches or a socket set, a wire brush, gloves, safety glasses, and battery terminal protector spray.
Choose a well-ventilated area, like outside or in a garage with the door open, to prevent dangerous gas buildup. Make sure the ground is flat to keep the car stable.
Turn off the car and remove the keys from the ignition to avoid electrical problems. Also, unplug any devices from the car's power outlets.
Find your car's battery, usually in the engine compartment, but sometimes in the trunk or under the rear seat. Notice how the battery is positioned, especially the positive and negative terminals, to install the new one correctly.
Installing the New Battery
Prepare your workspace and gather tools to install a new battery in your Hyundai.
Place the new battery in the tray, making sure the positive and negative terminals match the old battery's setup. This is important for a proper fit and to avoid issues with cable length.
Secure the battery by tightening the clamp. Ensure it's tight enough to prevent movement but not so tight that it damages the battery or tray.
Attach the battery terminals, starting with the positive (+) terminal. First, remove any protective caps on the battery posts. Connect the positive cable and tighten the terminal bolt securely but without over-tightening. Then, do the same for the negative (-) terminal. Always connect the positive terminal first to reduce the risk of a short circuit.
After connecting, check the terminals by gently wiggling them to ensure they're not loose. Loose connections can lead to starting problems or electrical issues.
You have now installed a new battery in your Hyundai.
Post-Installation Checklist

After installing the new Hyundai battery, follow these steps to ensure everything is working correctly:
- Check Connections: Make sure the battery terminals are tightly connected to the battery posts. Loose connections can cause power issues or stop your car from starting. Test them by giving a gentle tug to ensure they're secure.
- Inspect for Corrosion: Look for any signs of white, green, or blue powdery substances around the battery terminals and cable connections. This is corrosion. Clean it off to prevent electrical problems and ensure a good connection.
- Test the Electrical System: Turn on your Hyundai and let it run for a few minutes. Check that the dashboard lights, headlights, and interior lights work correctly. This helps identify any electrical issues.
- Verify the Battery Securement: Ensure the battery is firmly mounted in its tray. A moving battery can get damaged or disconnect, causing problems.
Conclusion
You've learned how to tell when it's time for a new battery for your Hyundai, picked the right one, and put it in.
Don't forget to check everything after you've installed the new battery to make sure it's all working well.
Knowing how to check your car's battery and replace it when needed can save you trouble.
With your new battery in place, your Hyundai is ready to go again with fresh energy.